DIY Reclaimed Door Shelves- Welcoming Miss Mustard Seed
Miss Mustard Seed comes to Austin, TX's Silk and Sage Design Studio! Learn about our fun, DIY reclaimed door shelving project to use for her product display.
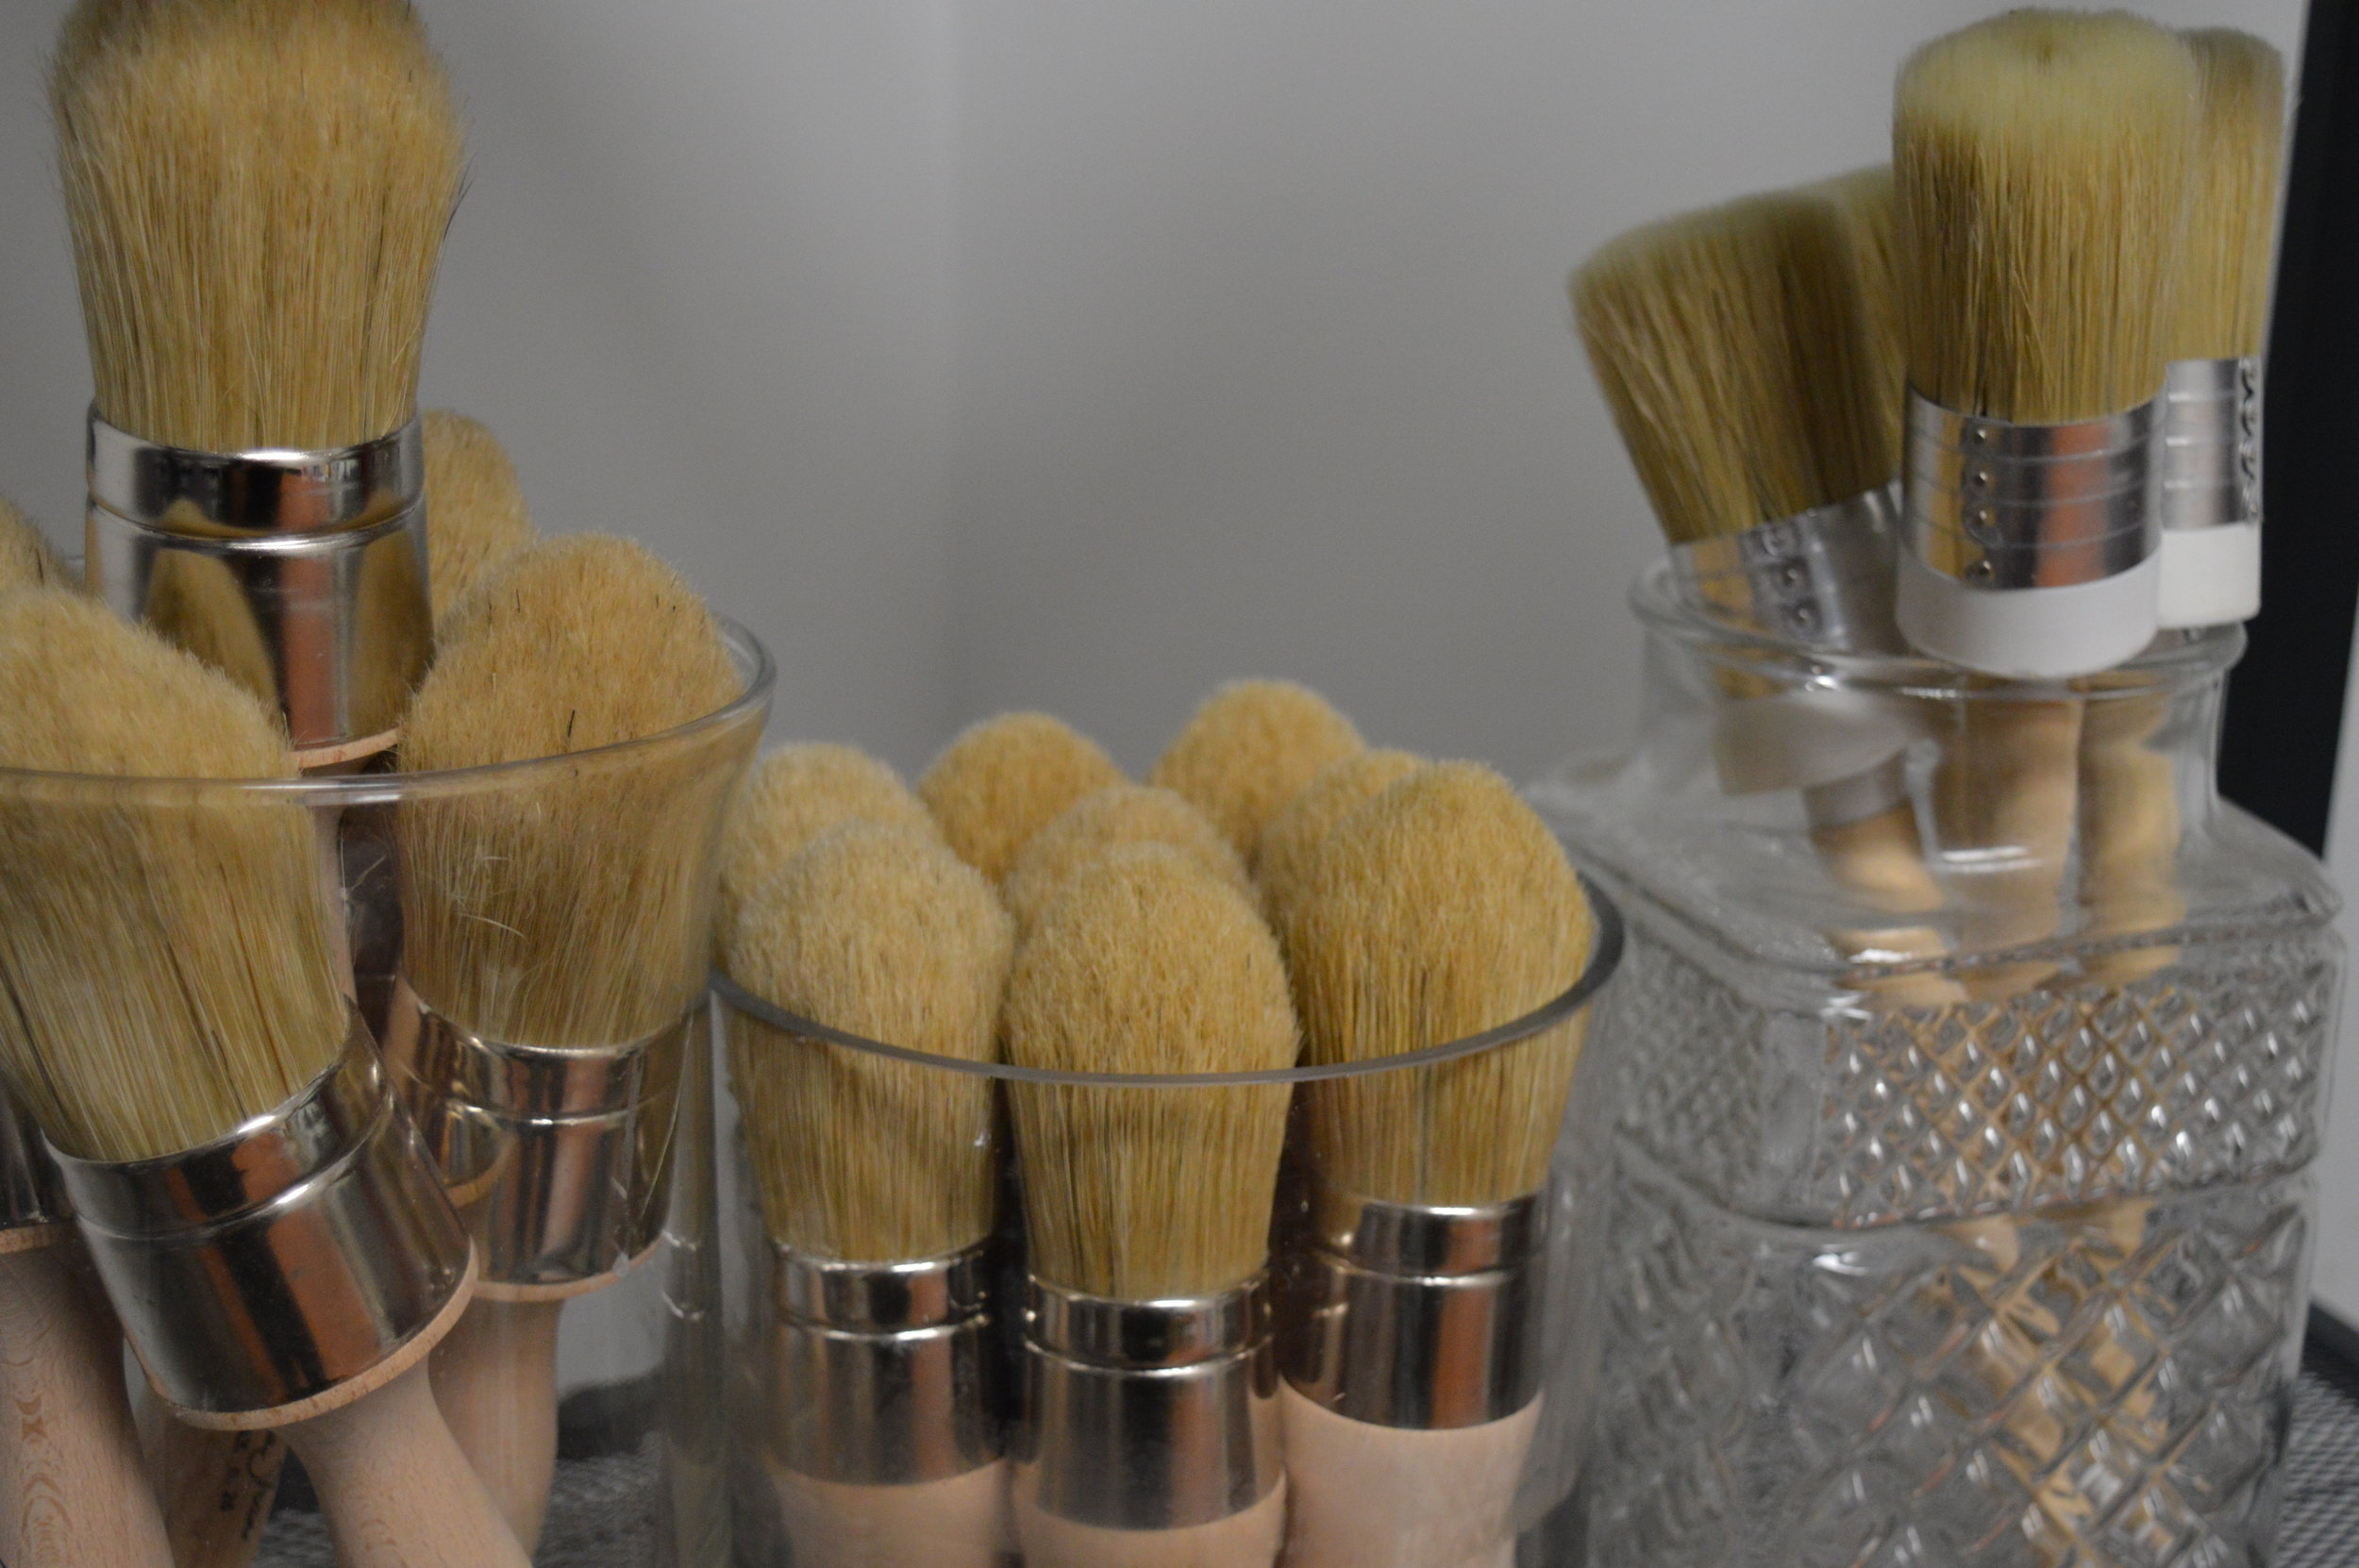
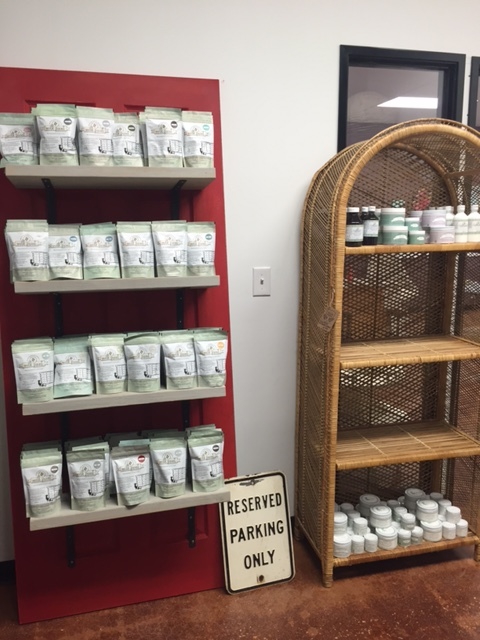
Things have been busy and bustling around the shop since we opened in March. We've been bringing on additional product lines that compliment what we already carry, and I'm so proud to say that we're now also a stockist of Miss Mustard Seed's Milk Paint, waxes, and painting sundries!
Naturally, we needed an epic and fitting way to display her product, and an idea that I had (inspired by Pinterest) was to repurpose an old door and attach wooden planks to it to function as shelves.
For those of you not familiar with milk paints or Miss Mustard Seed, I'll give you some background pending a fuller blog post on specifics. Milk Paints are a powdered milk and pigment paint that you mix yourself- usually using water. It's a traditional style of paint rather than a trademarked formula, however every brand recipe is of course unique. What was used in the prehistoric cave paintings? A form of milk paint. What's on that extremely chippy 200 year old French antique dresser at the antique mallI? A form of milk paint. I prefer Miss Mustard Seed's paints and sundries for many reasons, including the packaging, consistency when mixed, and the color options (oh my!). Yes I'm also biased because I now carry the line... but hopefully you'll have a chance to explore her line and mix paints yourself to see!
And so one day I set off to create our shelving unit while I waited for our products to arrive. To do this you'll need:
- cut wood planks (quantity determined by what spacing/how many shelves you want)
- 2 shelf brackets per shelf (one for each side)
- screws and screw anchors (for added security)
- drill and bits
- level
- door (quite possibly the most essential part!)
- paints or finish of choice
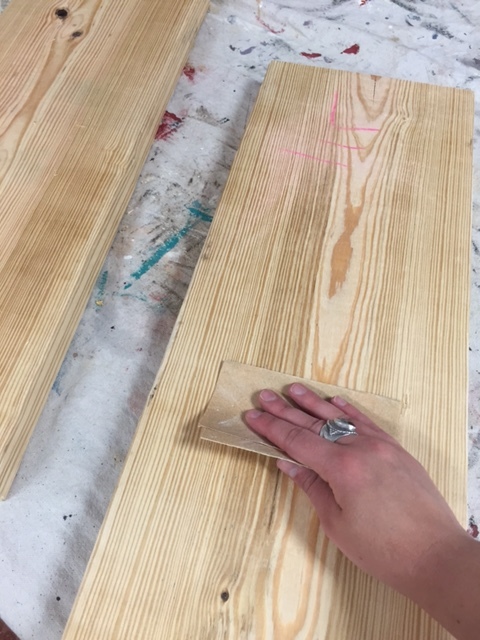
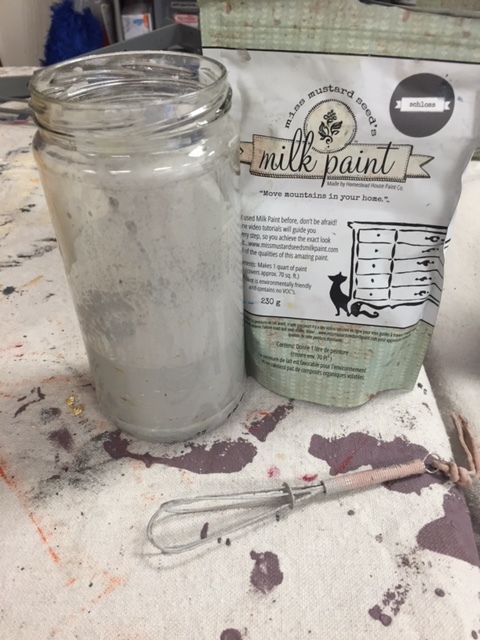
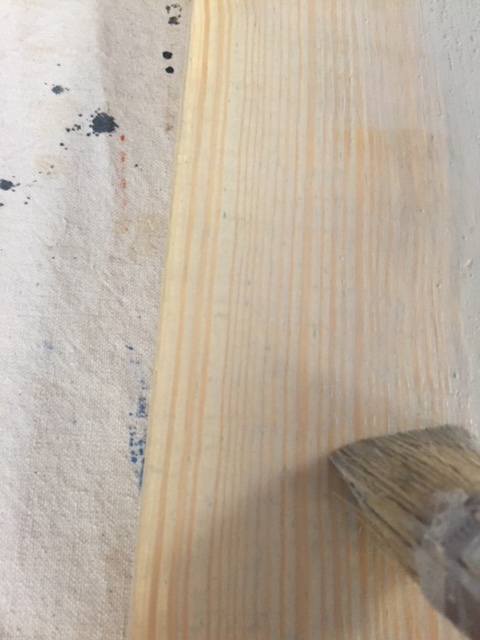
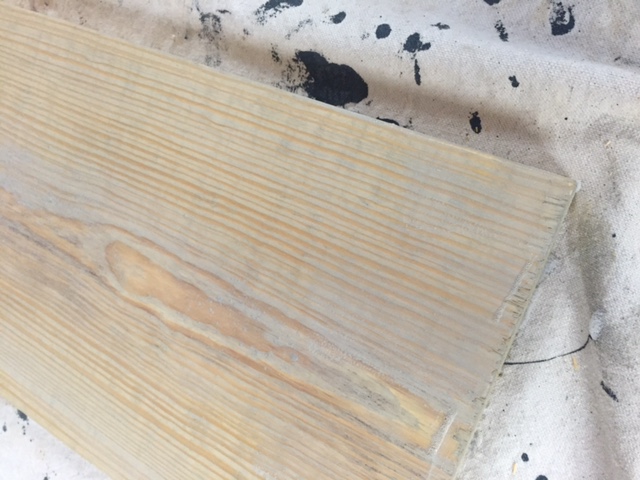
I had a raw wood plank cut so that each 'shelf' was the same length. If you do this you'll want to make sure you have shelves that are just the right width and depth, without being too heavy to be supported by the brackets (having the screw anchors will also help with securing the weight). Then I sanded off the splinters from each shelf, and made a lovely grey wash from a quart of the color Schloss. *Notice it comes in a resealable baggie!* Like a regular wash, the water was greater compared to the paint in the mix ratio. I applied in thin layers, to build up the color- raw wood will also absorb way more paint than sealed wood, so I always like to judge the color after it's dried.
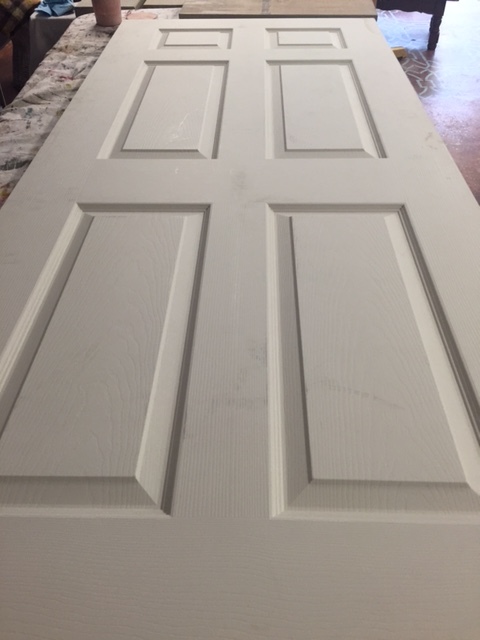

The door I chose definitely had some strange laminate/MDF finish to it, so besides cleaning thoroughly, I also sanded to recreate a tooth to the surface, and primed. With any milk paint, adherence to a slick or finished surface can be particular when just slapped on by itself. It's best to take the steps I did to provide the cleanest, most absorbant environment for the paint to be layered onto.
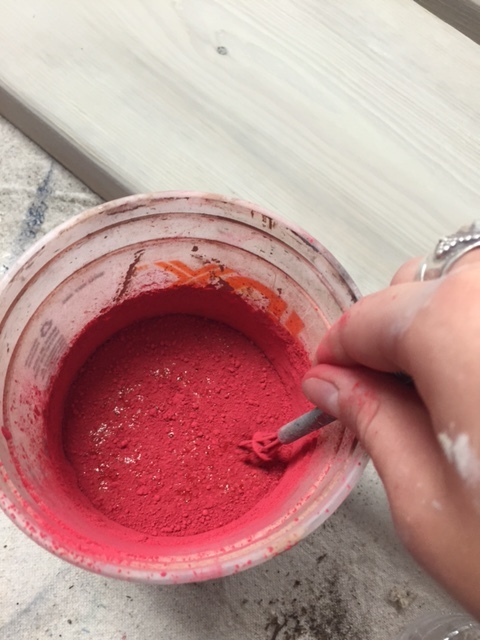
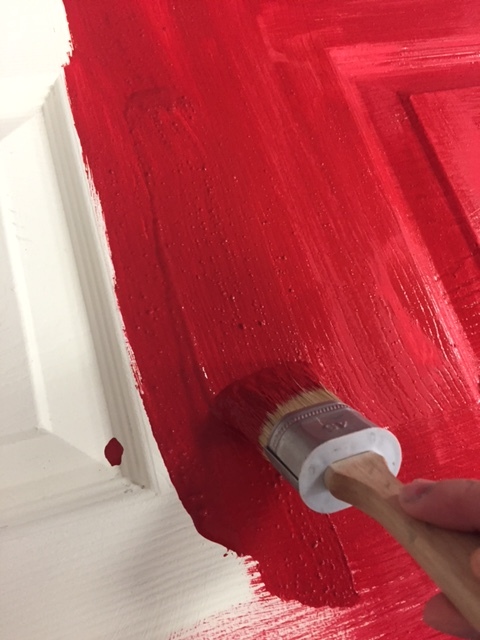
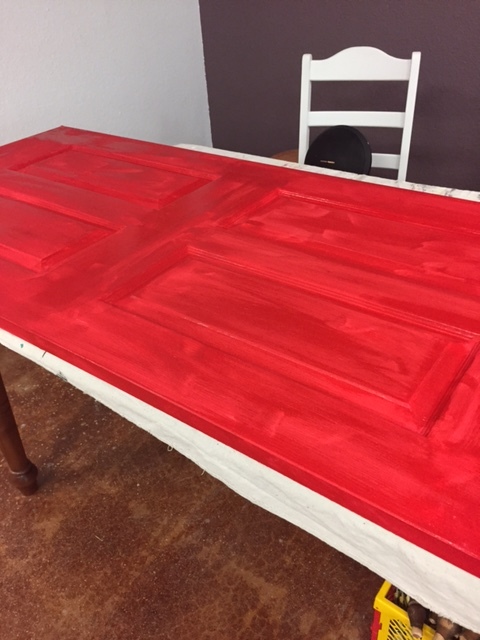
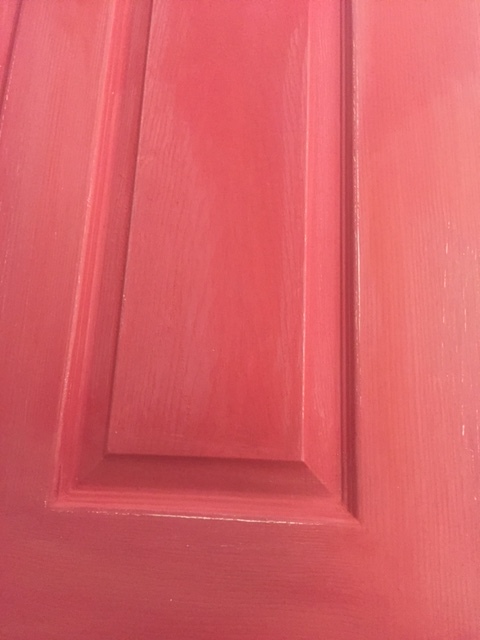
Additionally, adding Miss Mustard Seed's Bonding Agent (almost like a glue for the paint) into your mixture will greatly increase your success over a pre-finished surface. I chose the beautiful red, Tricycle, for the door. When mixing, it's best to begin with a 1:1 ratio of water to paint, adding more water or paint afterward to achieve the desired consistency. Mix it for a couple minutes to start, then let it sit for roughly 10 minutes to let the pigments fully disperse. You can whisk by hand, use a blender, or use one of her handy dandy electric mixers (looks like a latte milk frother). I did a thorough base coat of Tricycle to prepare for a 2 color distress technique.
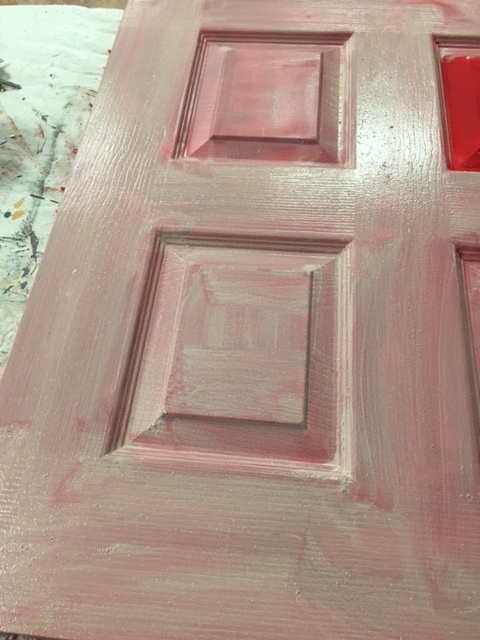
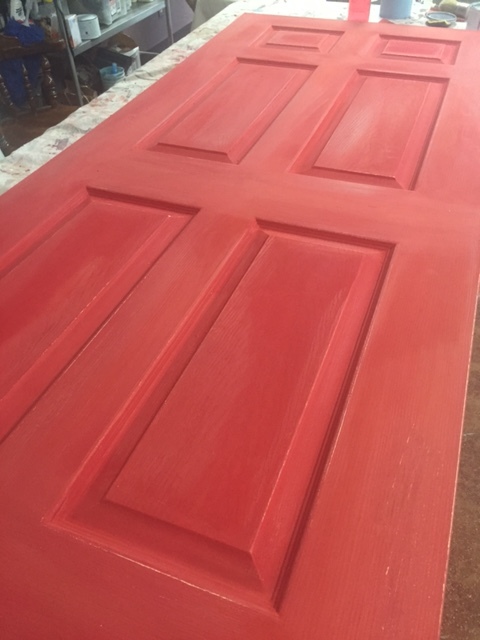
A thin coat of my leftover Schloss went on next, followed by one more coat of the Tricycle. I sanded lightly in areas to distress and give a look of barn wear-and-tear. Remember, less is often more with distressing. Miss Mustard Seed's Milk Paint is also more versatile than to only be used for rustic techniques- you CAN absolutely use it for sleek and modern techniques too!
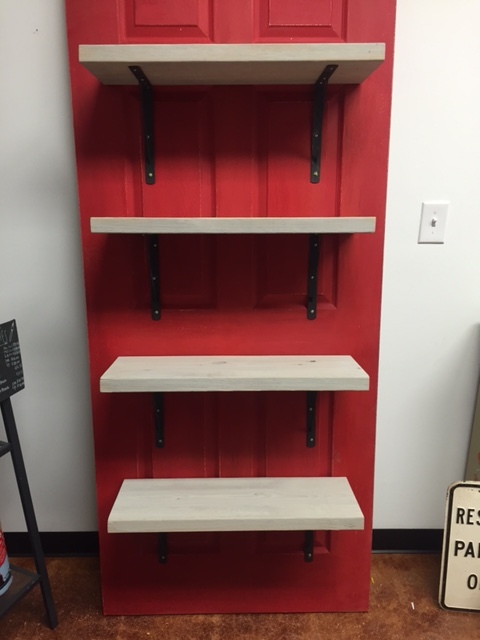
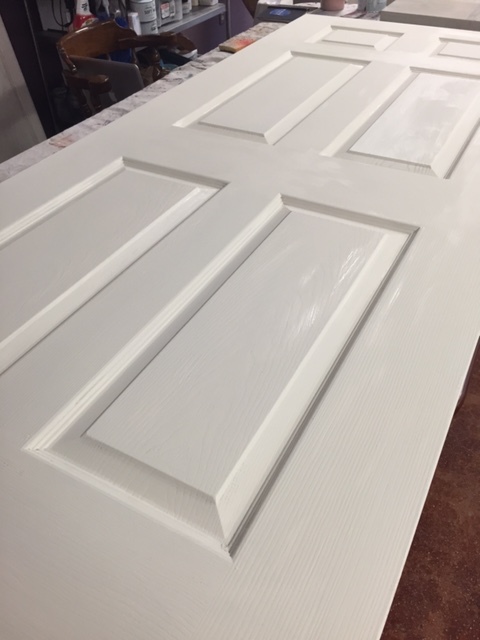
Once the paint dried, I waxed with her Furniture Wax (clear). I laid the door flat on the floor so it would be less strenuous for me to attach the shelves while holding them up at the same time. I had to play with the techniques and plan out my next course of action- measure twice, cut once! For me, the easiest way was to attach the brackets to each shelf first, then align them to the door to plot out my pilot holes for the screws. That way, once the pilot holes were drilled, I could just match the shelves and brackets up to them and screw them unto place with the anchors all at once! Then prop the door up to the wall... and voila! If you do this, your level will be your BFF for the last steps.
And now Miss Mustard Seed's product lines are sitting pretty. The reclaimed door shelving is mostly utilitarian, however we feel its whimsy fits her branding well.