
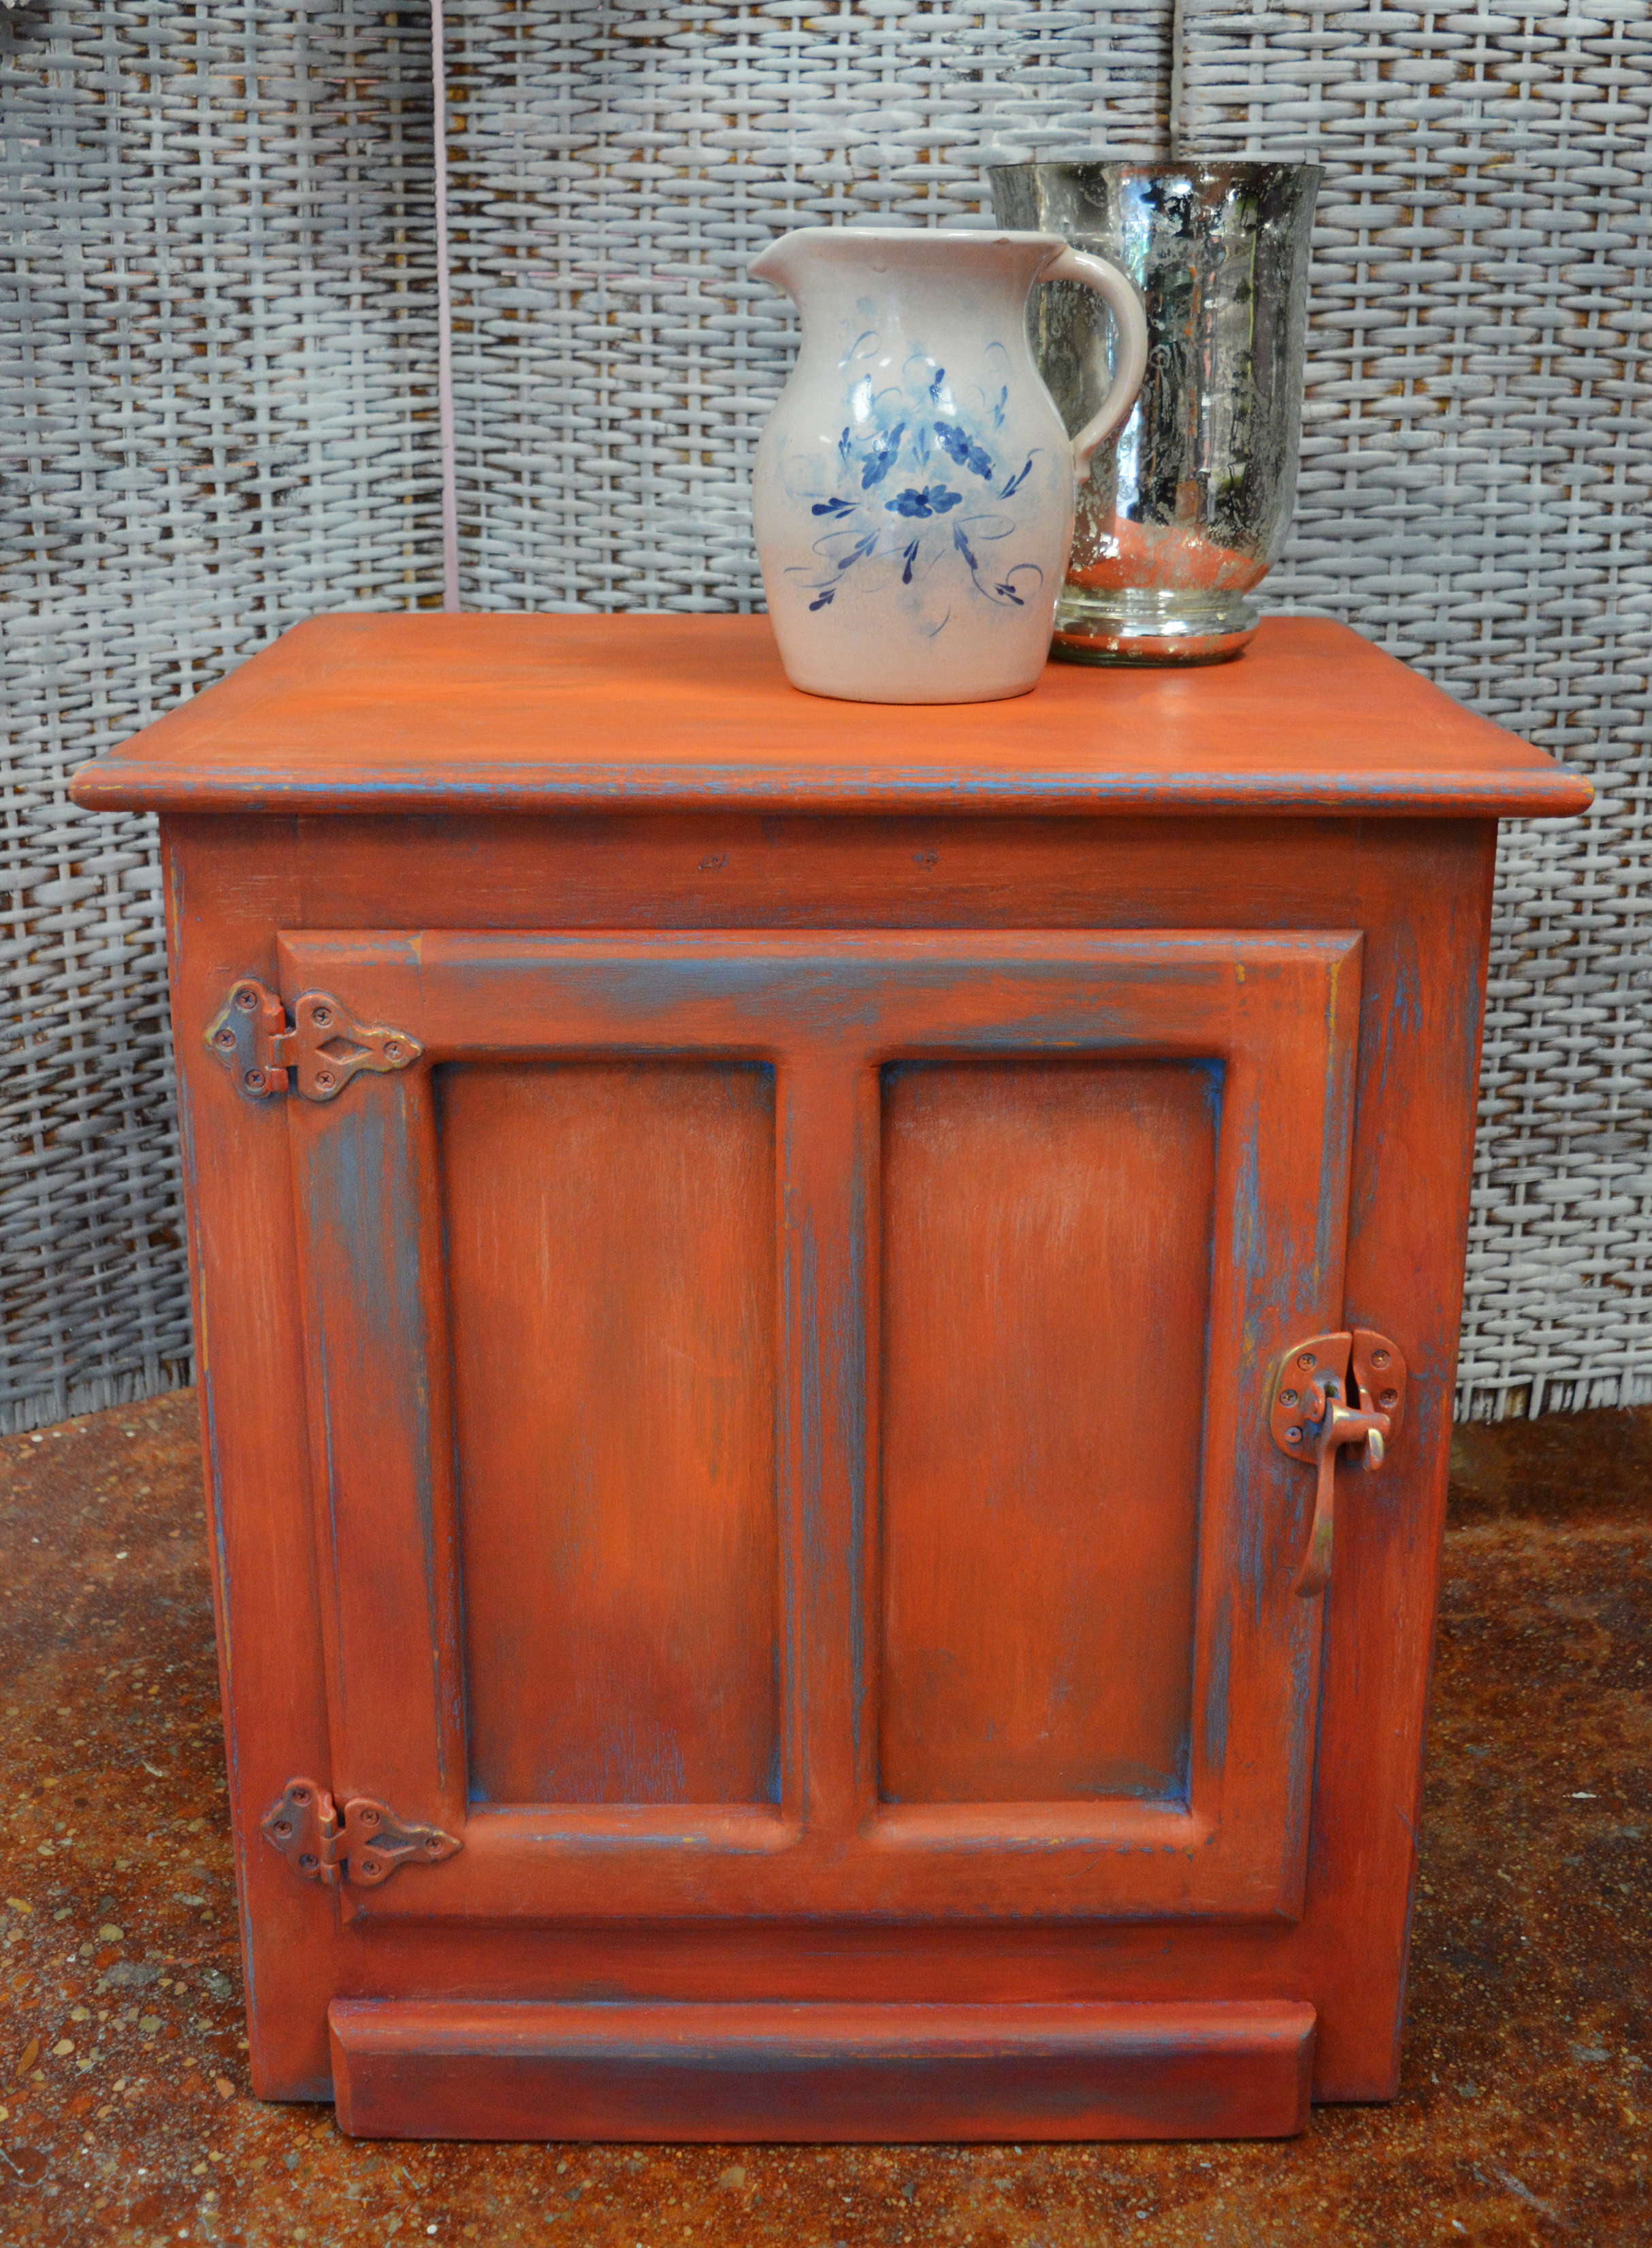
Before & After: 'Persimmon' + Greek Blue Cabinet
A pop of color is just what this little cabinet needed...


For us furniture and interior painters, we know that projects often go in 'inspiration stages,' during which choosing the color can be the hardest part! We had a little boxy cabinet that was hanging around the studio just waiting to be painted, that we knew should have a pop of color and texture. We were a little stuck... until we remembered a piece that we had been previously been inspired by, by Leslie Stocker. Using Chalk Paint® decorative paint in Greek Blue, Barcelona Orange and Emperor's Silk blended together, and Old White accents, we created a finish that we absolutely LOVE! The idea was to combine opposite colors from the color wheel for a distinct look (such a great design technique for you to explore on future projects).

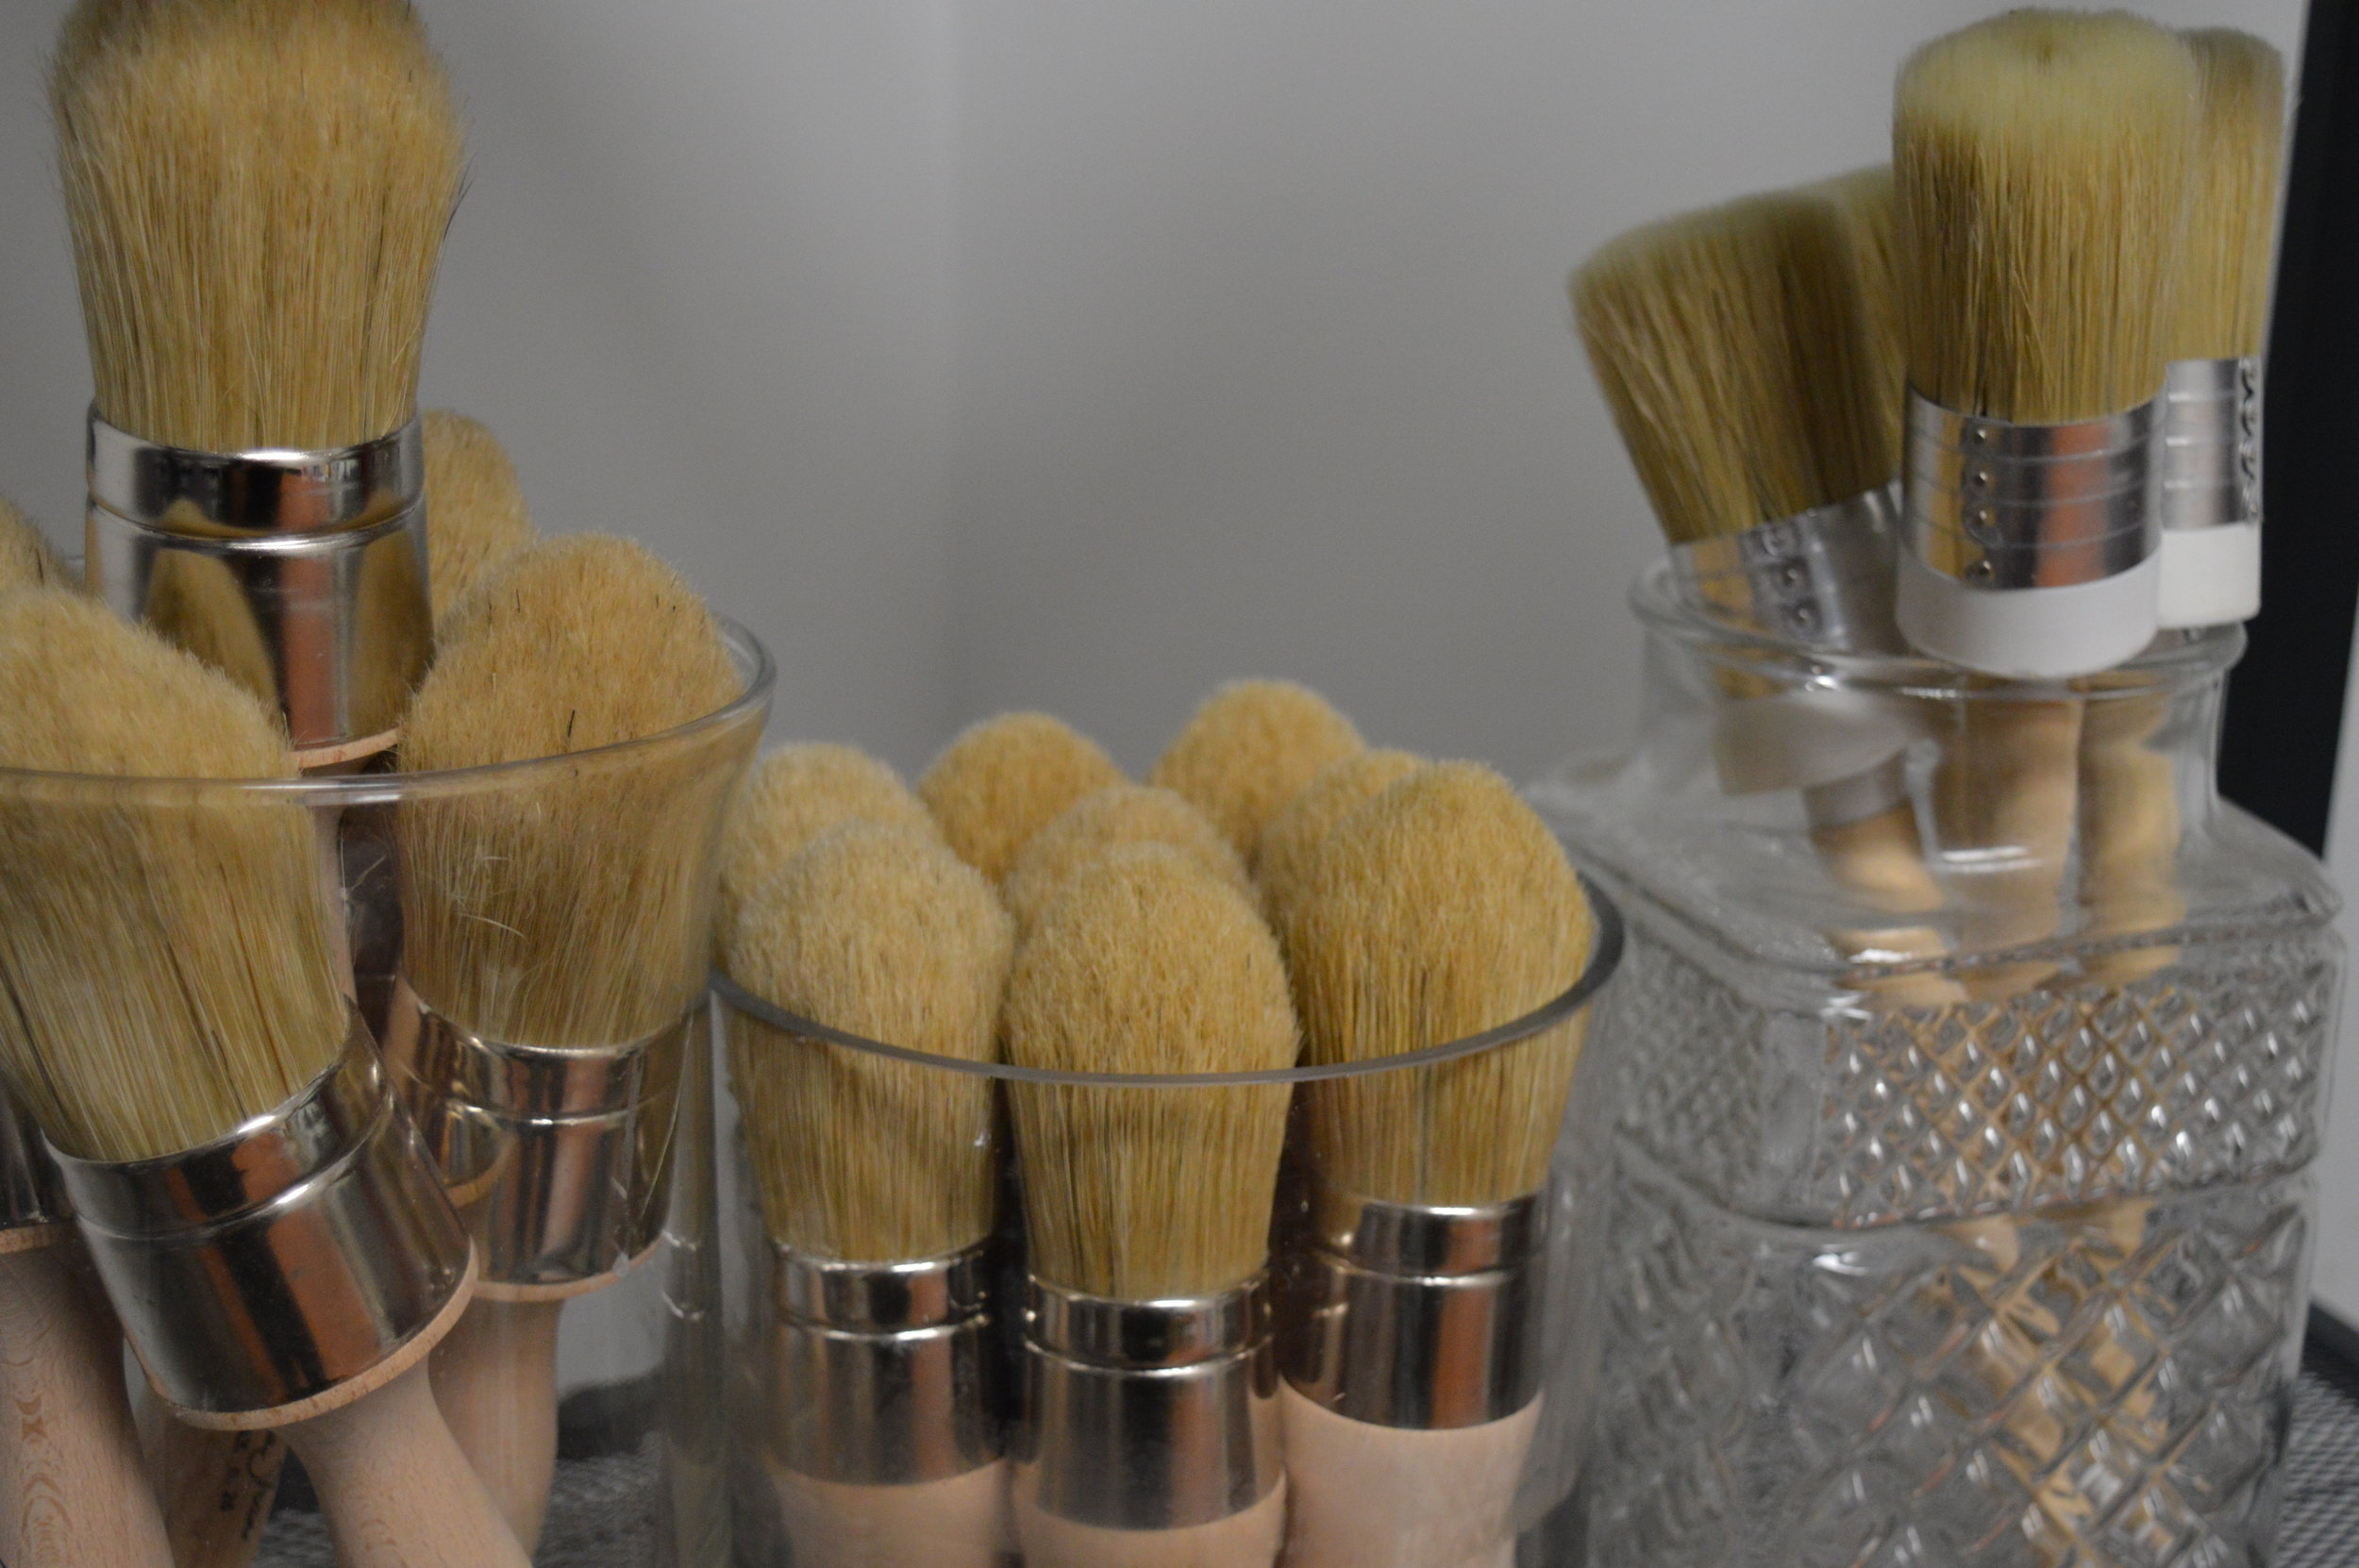
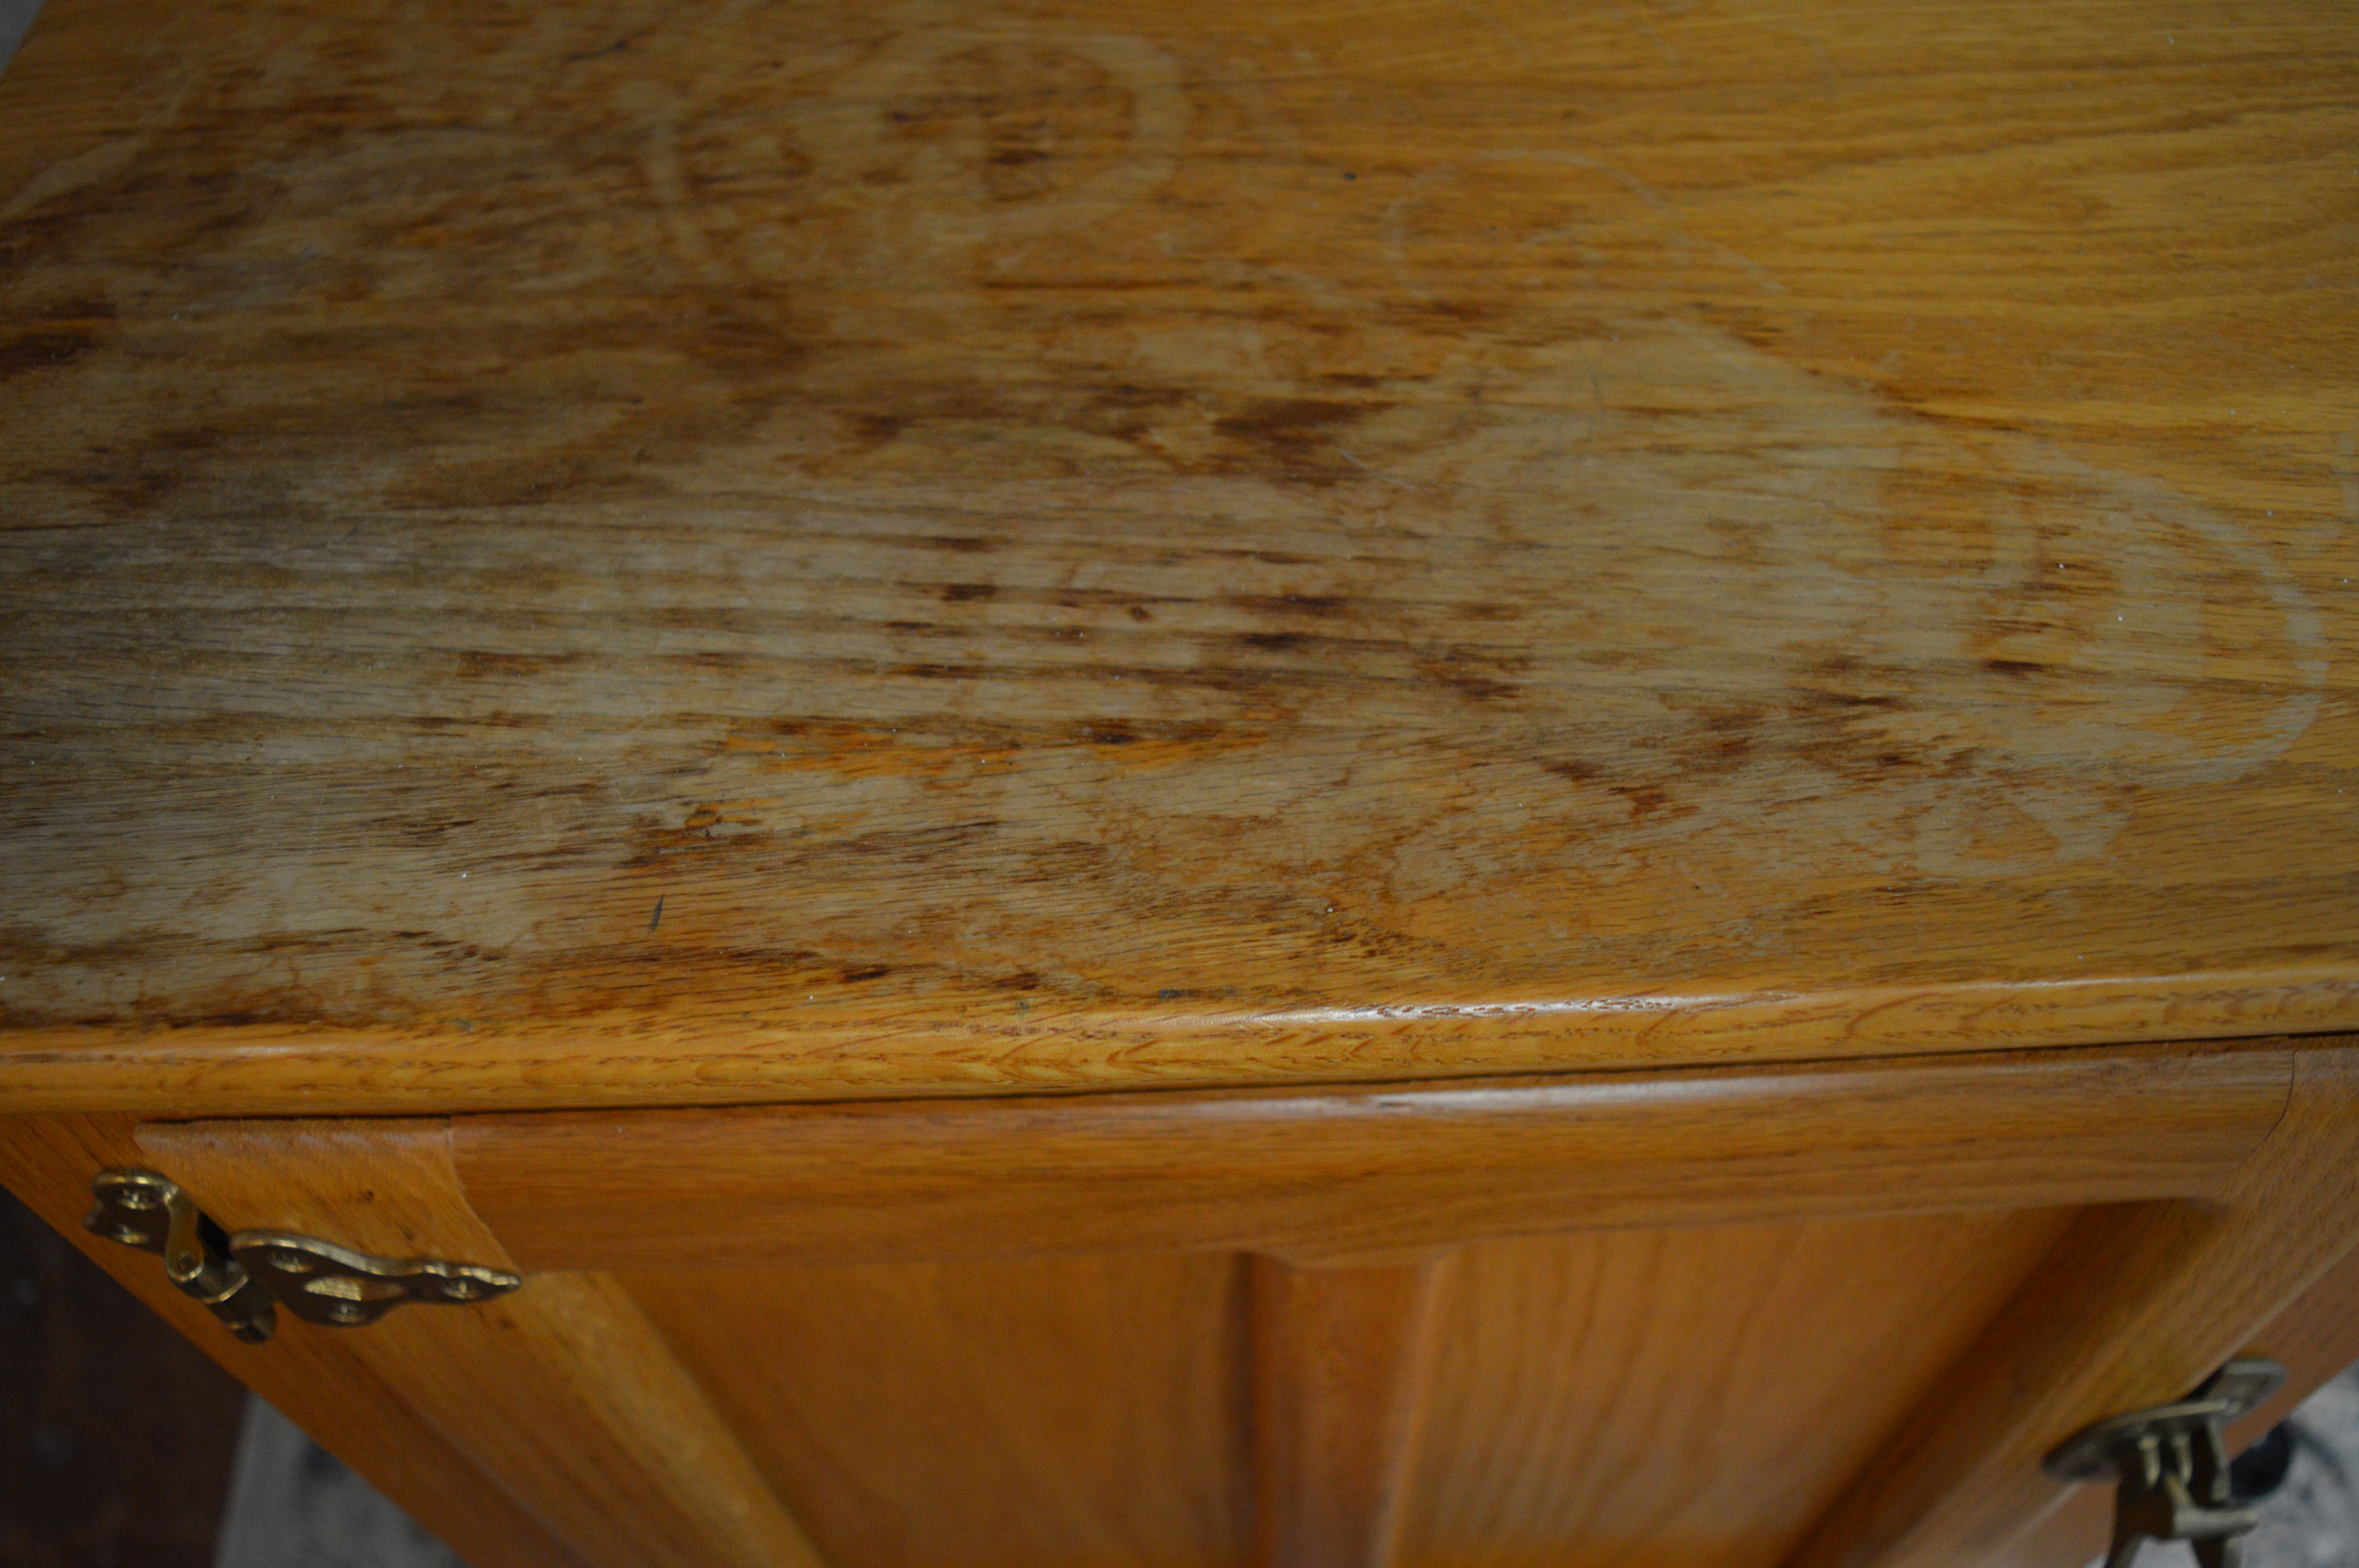
As usual, we cleaned the piece down first. Then we base-coated with Greek Blue, applying it thickly and essentially glopping it on for texture with our medium no. 12 Natural Round Brush. This brush helps create anything from barely-there texture to thick hills and valleys! We also waited for some paint to dry for 10-15 minutes and then brushed back and forth over it to pull up even more texture, and then let dry. We wanted the texture to hide some of the water damage to the varnish on the very top.


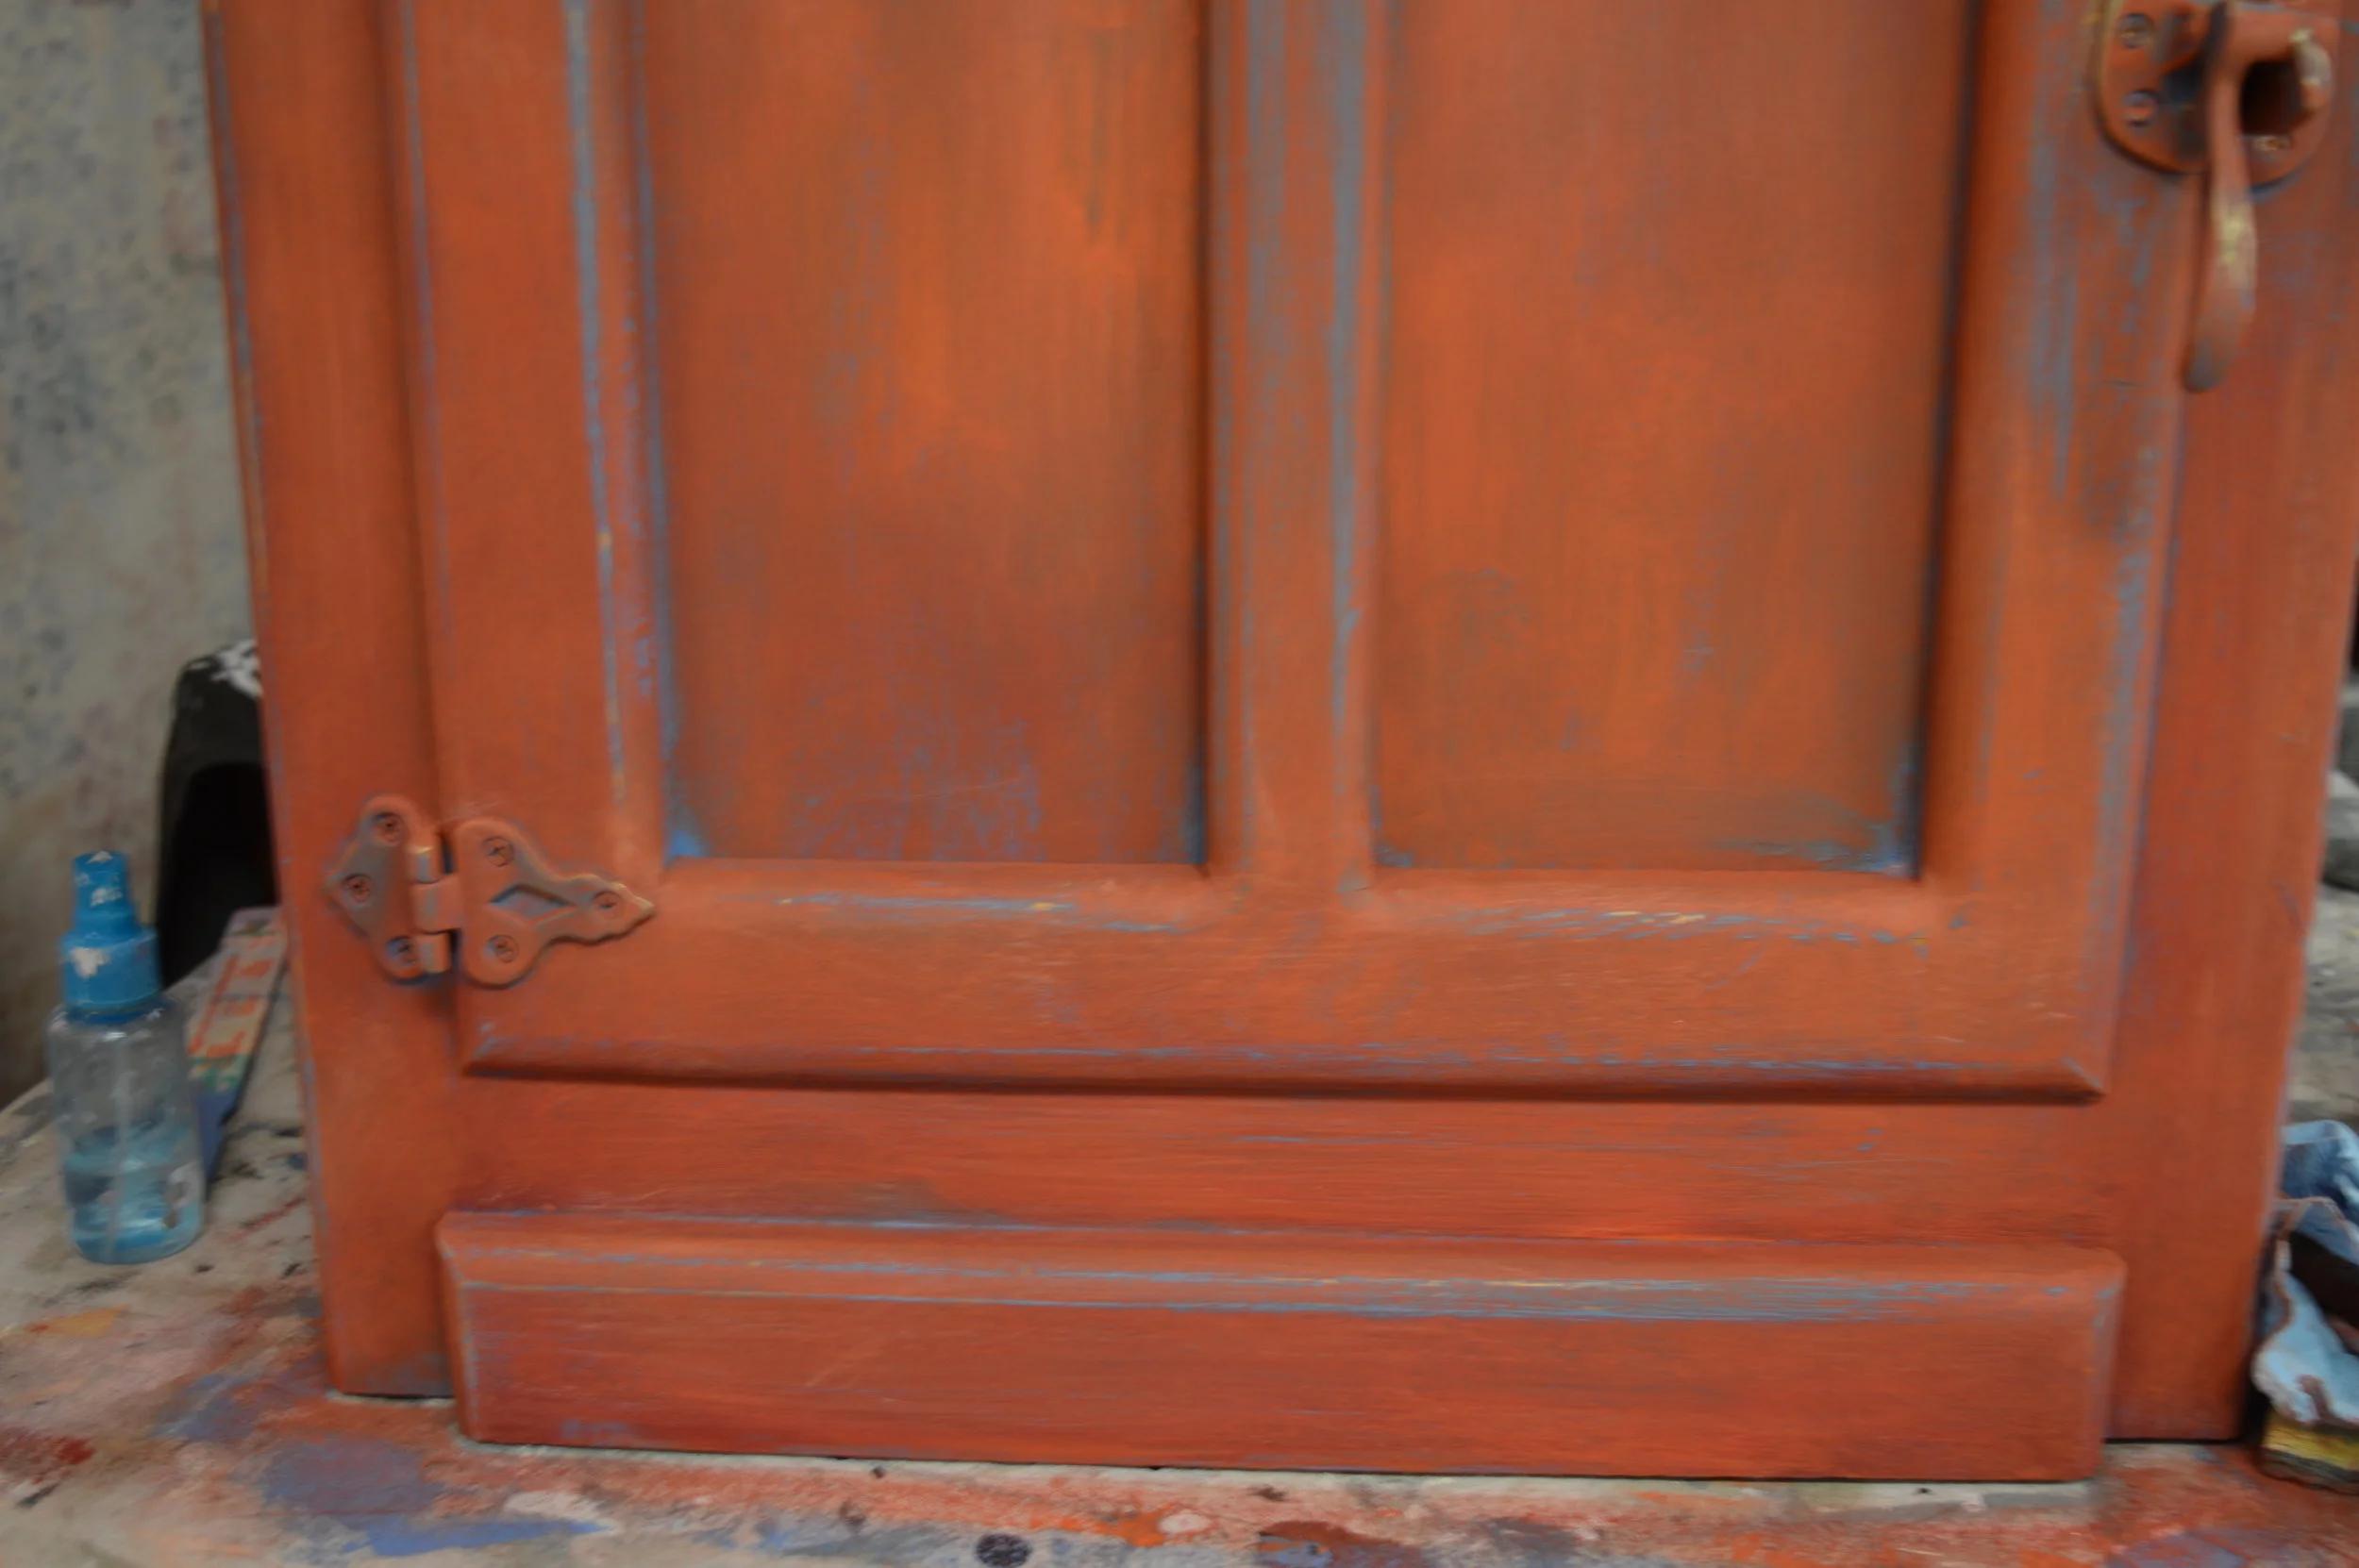
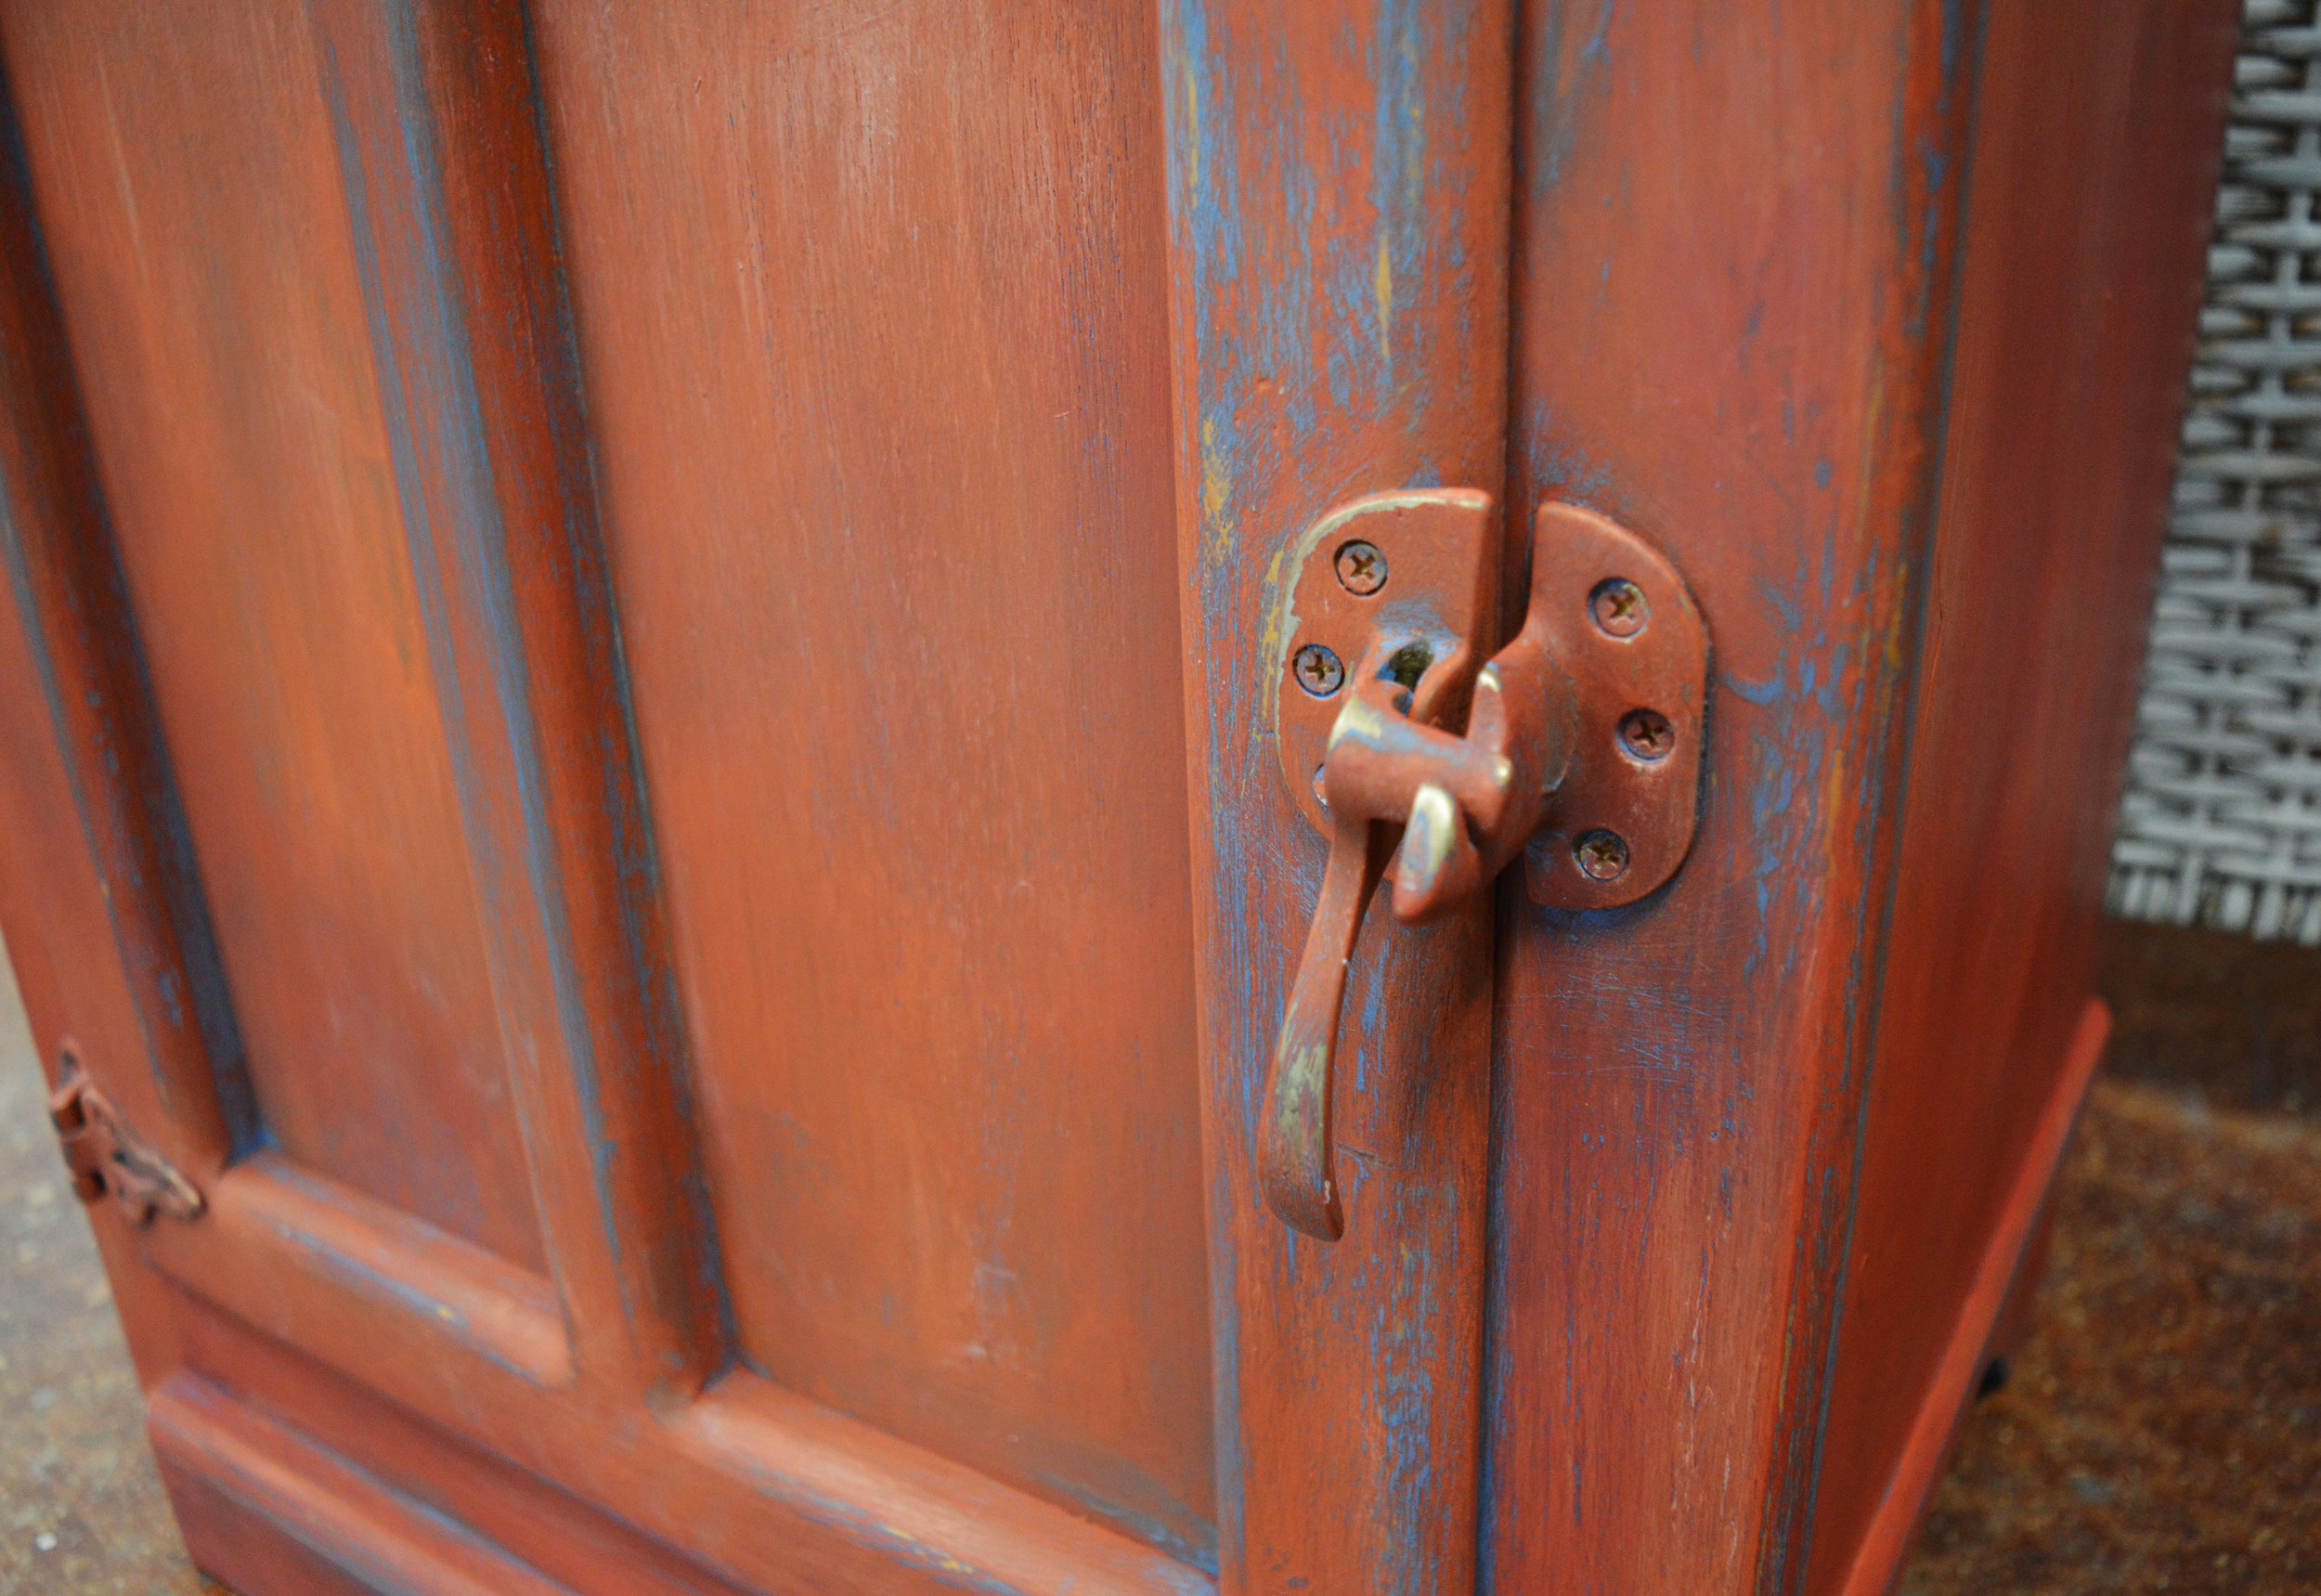
Barcelona Orange and Emperor's Silk were applied next simultaneously with two different brushes, blending together on the surface while wet. The more texture and visible layering, the better! We let some of the Greek Blue show through still in corners and strategic spots, and once the 'Persimmon' tone dried, some Old White was dry brushed over raised edges for accents. The goal was a look of an aged color patina. We even painted right over the hardware!
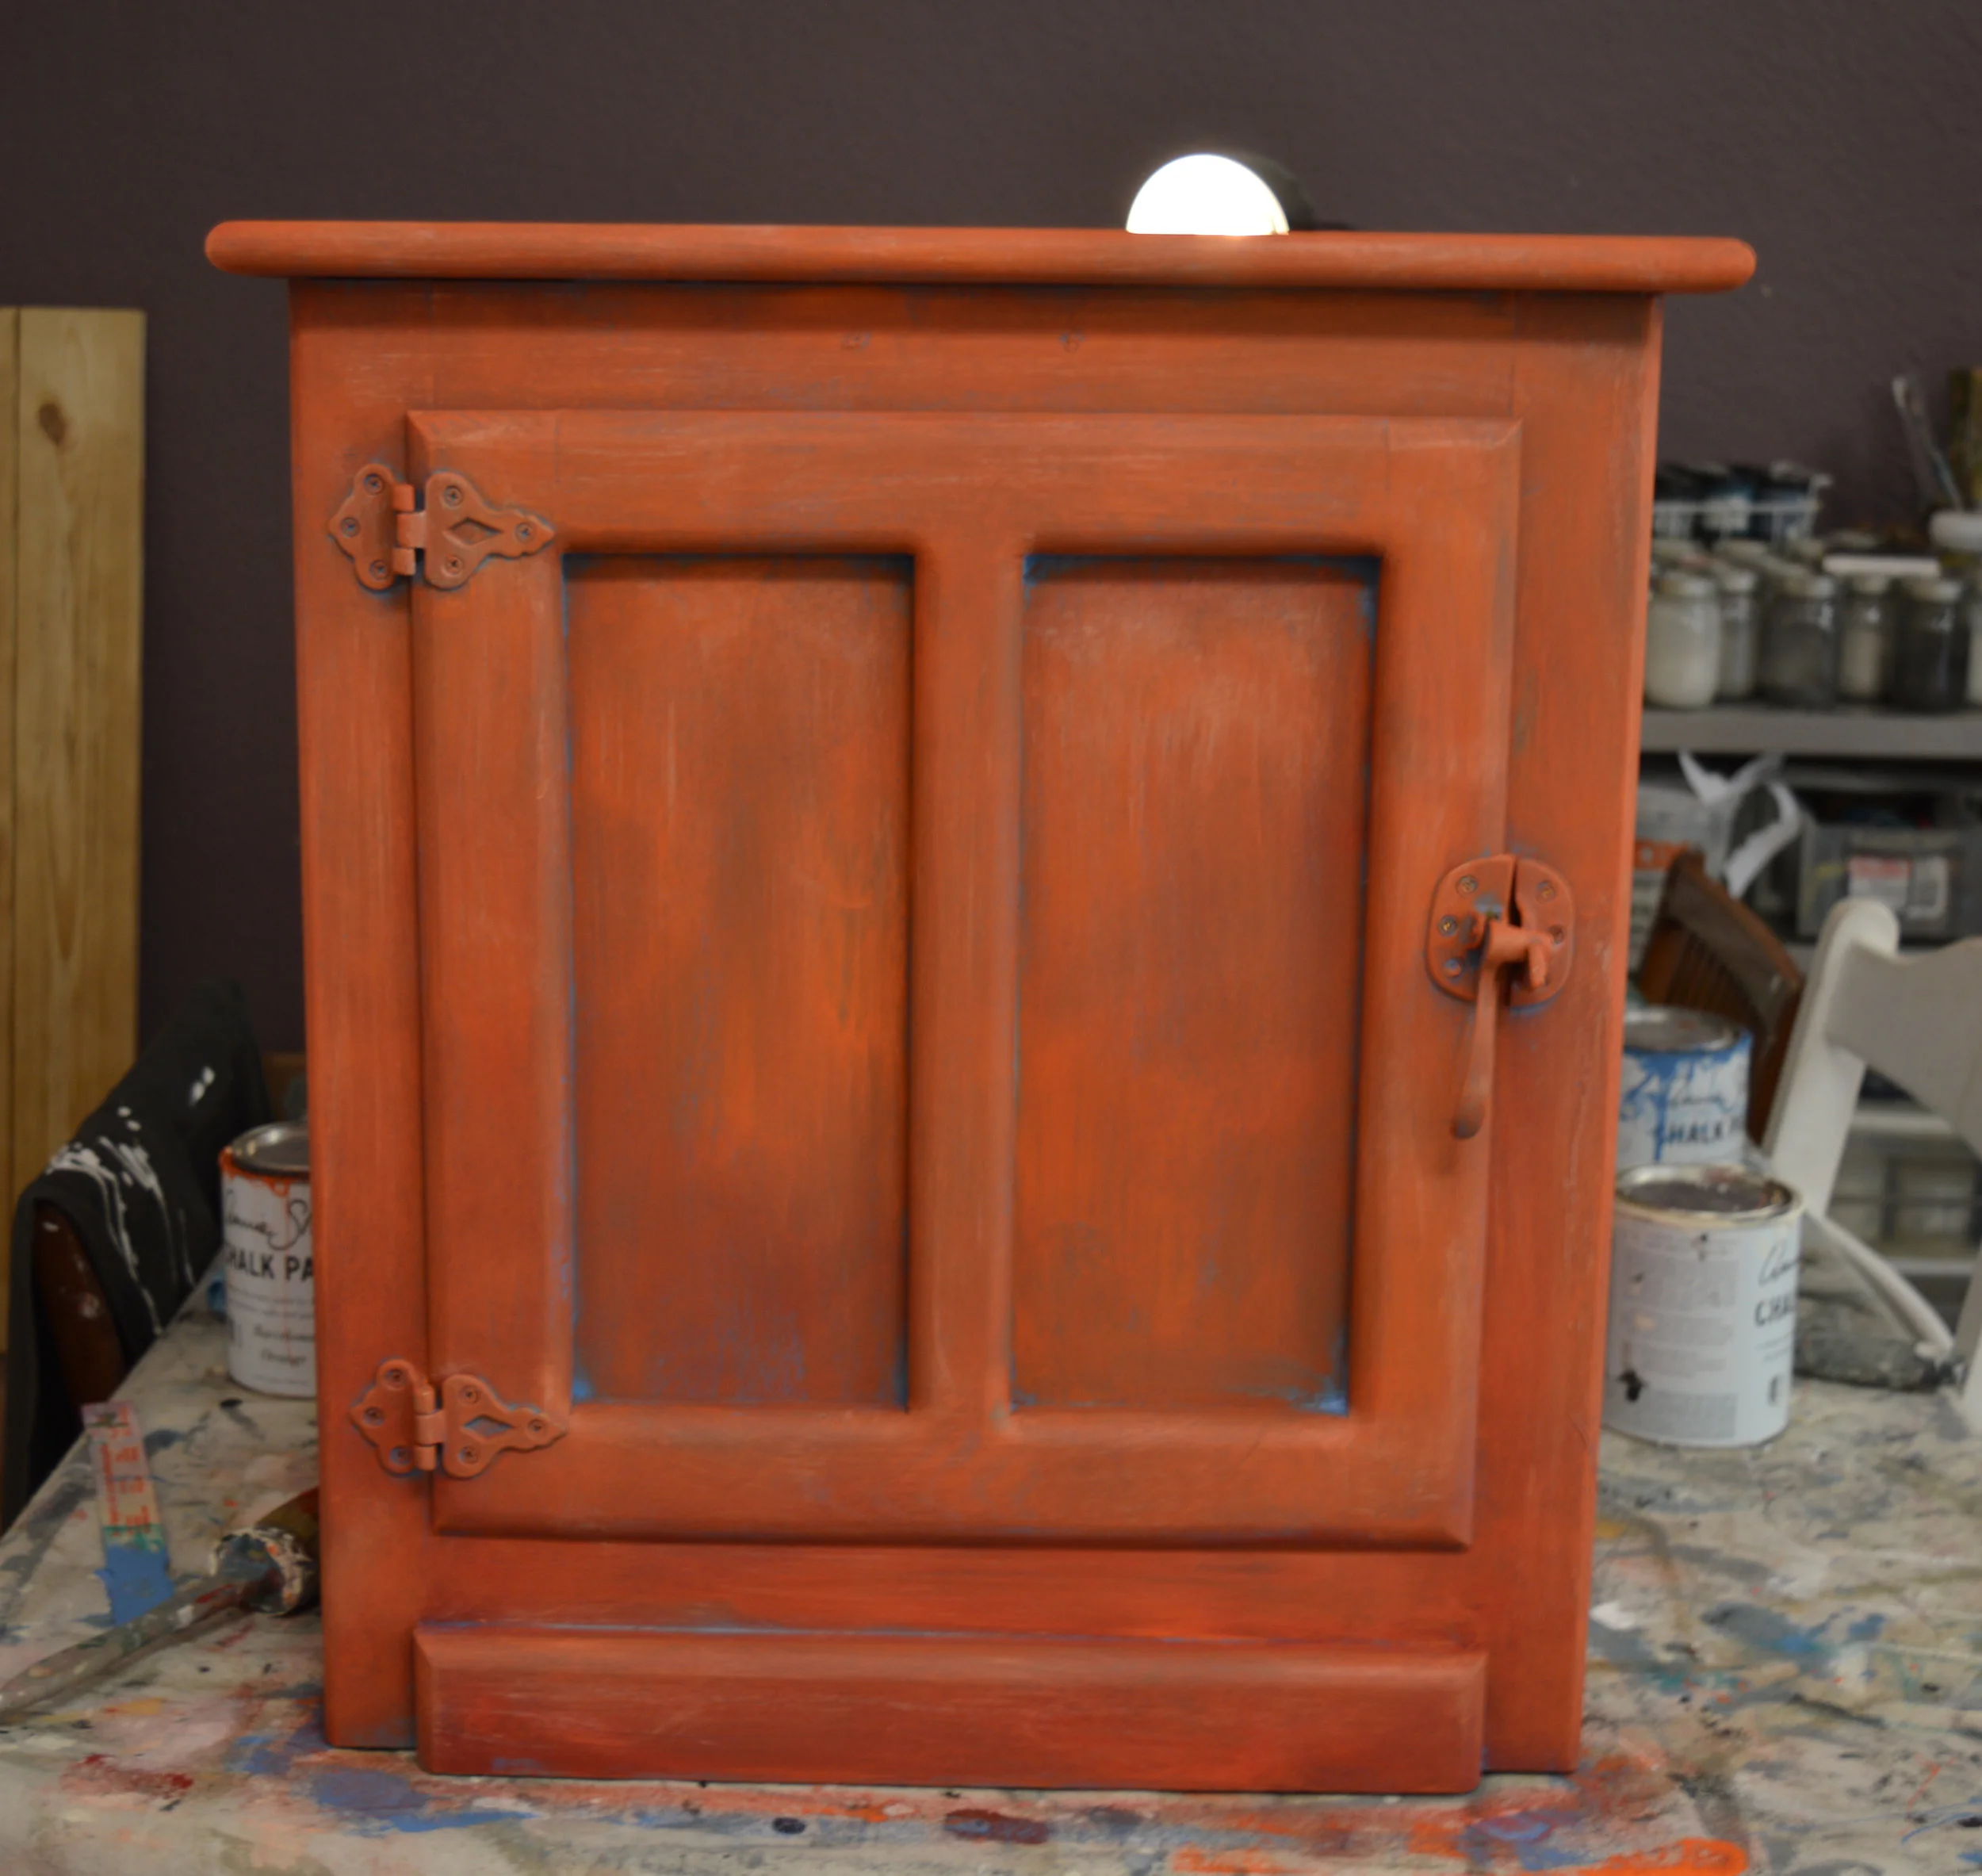


Then the distressing happened in a natural manner on edges and raised areas that might have aged with the piece if it was truly old (see our previous blog on tips for distressing). We went a bit heavier in areas right along the front and near the handle. Both 100-grit sandpaper and dampened edge of scrubbing sponge were used. And then we applied Chalk Paint® Clear Wax to finish.


We're delighted with the results and might replicate them in our own home! For now though this little piece packs a punch, and is at the shop waiting for its new home. Stop by to see it in person!


Guest Blog Post- Sharon's Crackled Dining Table
Guest Blog Post by Sharon Munroe- how she transformed her dining table with Chalk Paint® and Soft Waxes, plus Crackle Tex by Artisan Enhancements®
Our friends and customers have been exploring different techniques over an array of projects. Recently we had one such experience shared with us by Sharon Munroe, who writes below about the transformation of her pine dining table with Chalk Paint® by Annie Sloan and Crackle Tex by Artisan Enhancements®. We're excited to share her guest blog post today!

Guest Blog by Sharon Munroe
On the last Sunday in June, my friend Morgan and I had a great experience learning new painting techniques with Katie, an artist and co-owner of Silk and Sage Design Studio, which opened in the Village Shopping Center this past spring. A painter myself in an earlier time, opting to take studio art instead of a sport in high school, I felt the urge to learn a new creative skill. Why not get back into painting and breathe new life into some old furniture? Morgan wasgame and Katie taught us how to use many of the products that are the staples of her studio. Morgan refinished a night table and I worked on a desk chair.
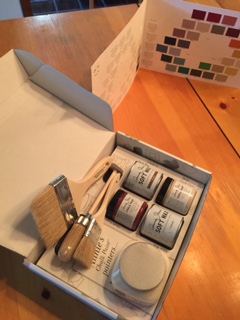
With some new skills and confidence from our hands-on studio session, I went back to see Katie for my next project, a more ambitious one that I would do on my own. With the Fourth of July holiday approaching, I would have more time to take on a project plus I knew Katie would be available if I needed anything. (Silk and Sage Design Studio is open both on Saturdays and Sundays.) Katie armed me with paints, brushes and details on how to paint the table on my own.
My project was a 25-year-old, well-worn pine dining table that would receive a brief sanding, followed by Chalk Paint® by Annie Sloan, followed by Crackle Tex by Artisan Enhancements®, and more Chalk Paint®. The Broyhill pine wood furniture bought in 1992 in New Jersey at a store with a dubious name, Unclaimed Freight, has lived a good life since leaving New Jersey, in California for a few years and in my Austin home’s dining room since 1998.
In recent years the table has been well used by my three young children who spill milk and occasionally nick it up with silverware. Last year, some lovely green placemats, a gift from Cambodia, graced the table. During one of the frequent milk-spilling incidents, we learned that those placemats are not colorfast. The table turned green, requiring permanent use of a table cloth. Now it was a prime candidate for a new paint job.
The table sits in a dining room where the decor is decidedly Americana. Wallpaper with a crackle-like finish adorns the bottom of the room, a green checked pattern dominates the top two-thirds of the walls and a border with a New England seaside scene in between. The decor evokes the style of the late Charles Wysocki, an artist who exclusively painted scenes of Americana.
Here are the Steps I Took to Make the Crackle Finish on a Wood Dining Table in a Weekend:
1. Friday night, I cleared the dinner table and took out a handheld sander. I lightly sanded the spots with the fork marks, the green dye from the placemats and a few other rough spots.
2. Next, I wiped down the entire table with a soft rag and followed it with dry rag. (If the sander and rag would not have been enough, I was prepared to use a little Krud Kutter. This brand has many products to help prepare and cleanup painted surfaces.)
3. Then I applied my first coat of Chalk Paint® in a color called Old Ochre, which is in the beige family, letting it dry for an hour.
4. Next, I applied a thick coat of Crackle Tex, which when it sets, acts as the agent to crackle the finish of both the paint coat above and below it. I let this dry overnight.
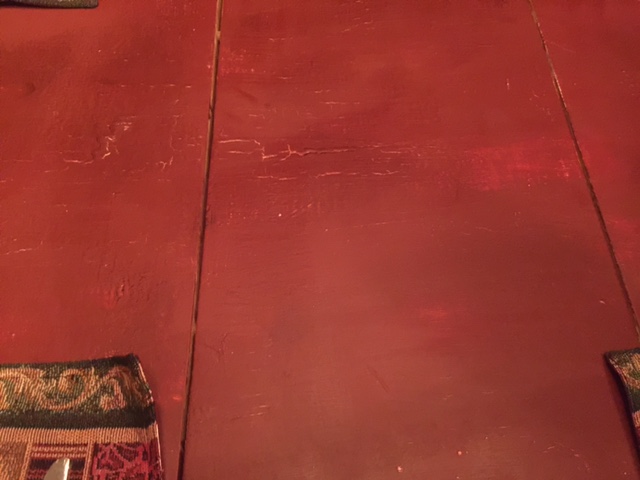
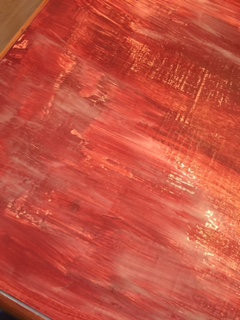
5. Then, Saturday morning I gave the table a thick coat of Primer Red. Primer Red actually looks like the color of an aging barn or farmhouse with its brown tones, perfect for a wood table in an Americana-style room.
6. To further activate the crackling, I sprayed a light spray of water on the entire surface and brushed it softly with a paint brush. I repeated this step three times on Saturday and early Sunday to get more deep, rich crackles and revealing the Old Ochre paint below.
7. Once the water and red paint had fully dried by Sunday afternoon, I used a soft pure bristle brush to apply a coat of Annie Sloan’s Clear Soft Wax to give the table an allover smooth surface. I wiped off any extra with a soft shop towel, similar to a paper towel but thicker and without any lint.
8. Next, I used a small amount of Annie Sloan’s Dark Soft Wax (looks brown) to give the table a bit of an aged look. This was used sparingly. Dark Soft Wax is by far my favorite product since it gives any painted surface a dull, aged look.


Proud of my handiwork and glad that the techniques worked out so well, my dining room table feels new and fresh. It’s ready for brunch on Independence Day. Now I am cooking up my next project, which will likely be a wood desk for my eight year old to use for school work. Back-to-school days will be here before we know it.