Inside the Tool Box: Folding Your Sandpaper (mini-post)
This little step will make your sanding easier...
We have all used sandpaper. And we all know how frustrating it can be when we wear it down too soon and waste it. I'll show you a nifty little trick passed down to me on how to fold it properly and preserve it as long as possible!
This is a favorite of mine because it can be used wet or dry (some techniques do require a wet-sanding process). It's super gritty and durable- but none of that matters if the sandpaper rubs grit upon grit or you can't hold it well.
Take your sheet (it can also be cut down smaller to whatever size you need). You're going to fold it into thirds like this:
As you fold it into thirds, tuck each side underneath the other, so that the gritty side is only touching the smooth sandpaper backing. You never want gritty sides to rub up against each other, never never. The grit will rub down and not through use on your furniture.
Simple mini-post. Perhaps it is common sense but I hope it's helpful to at least one reader.
Distressing Your Furniture
dis·tress -- dəˈstres/
to give (furniture, leather, or clothing) simulated marks of age and wear.
"the manner in which leather jackets are industrially distressed"
Have you ever tried to make your furniture look aged? To say it's been a desired look in design for years is an understatement. People hunt furiously for antiques for a reason. However we can't all find (or afford) the best aged furniture with just the right amount of wear that still is structurally sound. So then, what do we do when we want our finishes to be the opposite of matte or modern?
Fake it til you make it! That's right- you can add wear and tear to your furniture and decor by speeding up the process. The key to having it look realistic is to make it purposeful, mimicking what would have naturally aged over time. In this post I will highlight what we can use to distress our pieces and how to do it well.
Which Paints Work?
Not all paints are equal when it comes to being your surface to distress. Water-based paints are best, like Milk Paint (your brand preference), or Annie Sloan Chalk Paint®. This is because their compositions are more receptive to changes to the surface prior to sealing with wax. Also they can easily be evened out if the distressed areas become rough, and very forgiving and easy to touch up if you regret any of the areas you distressed (you can spot-treat these paints prior to sealing as much as you want without it being noticeable). Oil-based paints can work well too, however if you make a mistake during the distressing process often times you must repaint the entire section you are working on. Latex is usually impossible to distress, because its surface consistency and durability rely on zero breaks to the surface. When you chip or scrape away at the surface, especially edges, your paint becomes susceptible to peeling off. So save your latex paints for other projects.
You remember this lovely little dresser that we detailed in our 'Before-and-After' post? We distressed the edges and highlighted that less is more when it comes to faking the aging process. We don't want a piece to look like we took a belt sander to it. So what do we use?
You'll Need:
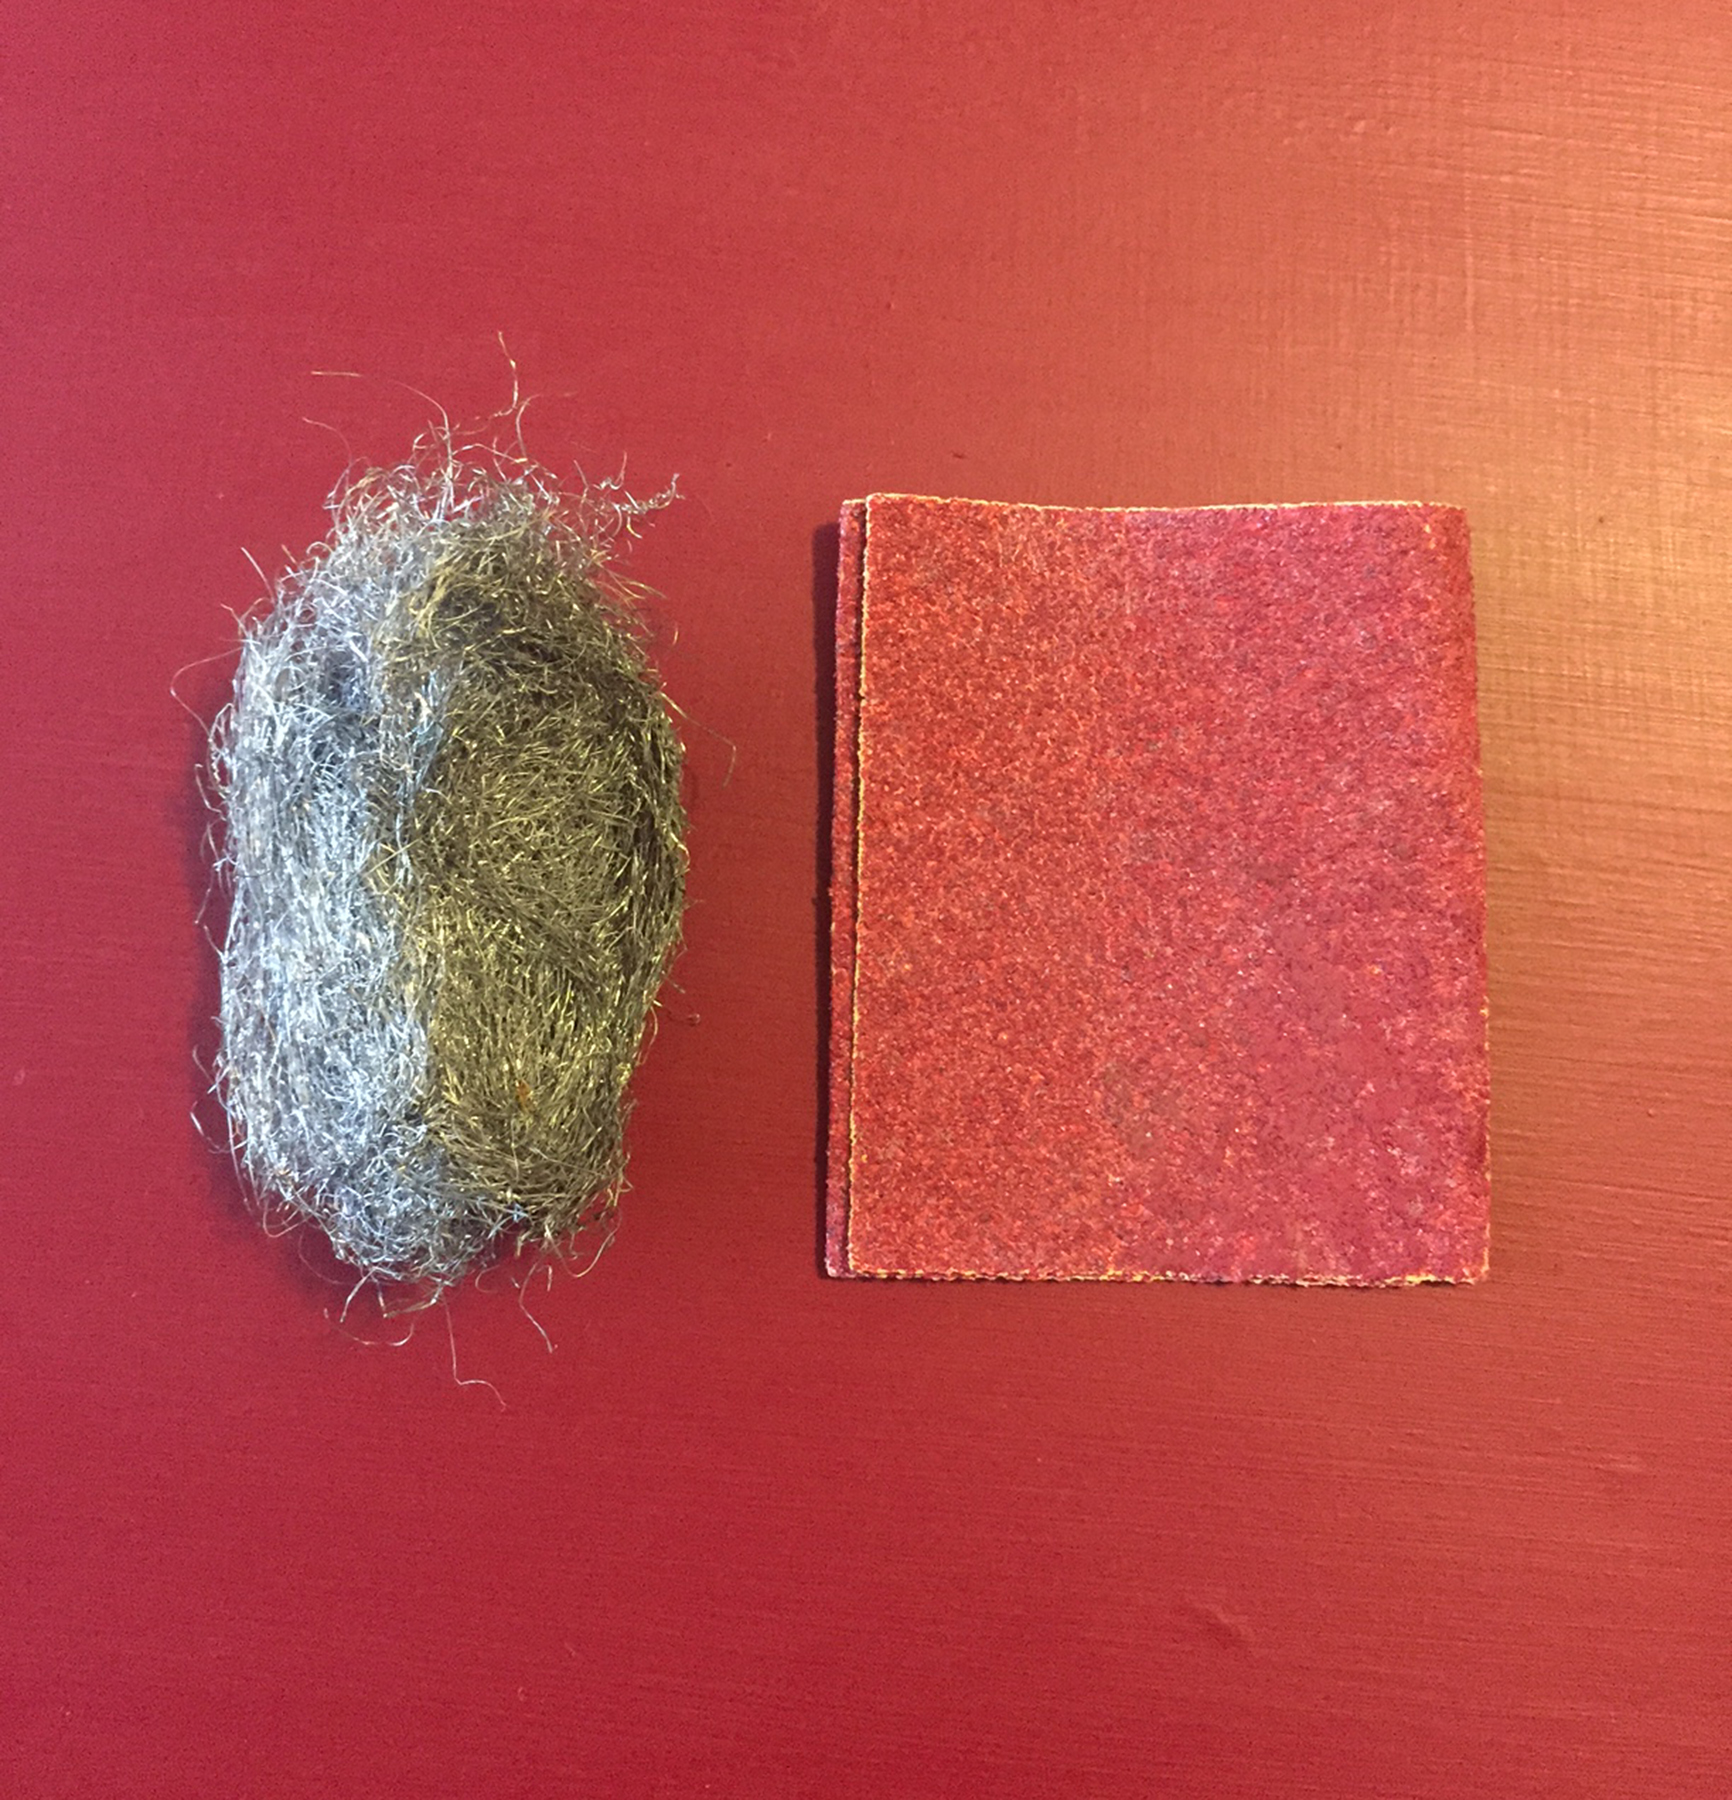
- medium-high grit sandpaper (see my mini-post on 'How to Fold Sandpaper')
- high grit steel wool
- chains, keys, or any other random objects that can alter the paint surface
Prior to this you may want to do visual research. Go out and explore local antique shops or Pinterest- what do aged pieces look like? Where does age show? To begin, the paint surface MUST be dry. Most water-based paints will dry in a few hours at most. Oil-based paints may have a cure time in addition to dry time, please check your recommendations from the manufacturer! The most popular tools for distressing are sandpaper and steel wool with tougher grits*. Approach the areas of the piece that would have gotten the most use and contact if it were one hundred years old or older. The top and bottom edges would have been touched a lot by hands, clothes, and shoes. Drawers and around handles/pulls would also have gotten a lot of traffic. Typically the flattest surfaces wouldn't show much age, like the sides of a dresser for example. An exception to this could be the very top surface of a table which would have had dishes, cups, or other decor items and usage. Feel free to sketch or plan this out (especially if your piece has been painted in oil-based paint).
*If you are doing a special two-layer distress technique (where an under layer of paint is one color and the top layer is a different color, which you want to distress in order to expose some of the color underneath) you will need a light-medium grit sandpaper or medium grit steel wool. This is because the high grit materials will immediately cut through to the wood surface under both layers of paint and you will lose the technique. Lighter grit tools will only pull off the topmost layer of paint and will expose the color underneath. Please review and research this technique fully before completing it.
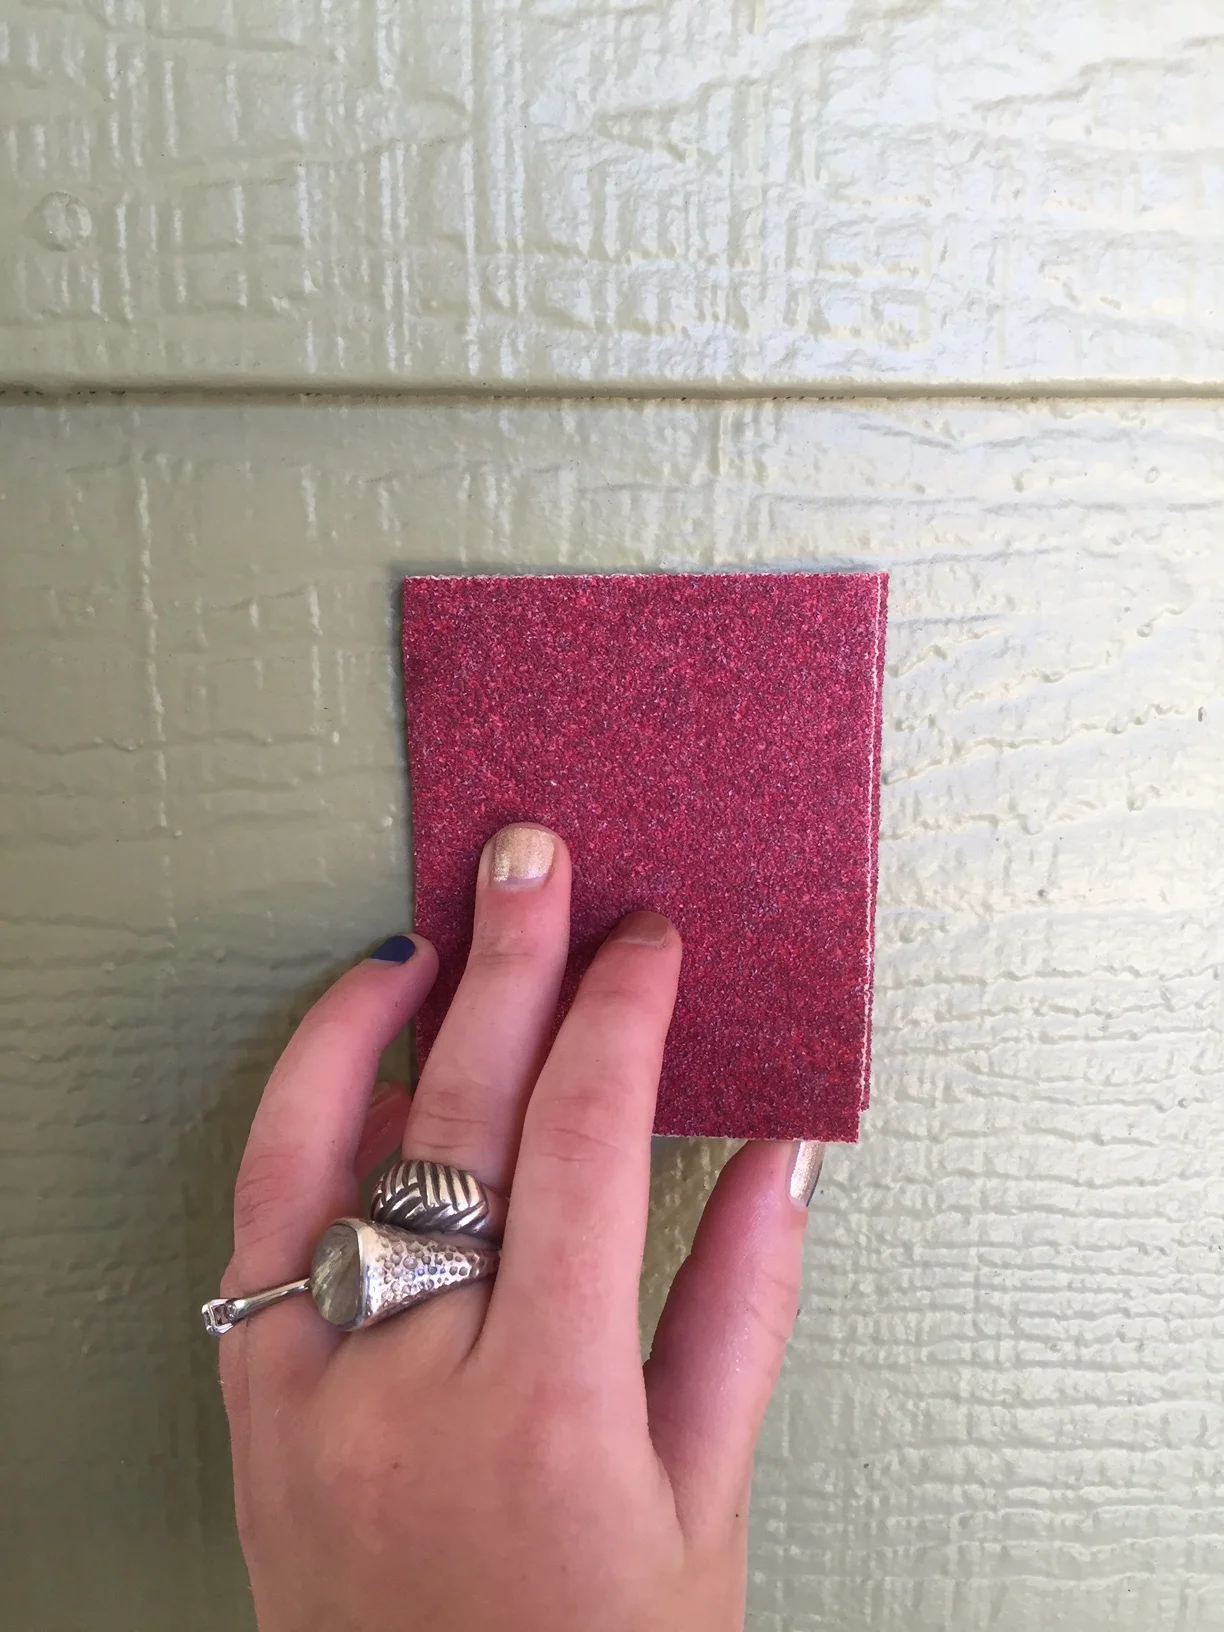
Here we are going at the edges one more time!
As you also remember I had already waxed this little Burgundy dresser. Annie Sloan's Clear Wax has a cure time of roughly 2-3 weeks depending on your humidity. With her paint you can easily distress before or after waxing. If you distress after waxing you must remember to re-wax the newly exposed areas. Doing so after waxing tends to cut down on dust created from scratching up the paint.
As you can see our little Burgundy dresser is more noticeably distressed. On a small piece like this, as I've mentioned before, I would be hesitant to distress any more than this because I want it to look natural. However you desired look is always up to you!
Chipping and crackling paint are also wonderful techniques that create an aged air about your piece. They can technically be associated with 'distressing,' however there are so many specifics to them alone that they should be addressed as their own blog post and topic. Please stay tuned for that!
Happy Painting.