
Introducing Some New #LocallyAustin Artists Featured at Our Shop
Highlighting #locallyAustin!

After a busy Spring and equally busy Summer, we’ve been delighted to take on some new local artists. If you’re not familiar with our Shop & Studio location, we feature many lovely gifts and finds for the home and lifestyle. Over 80% of what we offer is local to our region in Texas— whether locally-sourced vintage or made new from talented artists and makers! We’ve GOT to support our artist and maker community… as creators ourselves, we live and breath the importance of that and hope to pass that appreciation on to you!
Here are some of our newest artists to join our ranks:
Lisa Chow Art
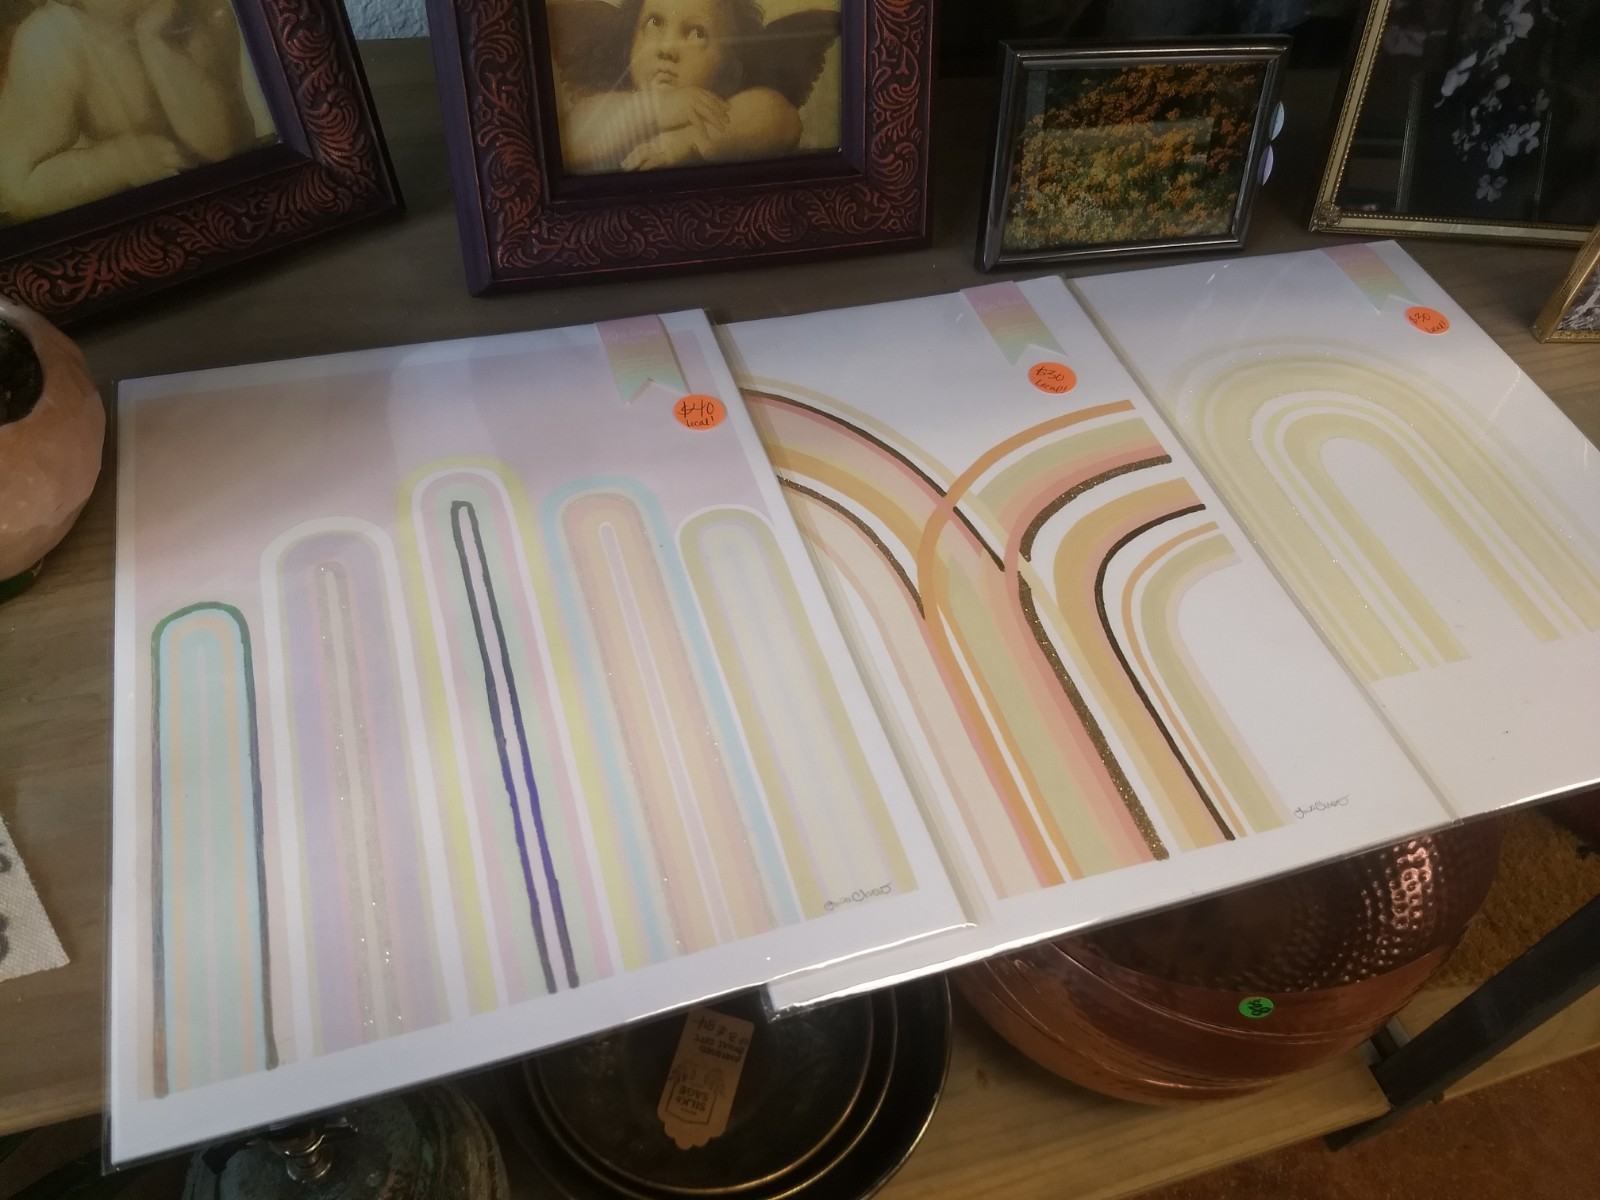
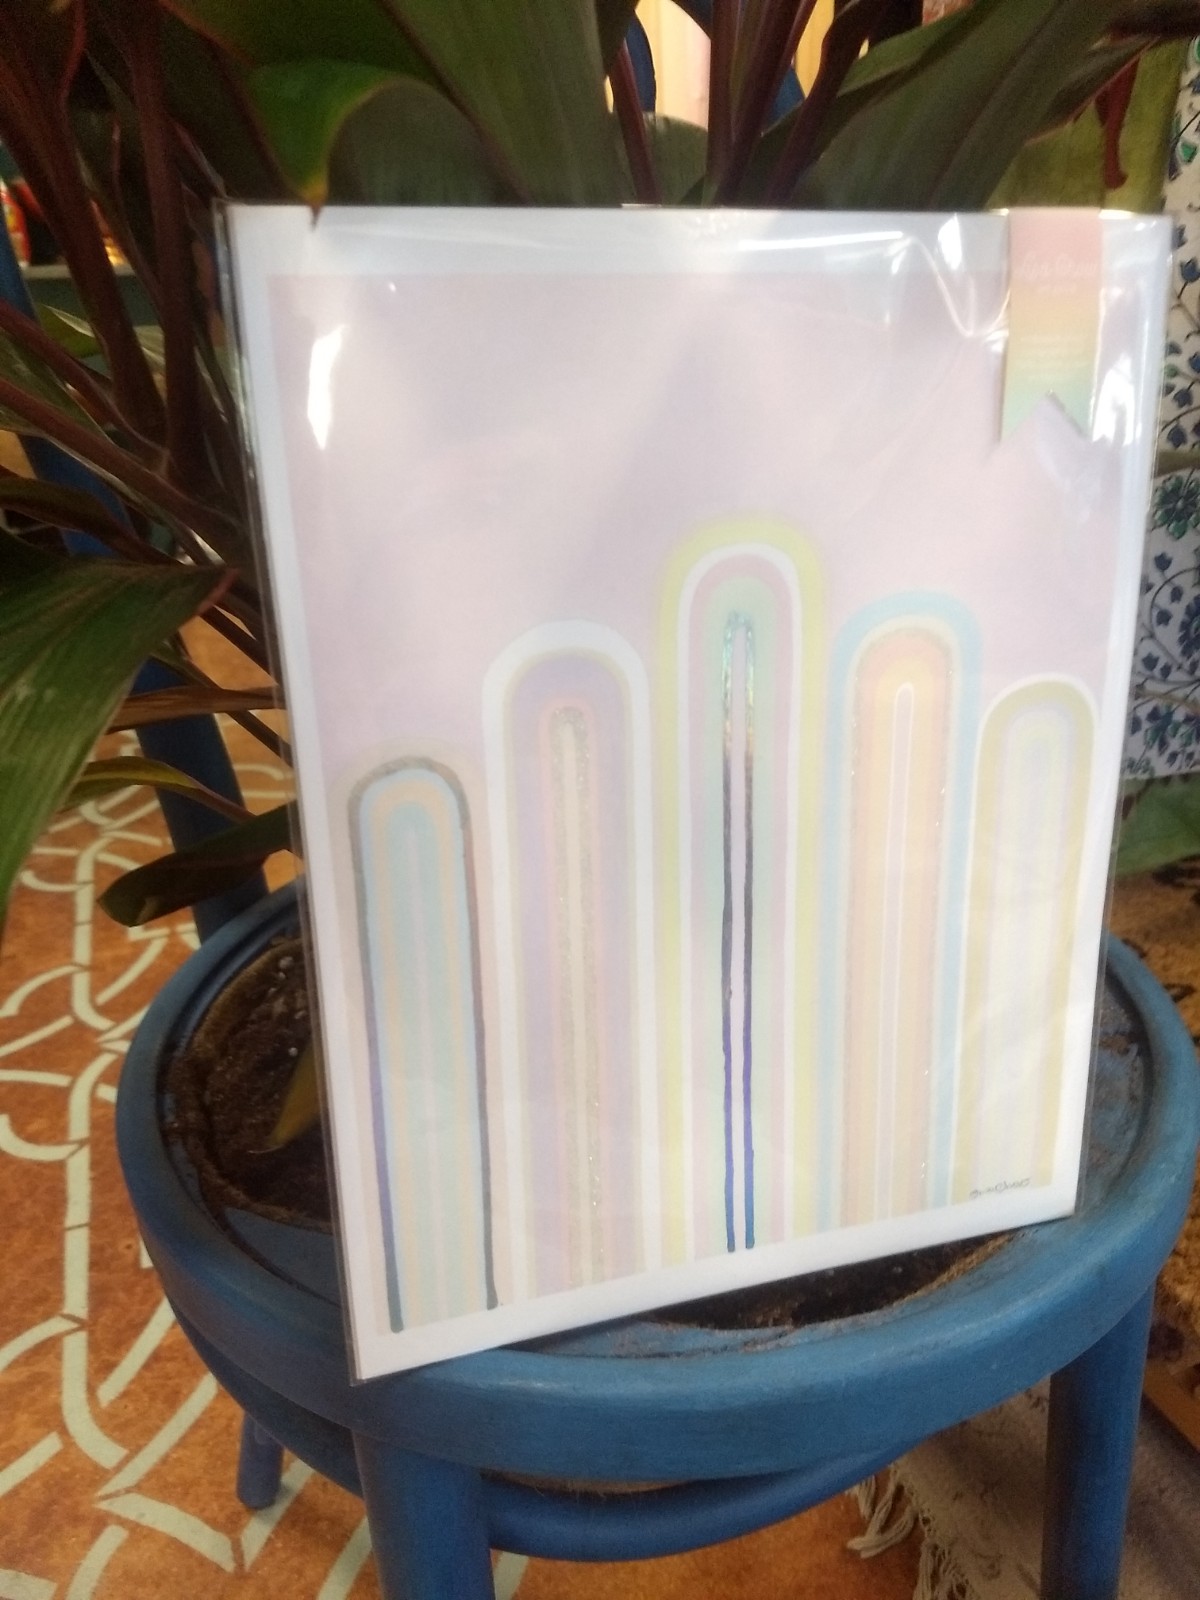
Hailing from Houston, Lisa creates whimsically-geometric prints and originals with pastels, soft shapes, and glitter. Lisa works with watercolor as the main base and then adds on other mediums, for a ‘minimal yet maximal’ effect.
Amanda Love- Love Studio Ceramics
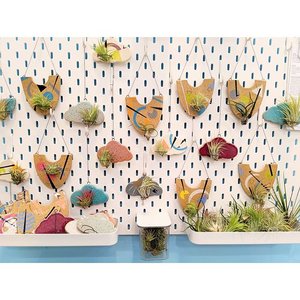
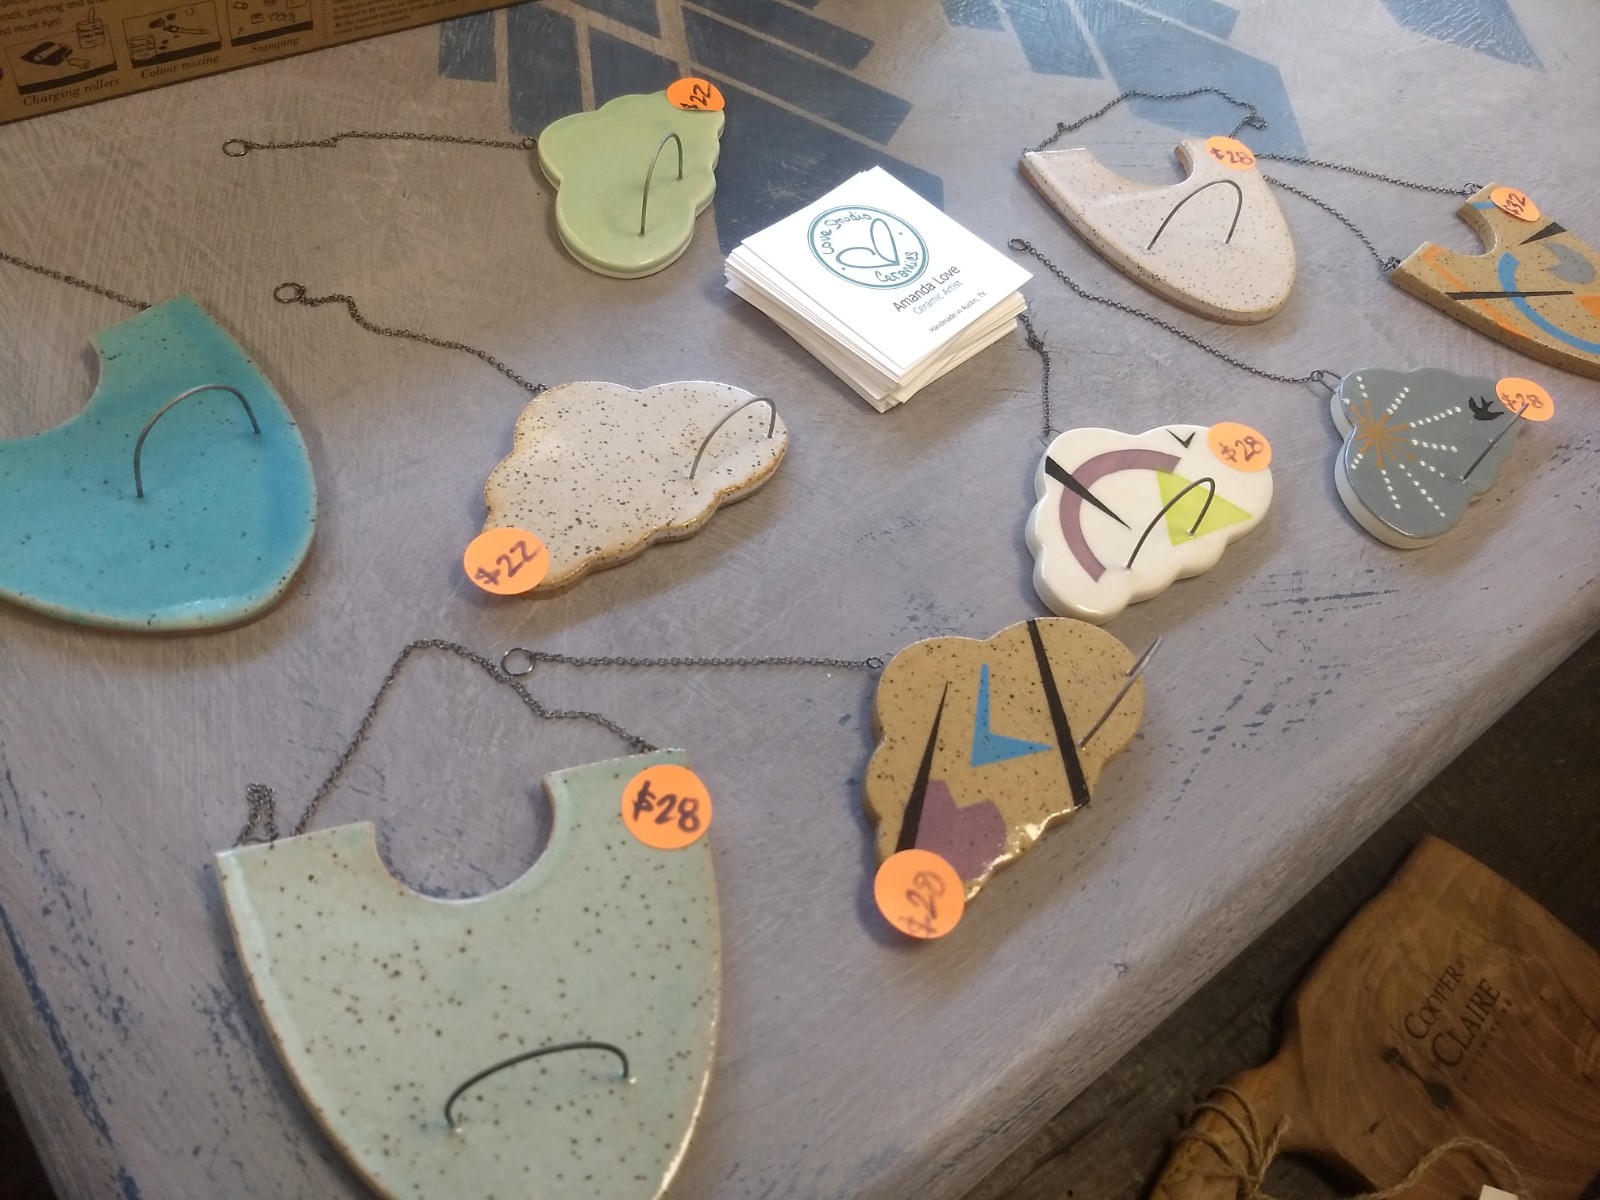
Amanda Love focuses on ‘micro-batch’ handmade goods for whimsy and everyday use, living here in Austin. While Amanda also creates goods like mugs, plates, and serving bowls, she also creates fabulous air-plant holders (pictured above), which we mainly feature right now! Look forward to even more goods from Love Studio soon!
Clif’s Woodworks
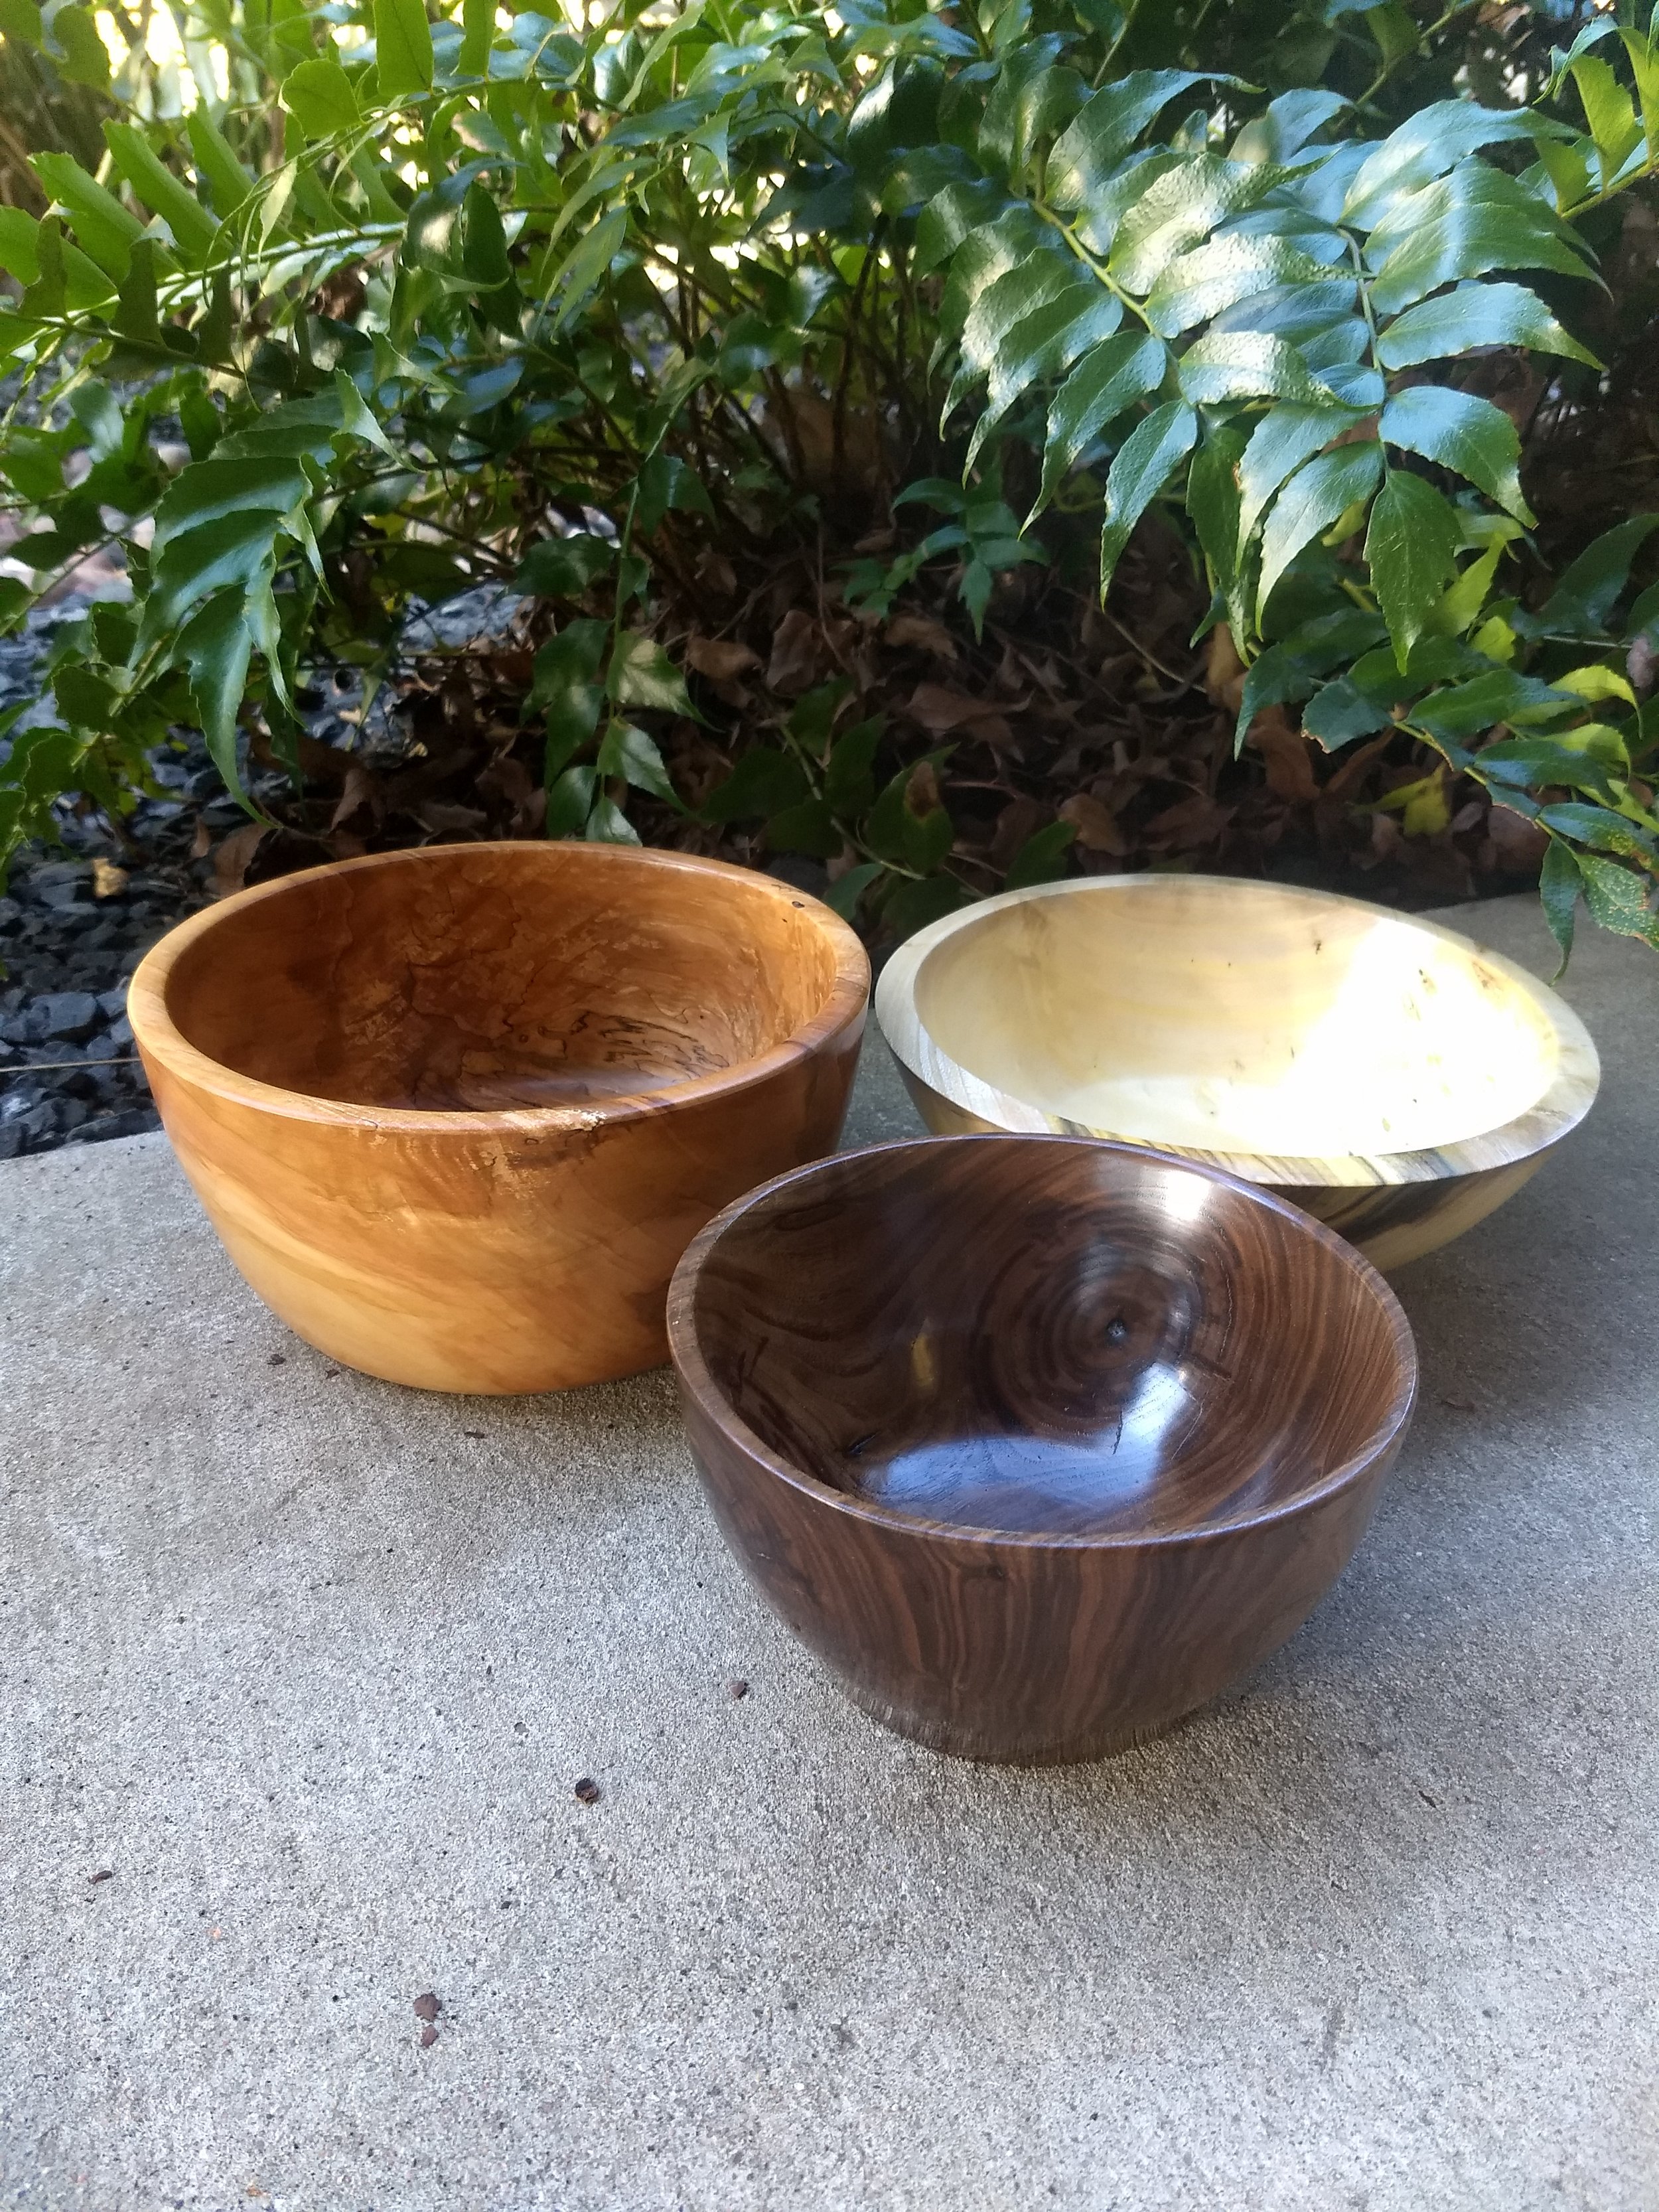
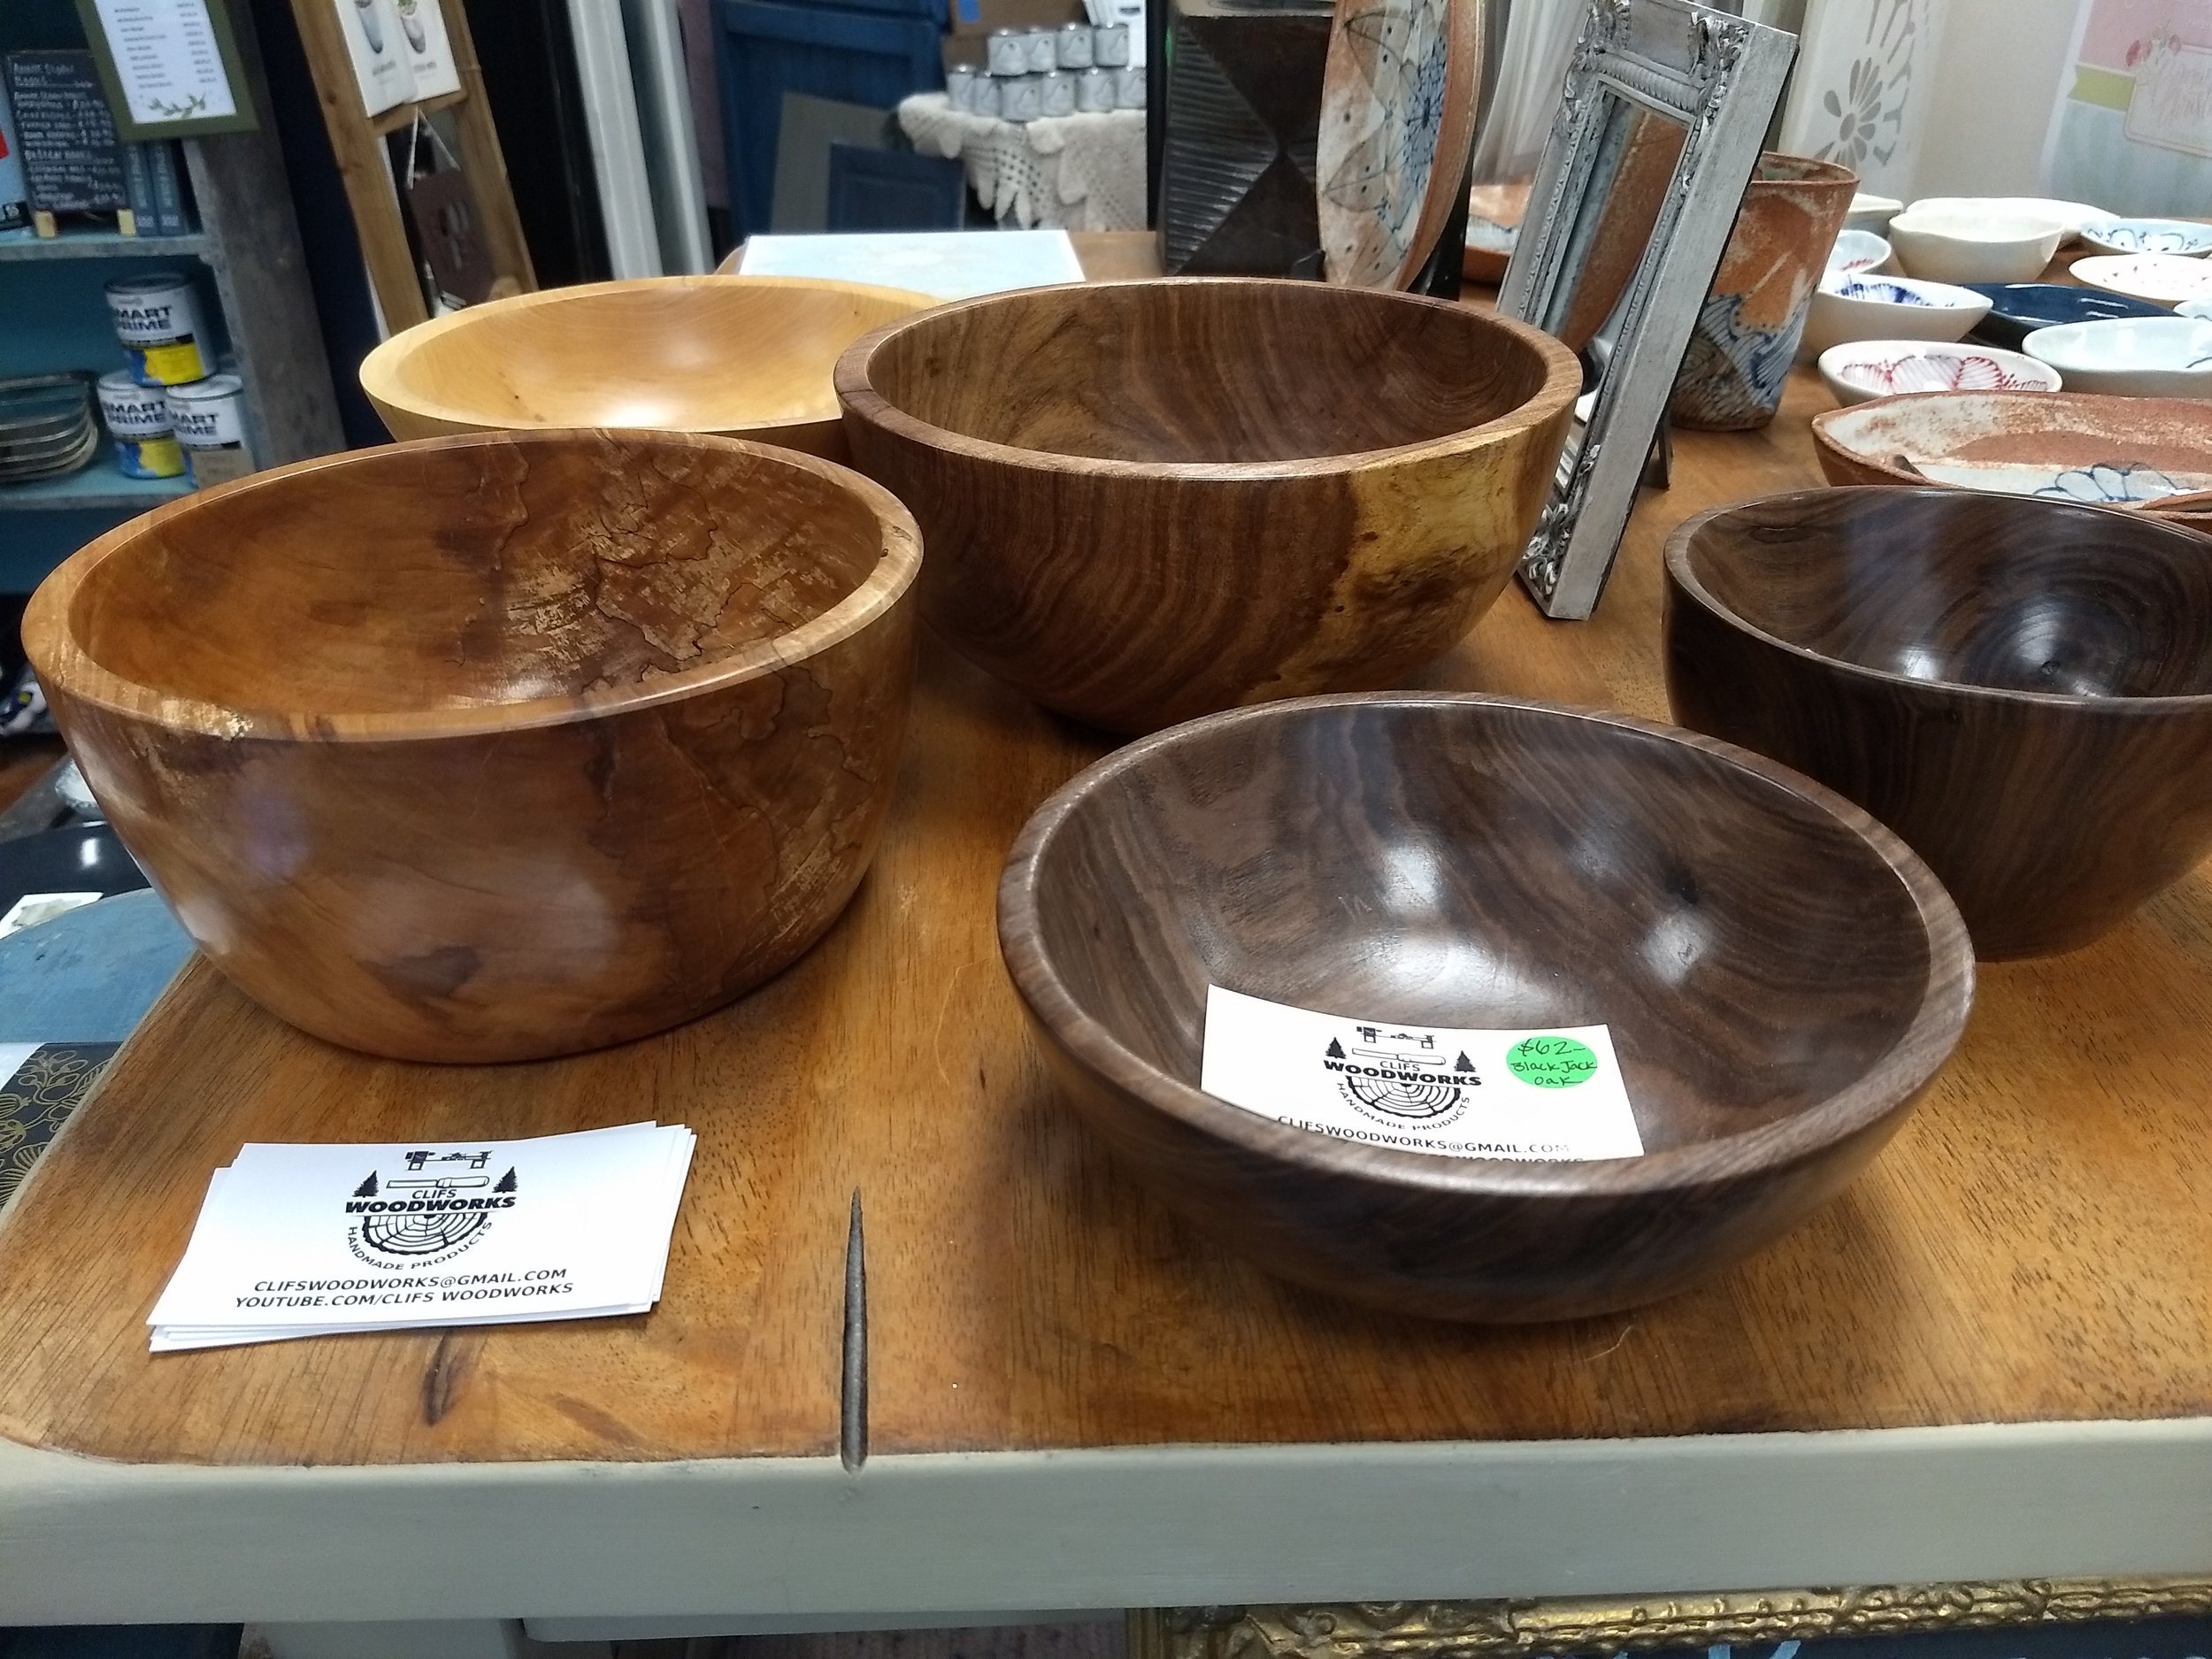
Clif Hisel, of San Antonio, takes each piece of salvaged wood that he finds with care— he only works with woods ethically sourced from natural falls or necessary cuts due to damage (ie; he doesn’t cut down trees for his craft). From there he creates one-of-a-kind bowls, from woods such as Black Jack Oak, Pecan, Mesquite, and even Pistachio! Wow, look at that grain…
Audrey Jahanian- Little Green Press

Little Green Press is Audrey Jahanian, located here in Austin! Audrey creates lovely prints from watercolors that are full of depth. She focuses on using only compostable and recyclable materials for her processes, which focus on mainly printmaking but also include bookbinding, mural work, and drawing. We feature a selection of her botanical and constellation prints in-store.
And there you have it. This doesn’t nearly cover the artists we already have been featuring, so please visit us for the full scope! xo

How to Apply Efex Flexible Mouldings to Furniture (To Be Painted Over)
How to apply Efex Flexible Moldings to Furniture, title says it all!

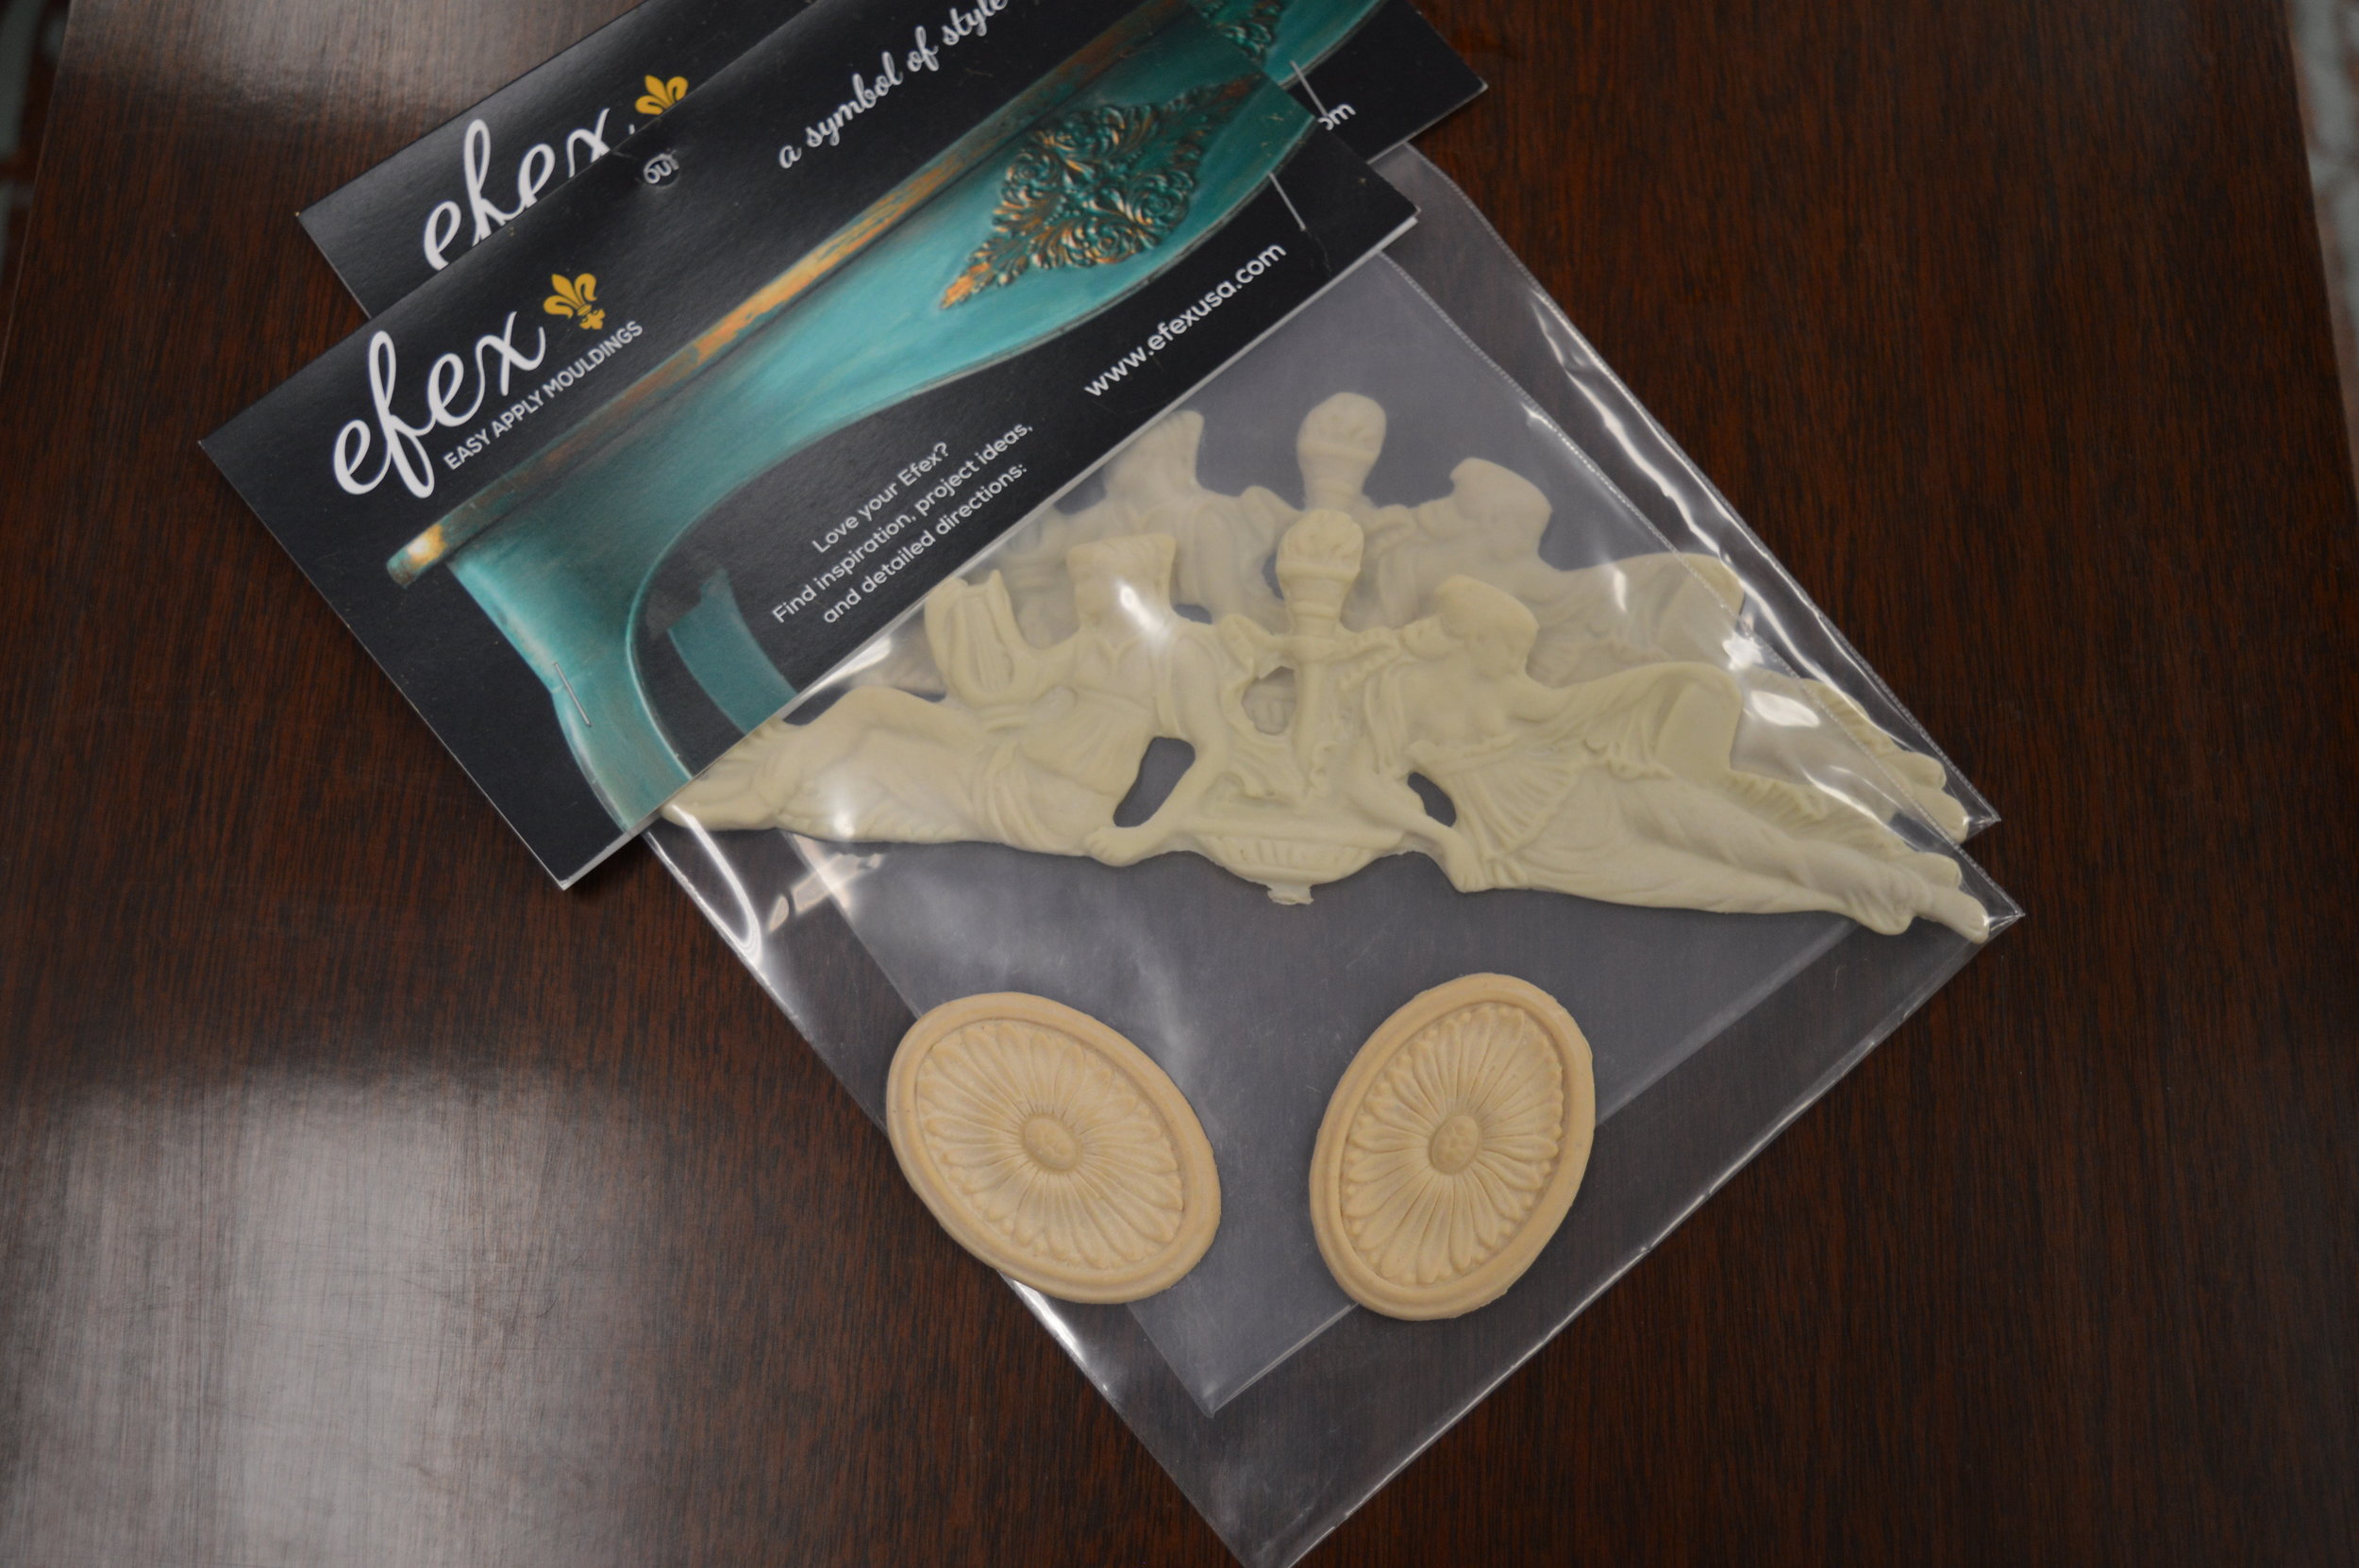
In the last couple of months you might know that we started to carry Efex Flexible Mouldings, which are downright ahh-mazing. They’re flexible, lightweight silicone mouldings that can be applied to furniture, decor, walls and architectural accents, and much more I’m sure. There aren’t many tutorials that we could find out there, so here we are, with great tips composed with a complete transformation of a furniture piece alongside!
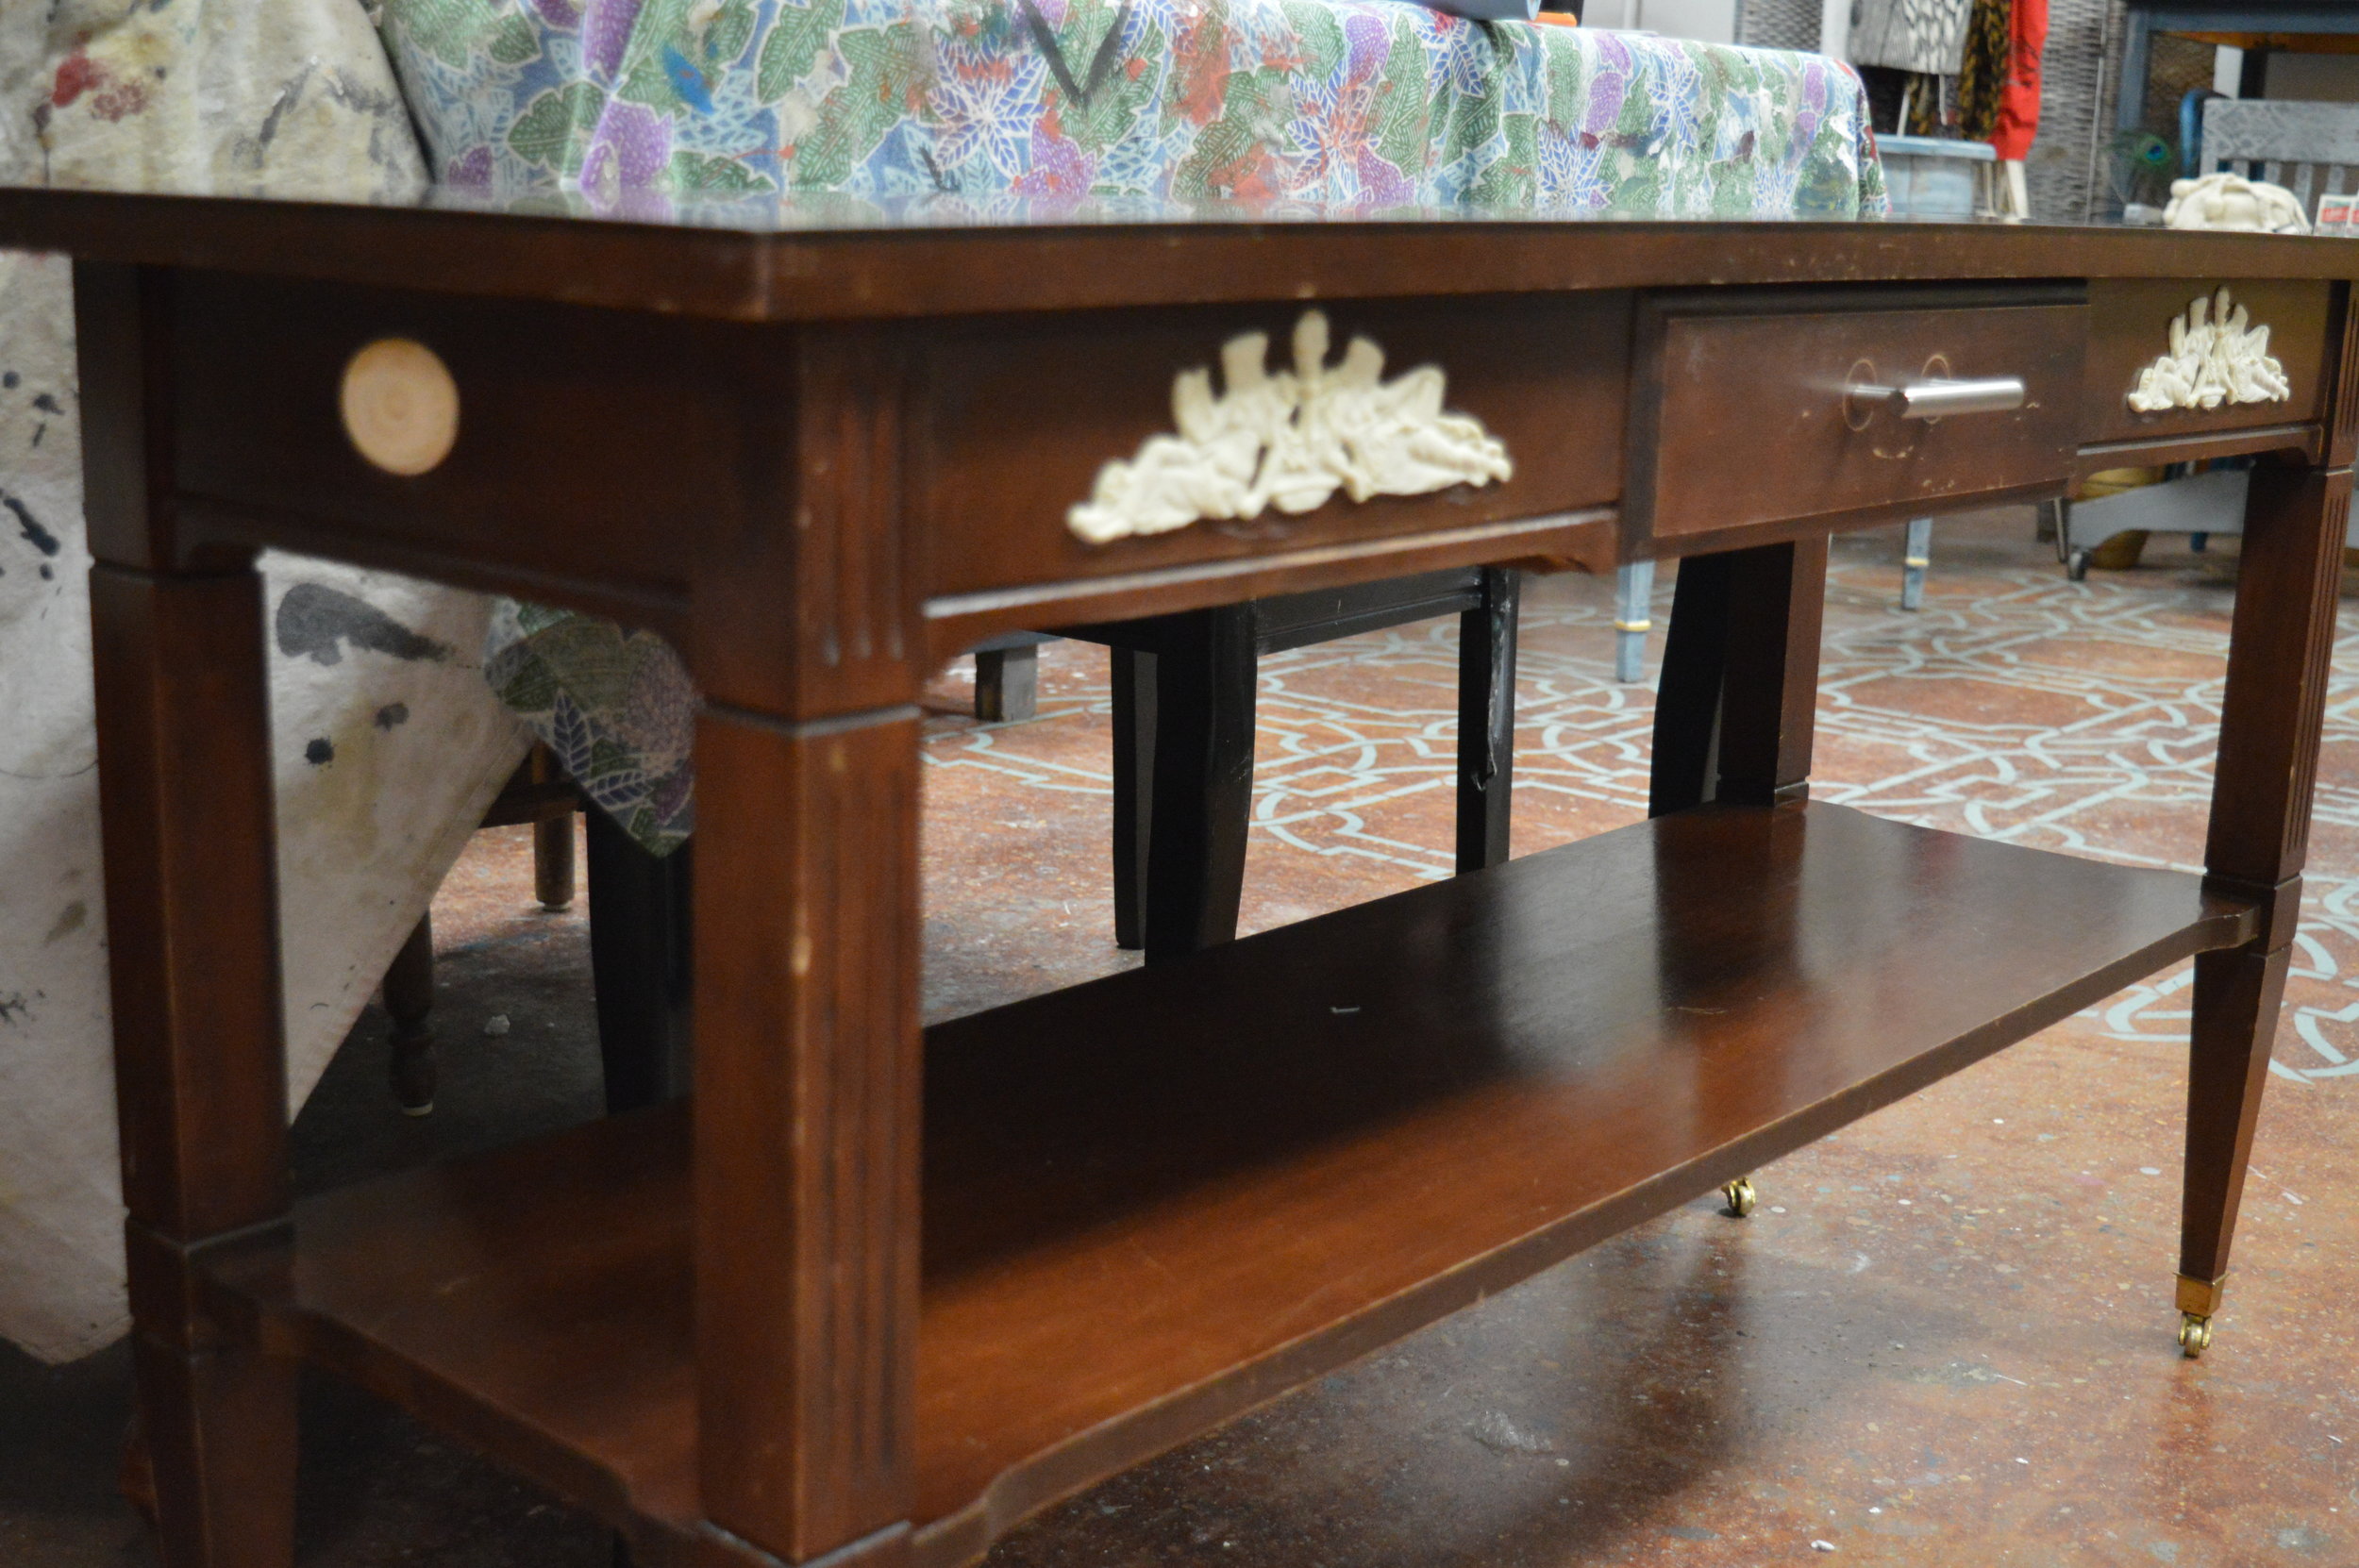
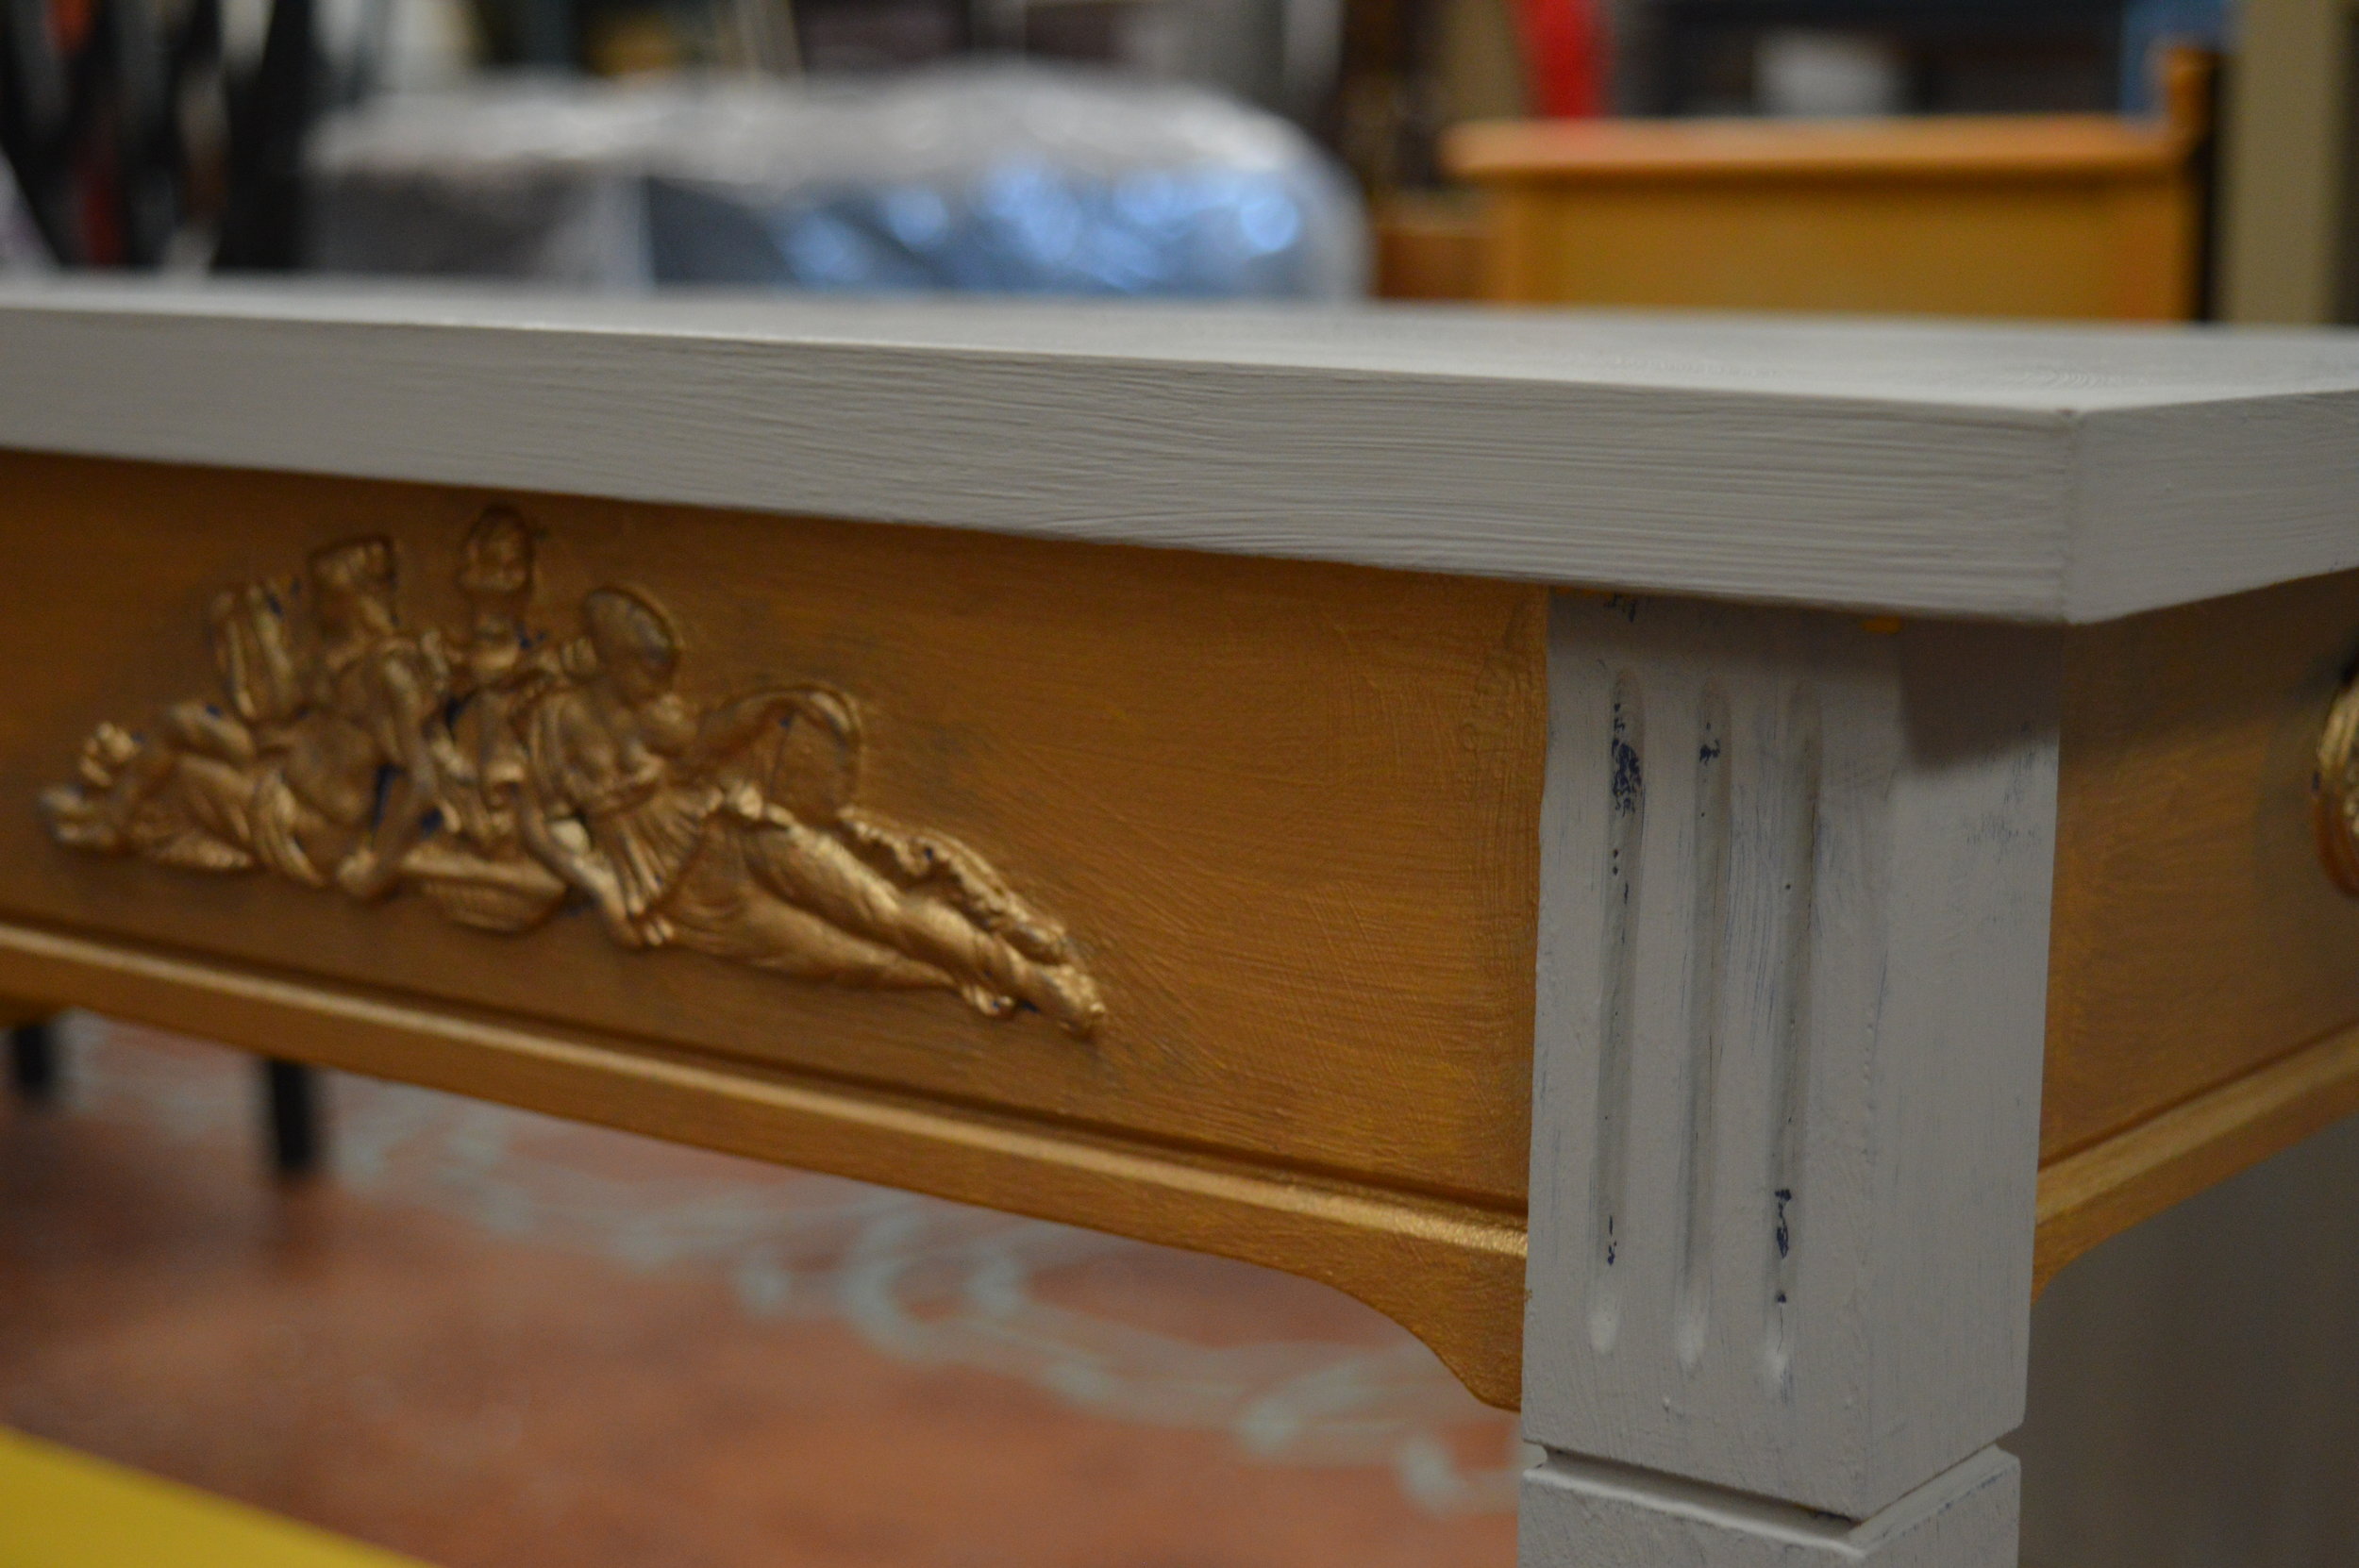
We started off with a quite traditional, rather boring piece:
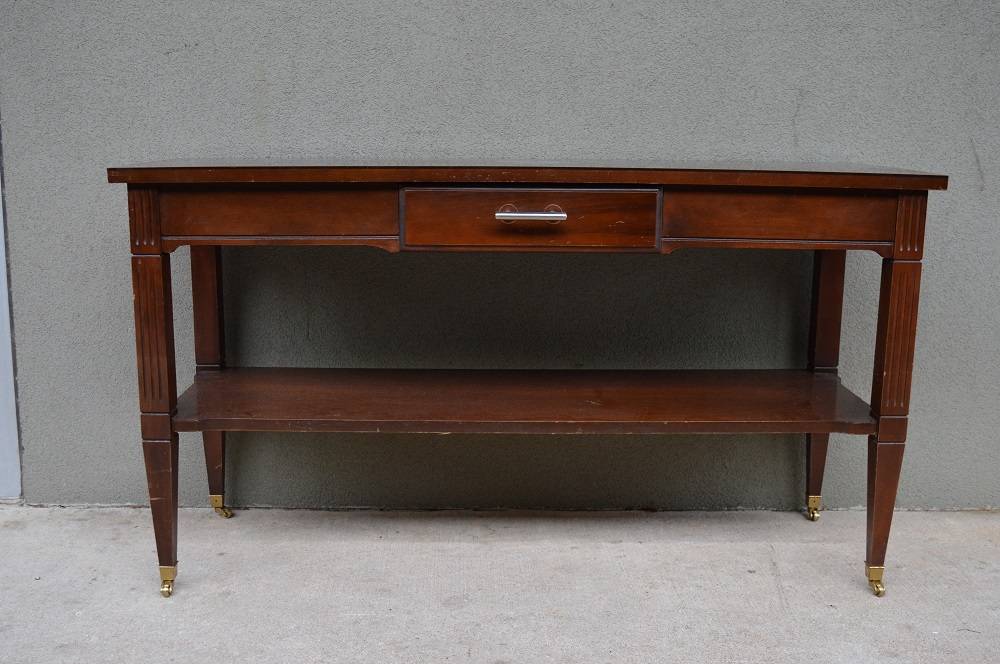

Our idea was to play off the existing design and go in a more neoclassical direction. Now, here are the steps we took to apply Efex:
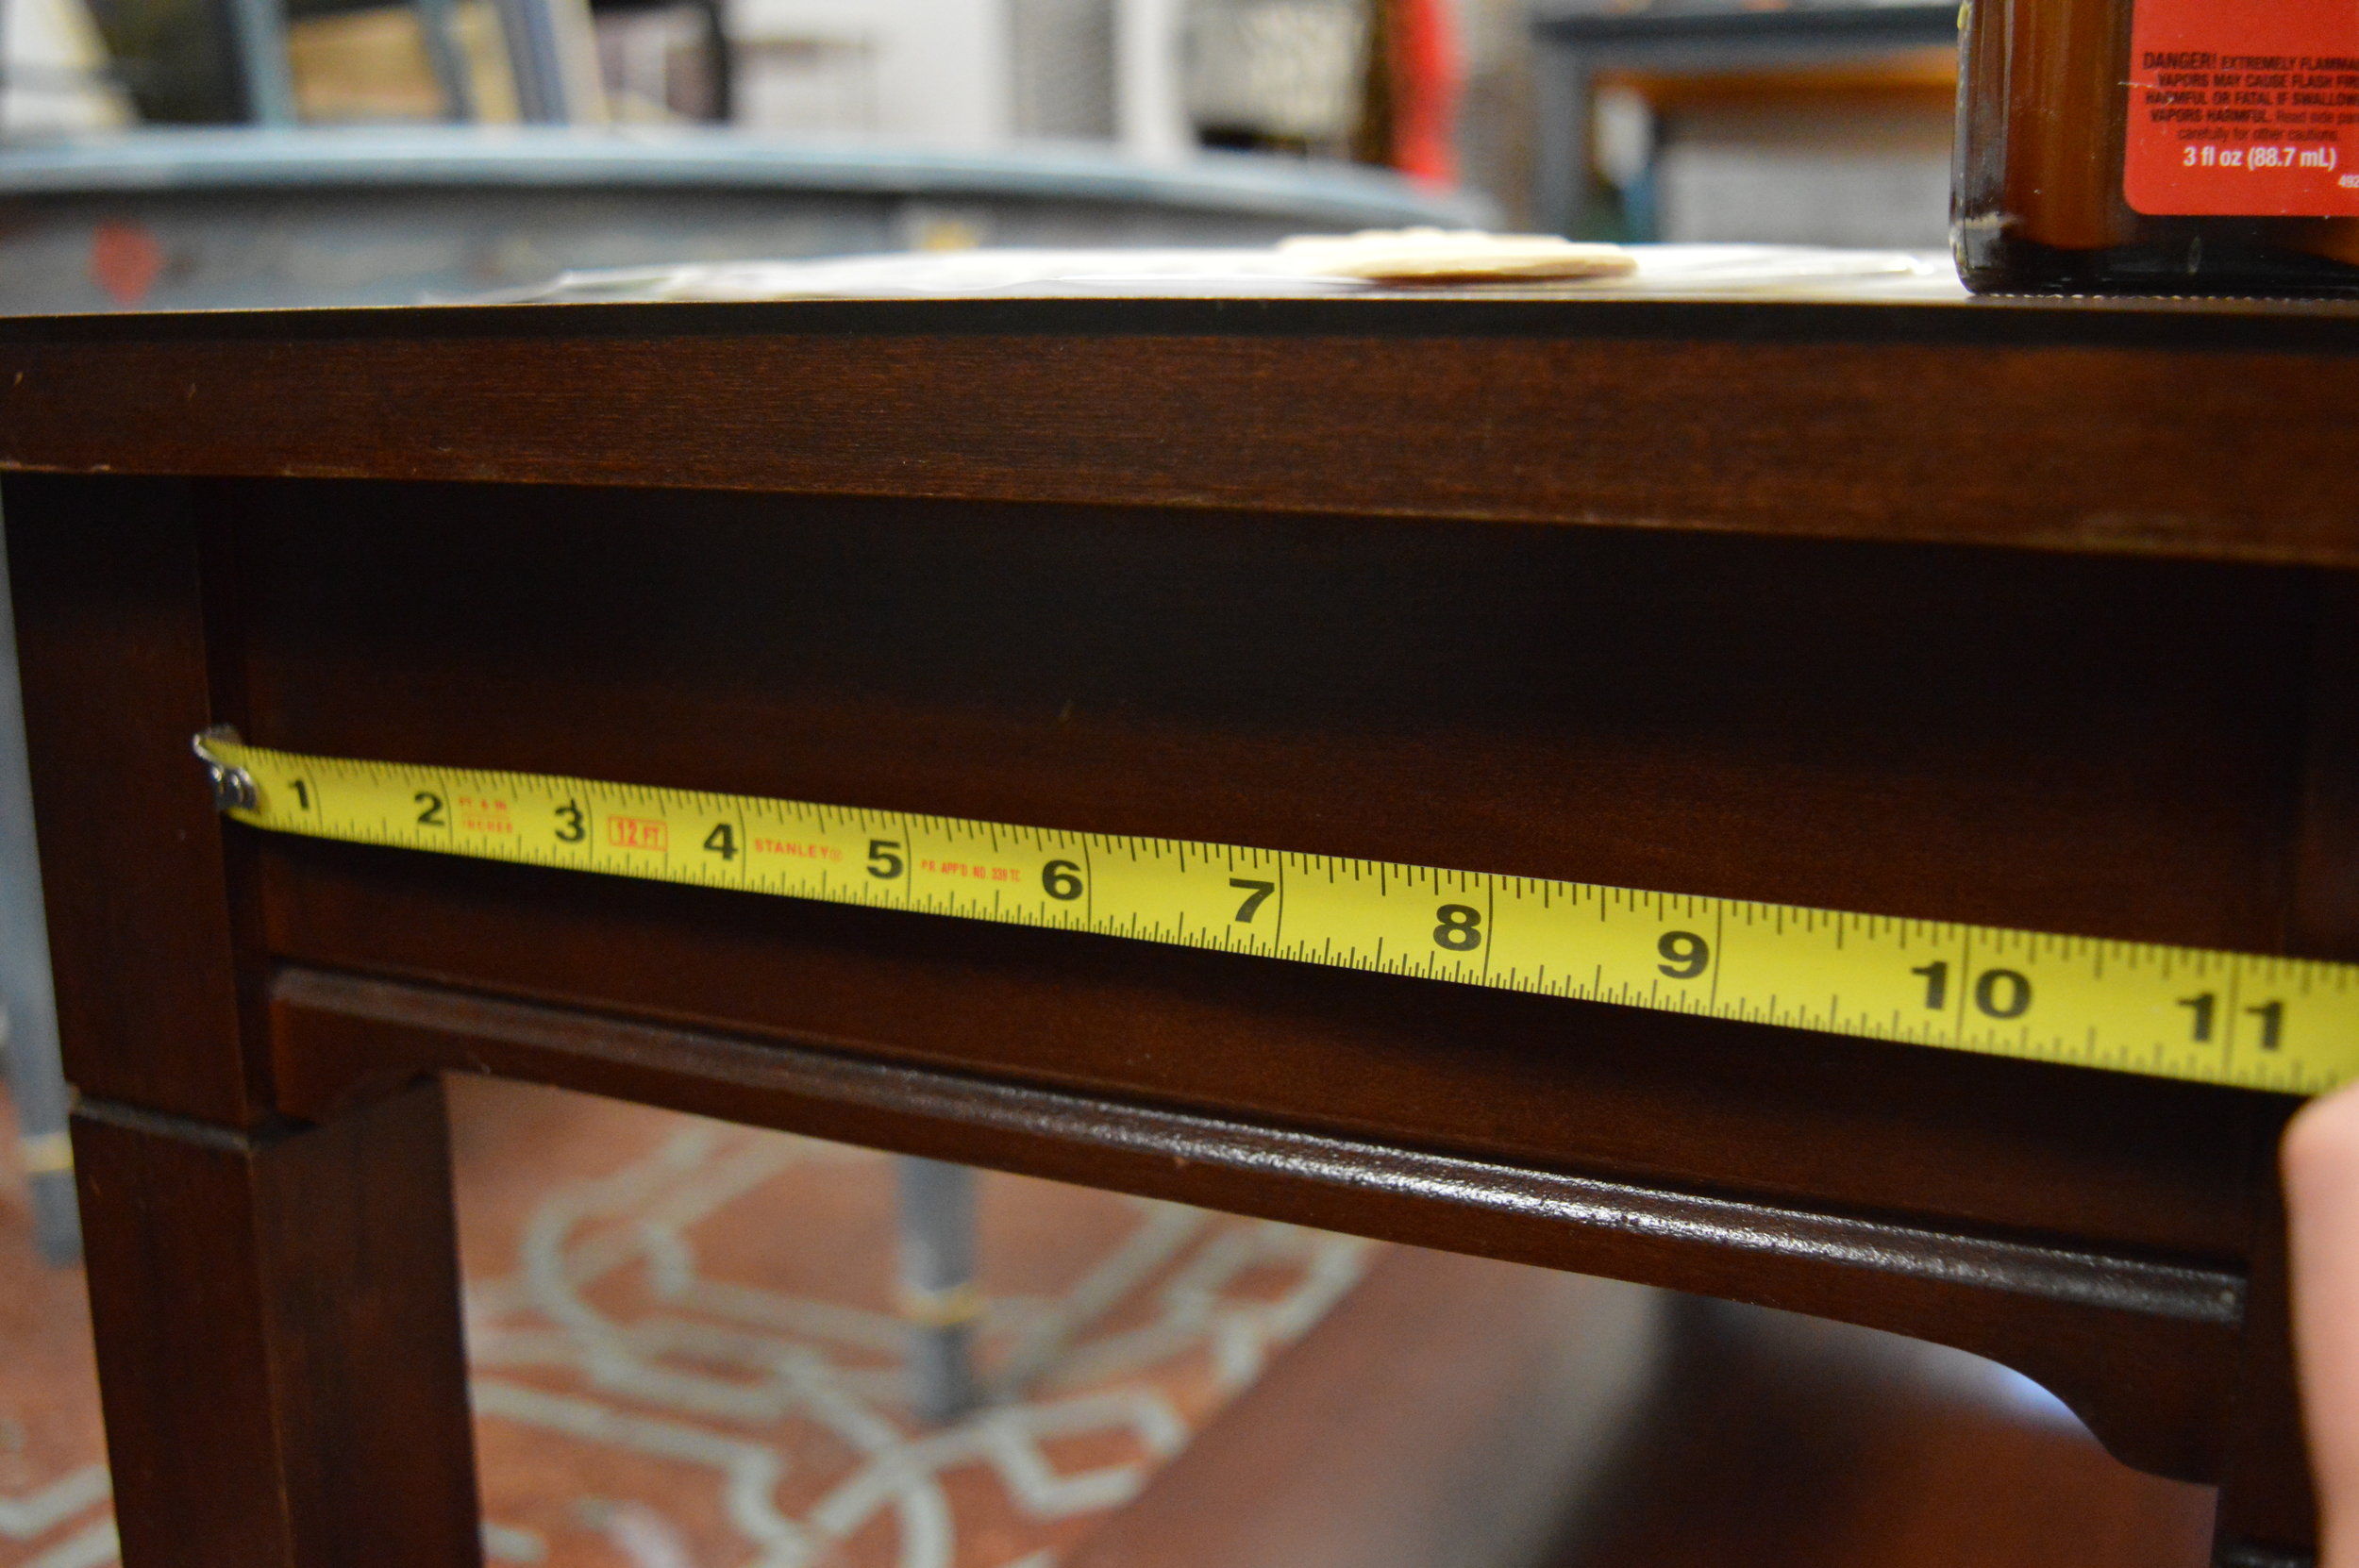
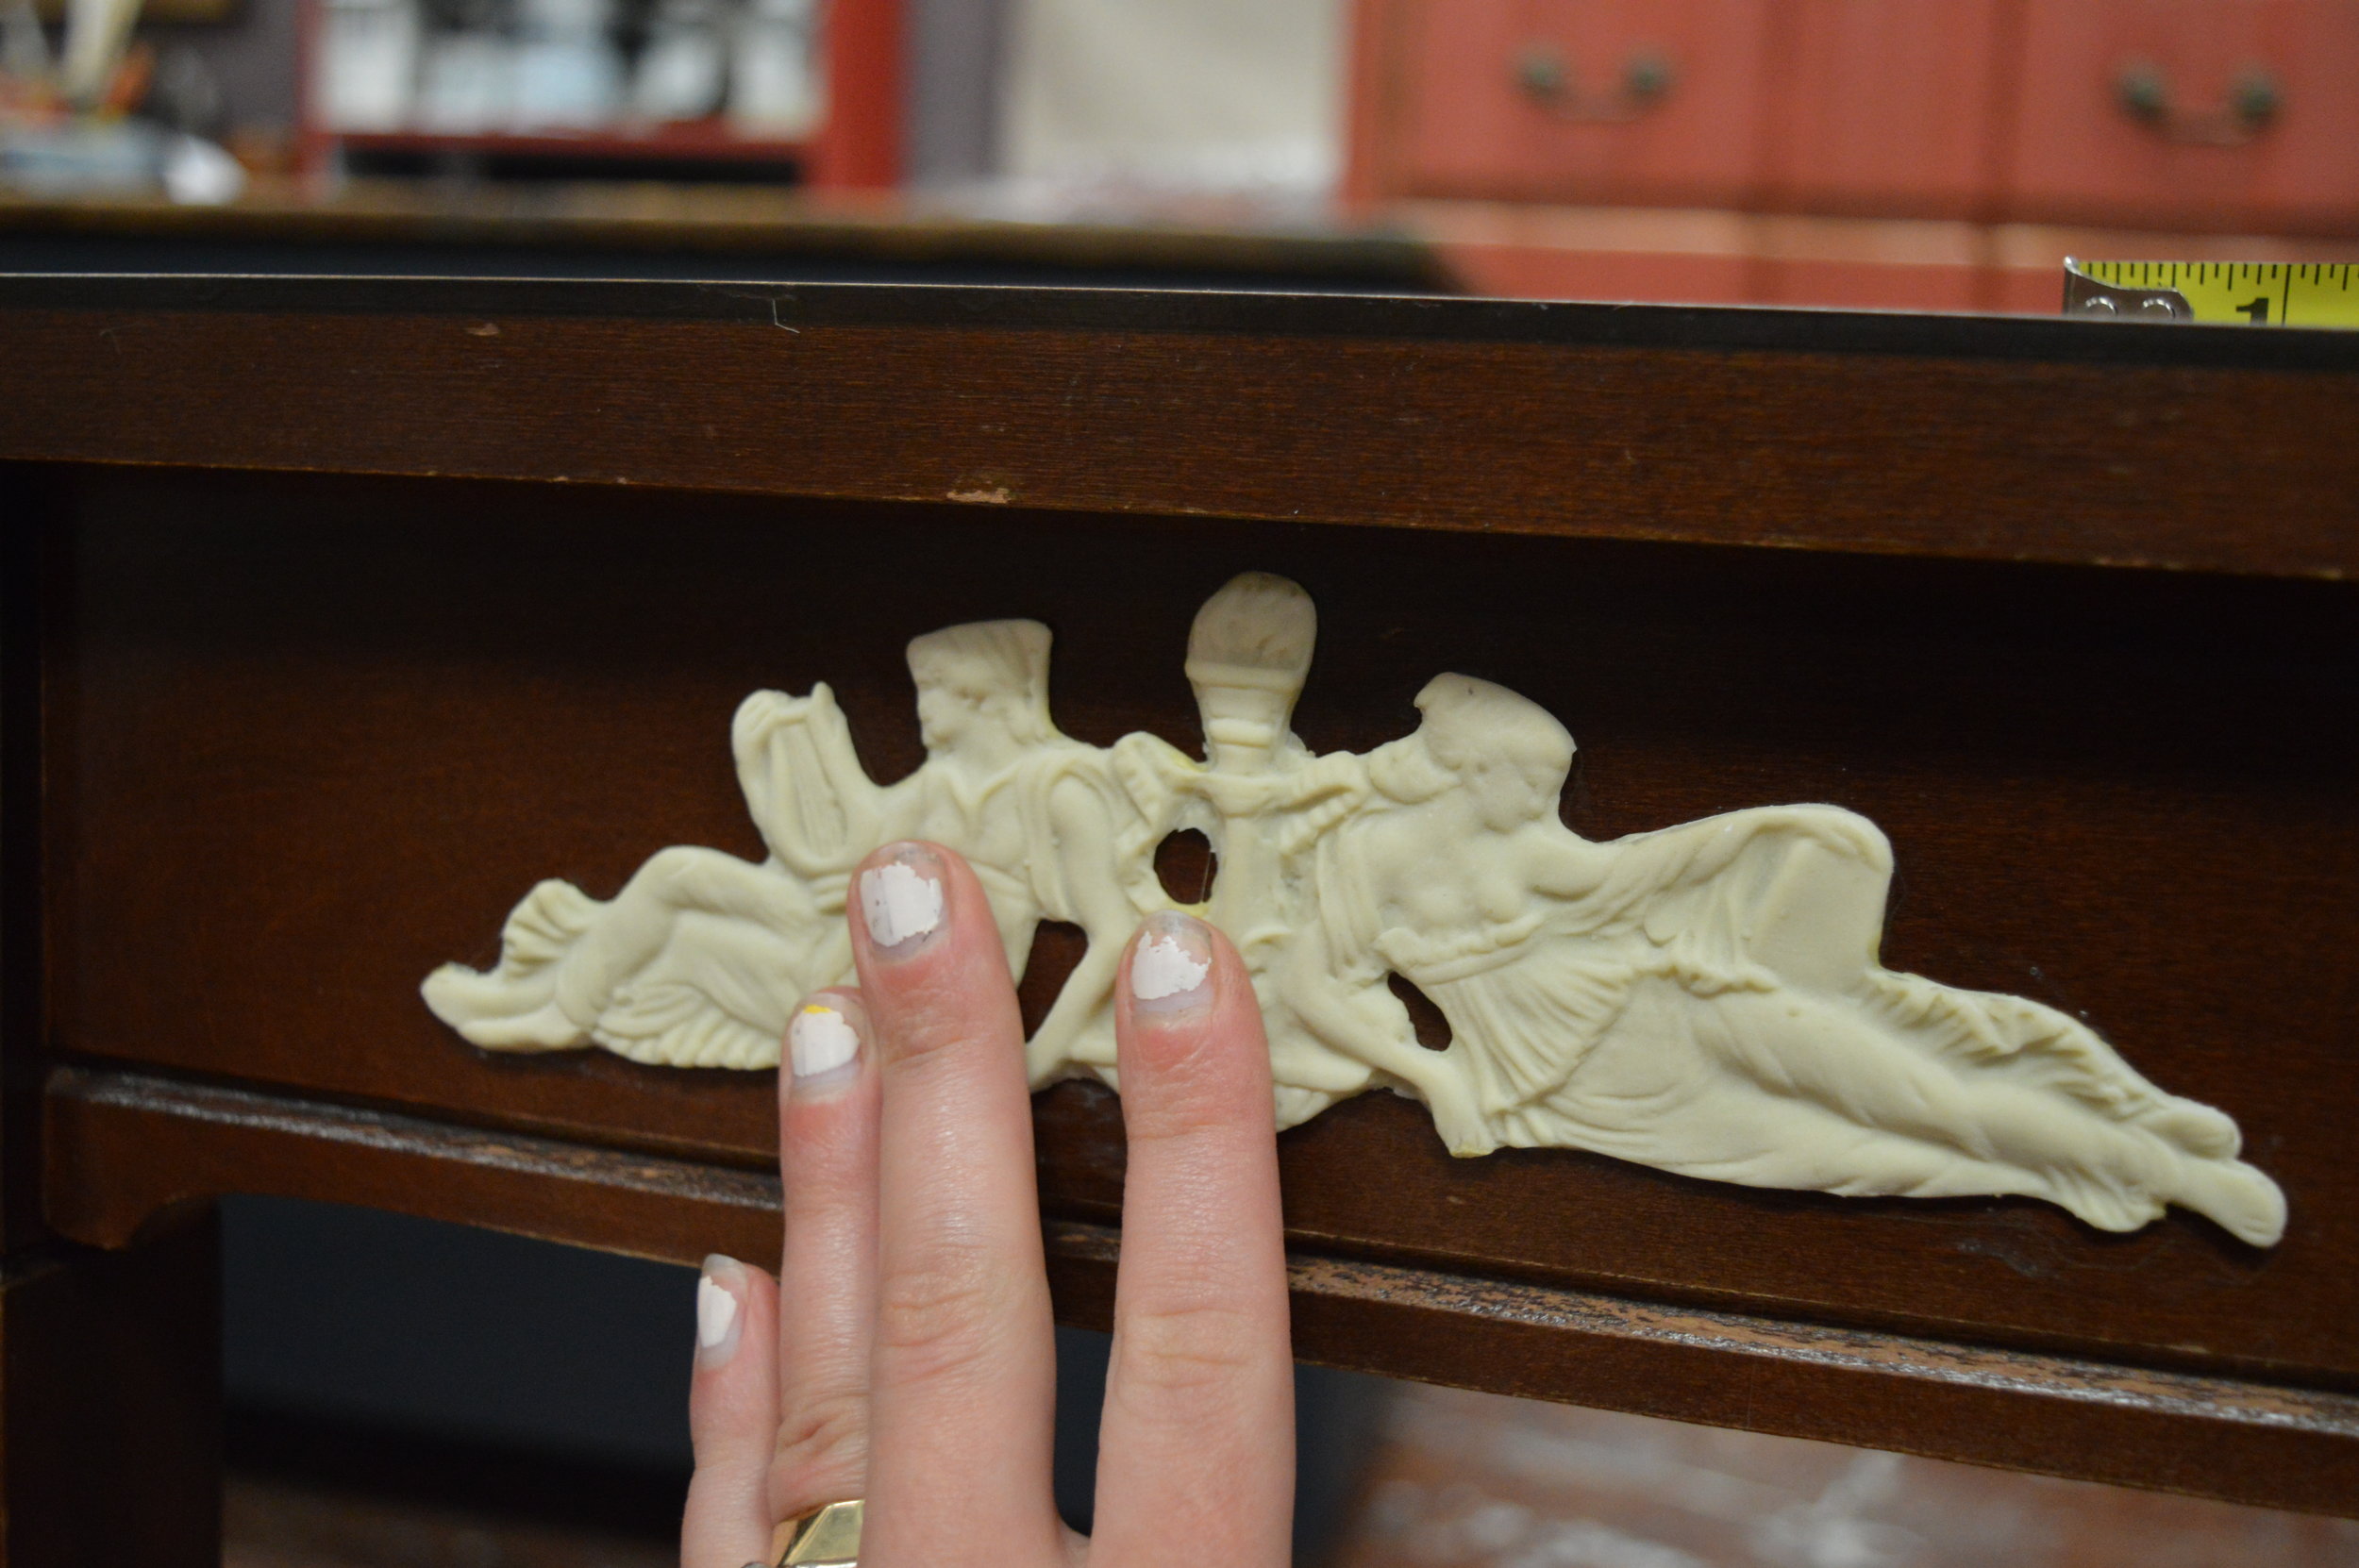
1. We cleaned our piece, then selected our Efex designs and measured the spaces on the furniture to plot out the layout.
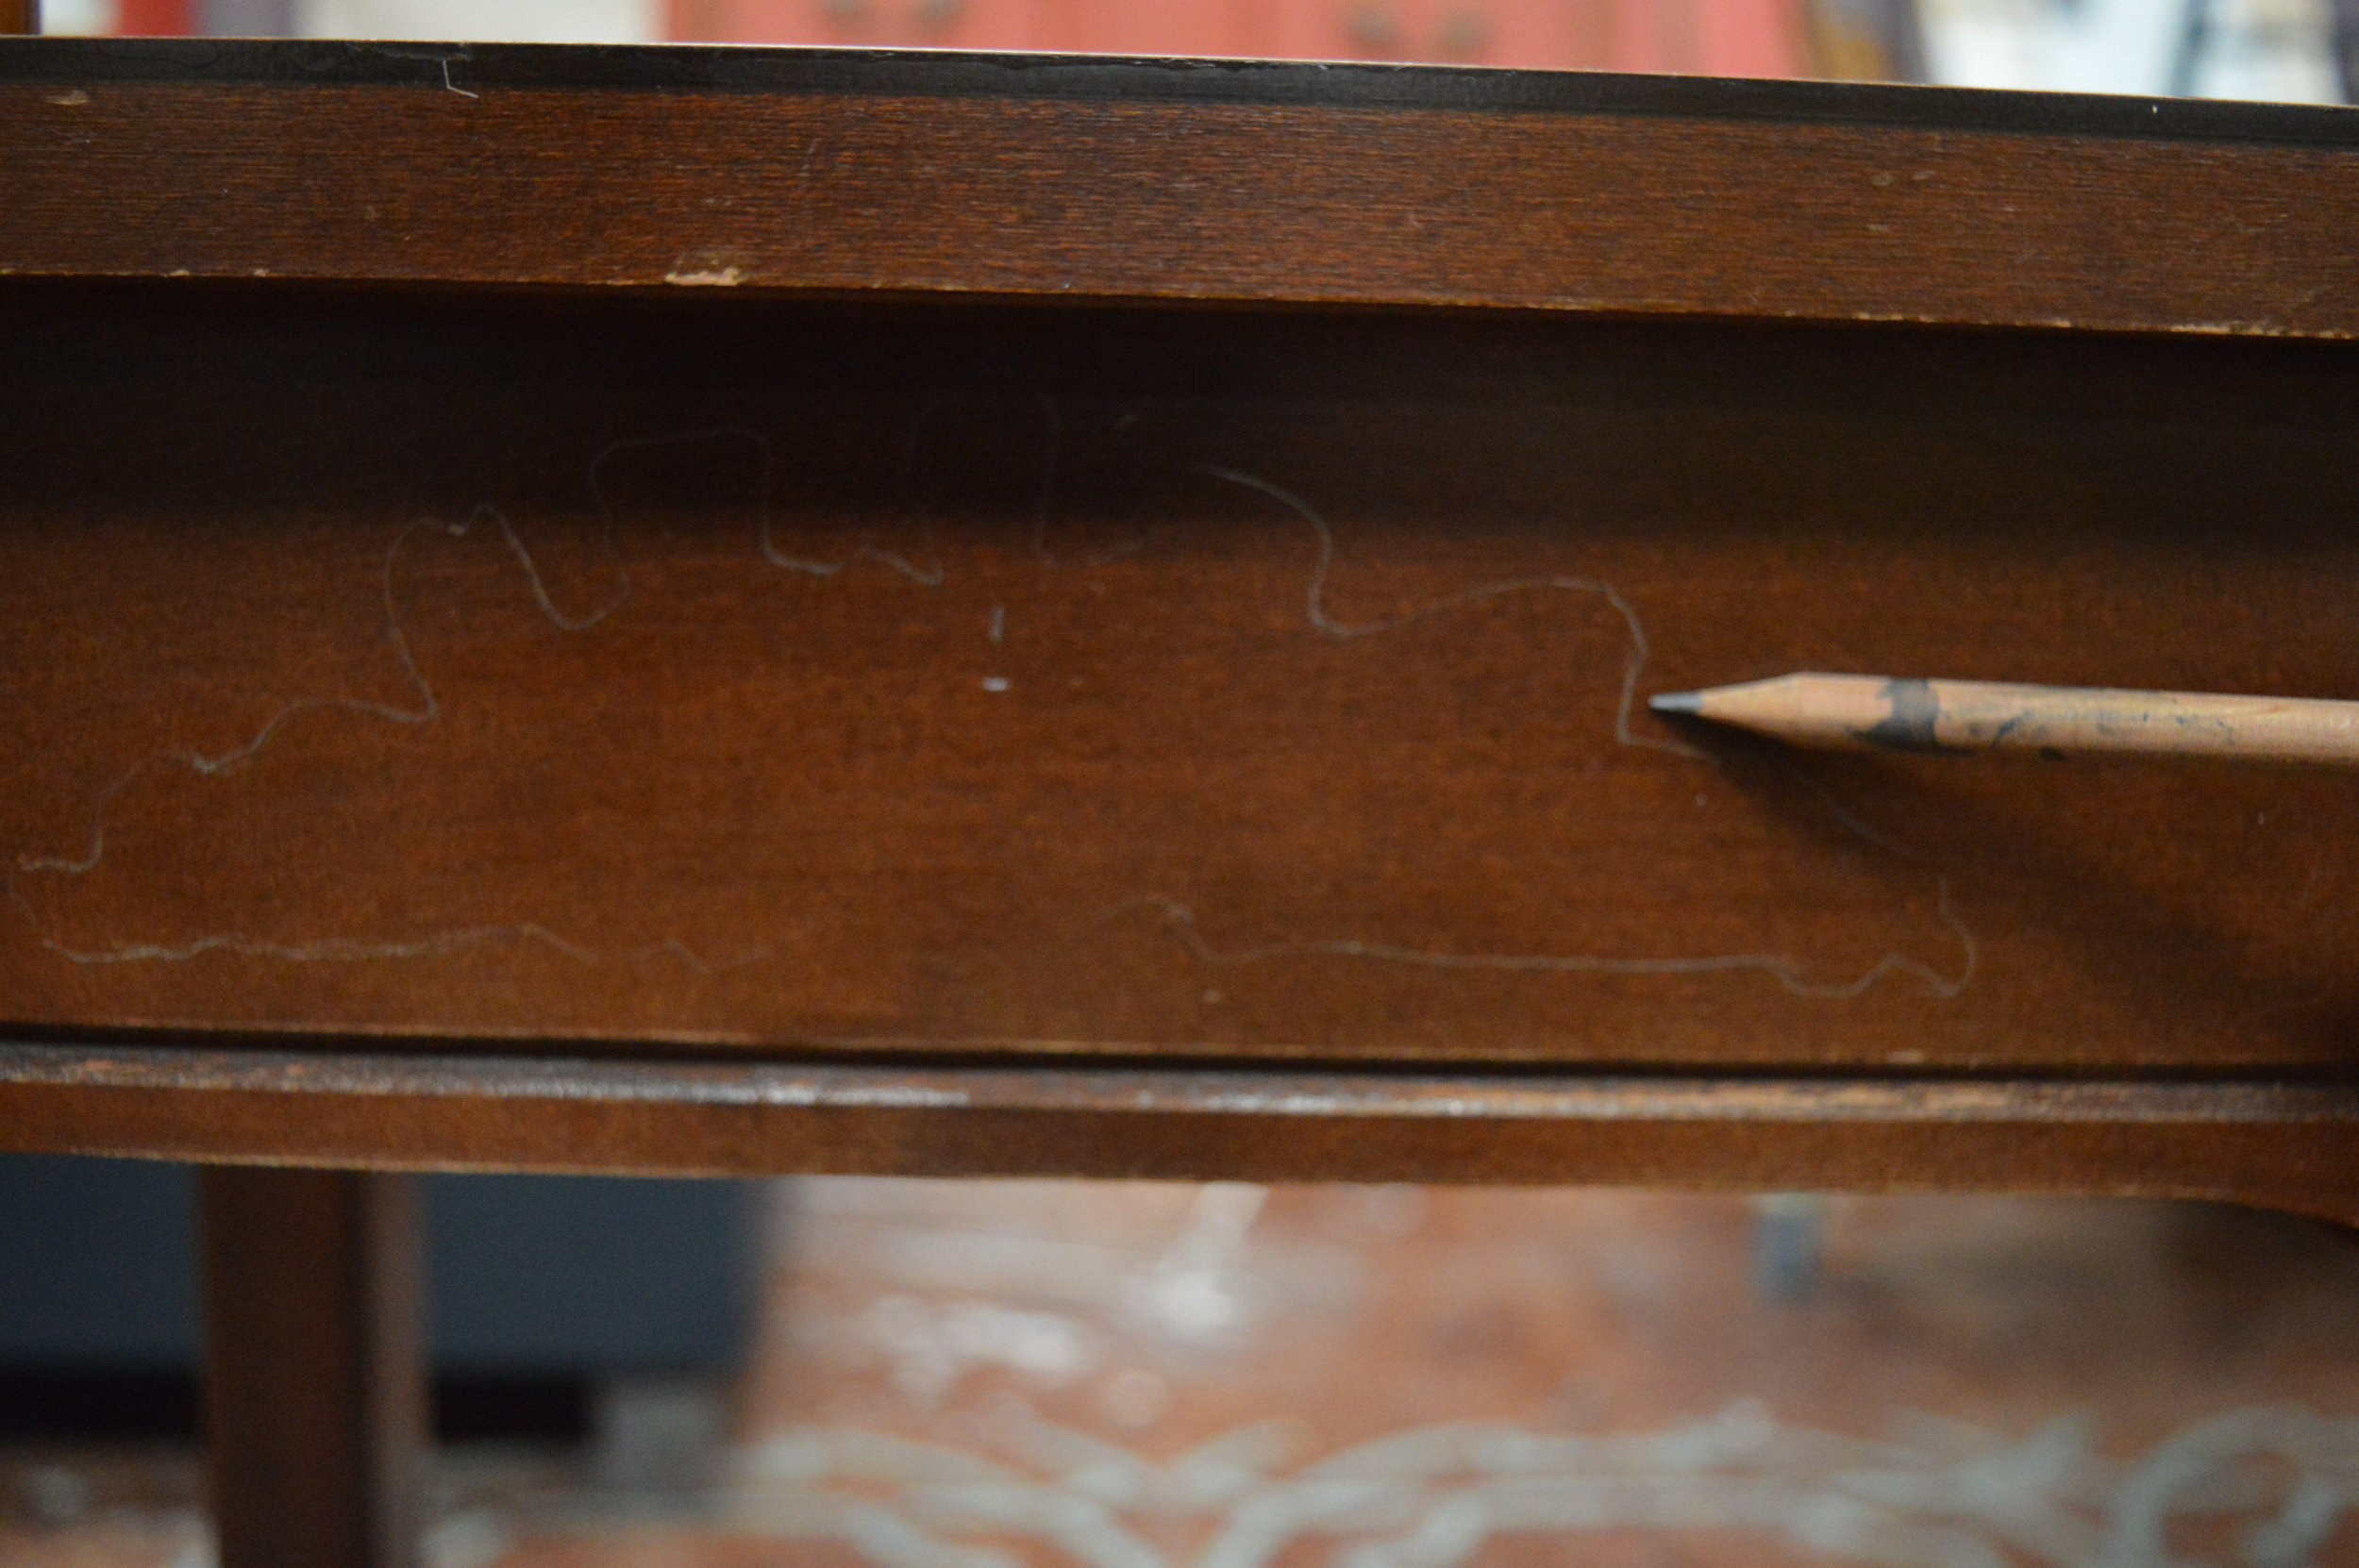
2. We traced the silhouettes of the Efex shapes to make sure they could stay aligned during the glueing part of the process. Tracing is very important if you want your Efex shapes to look even and aligned!
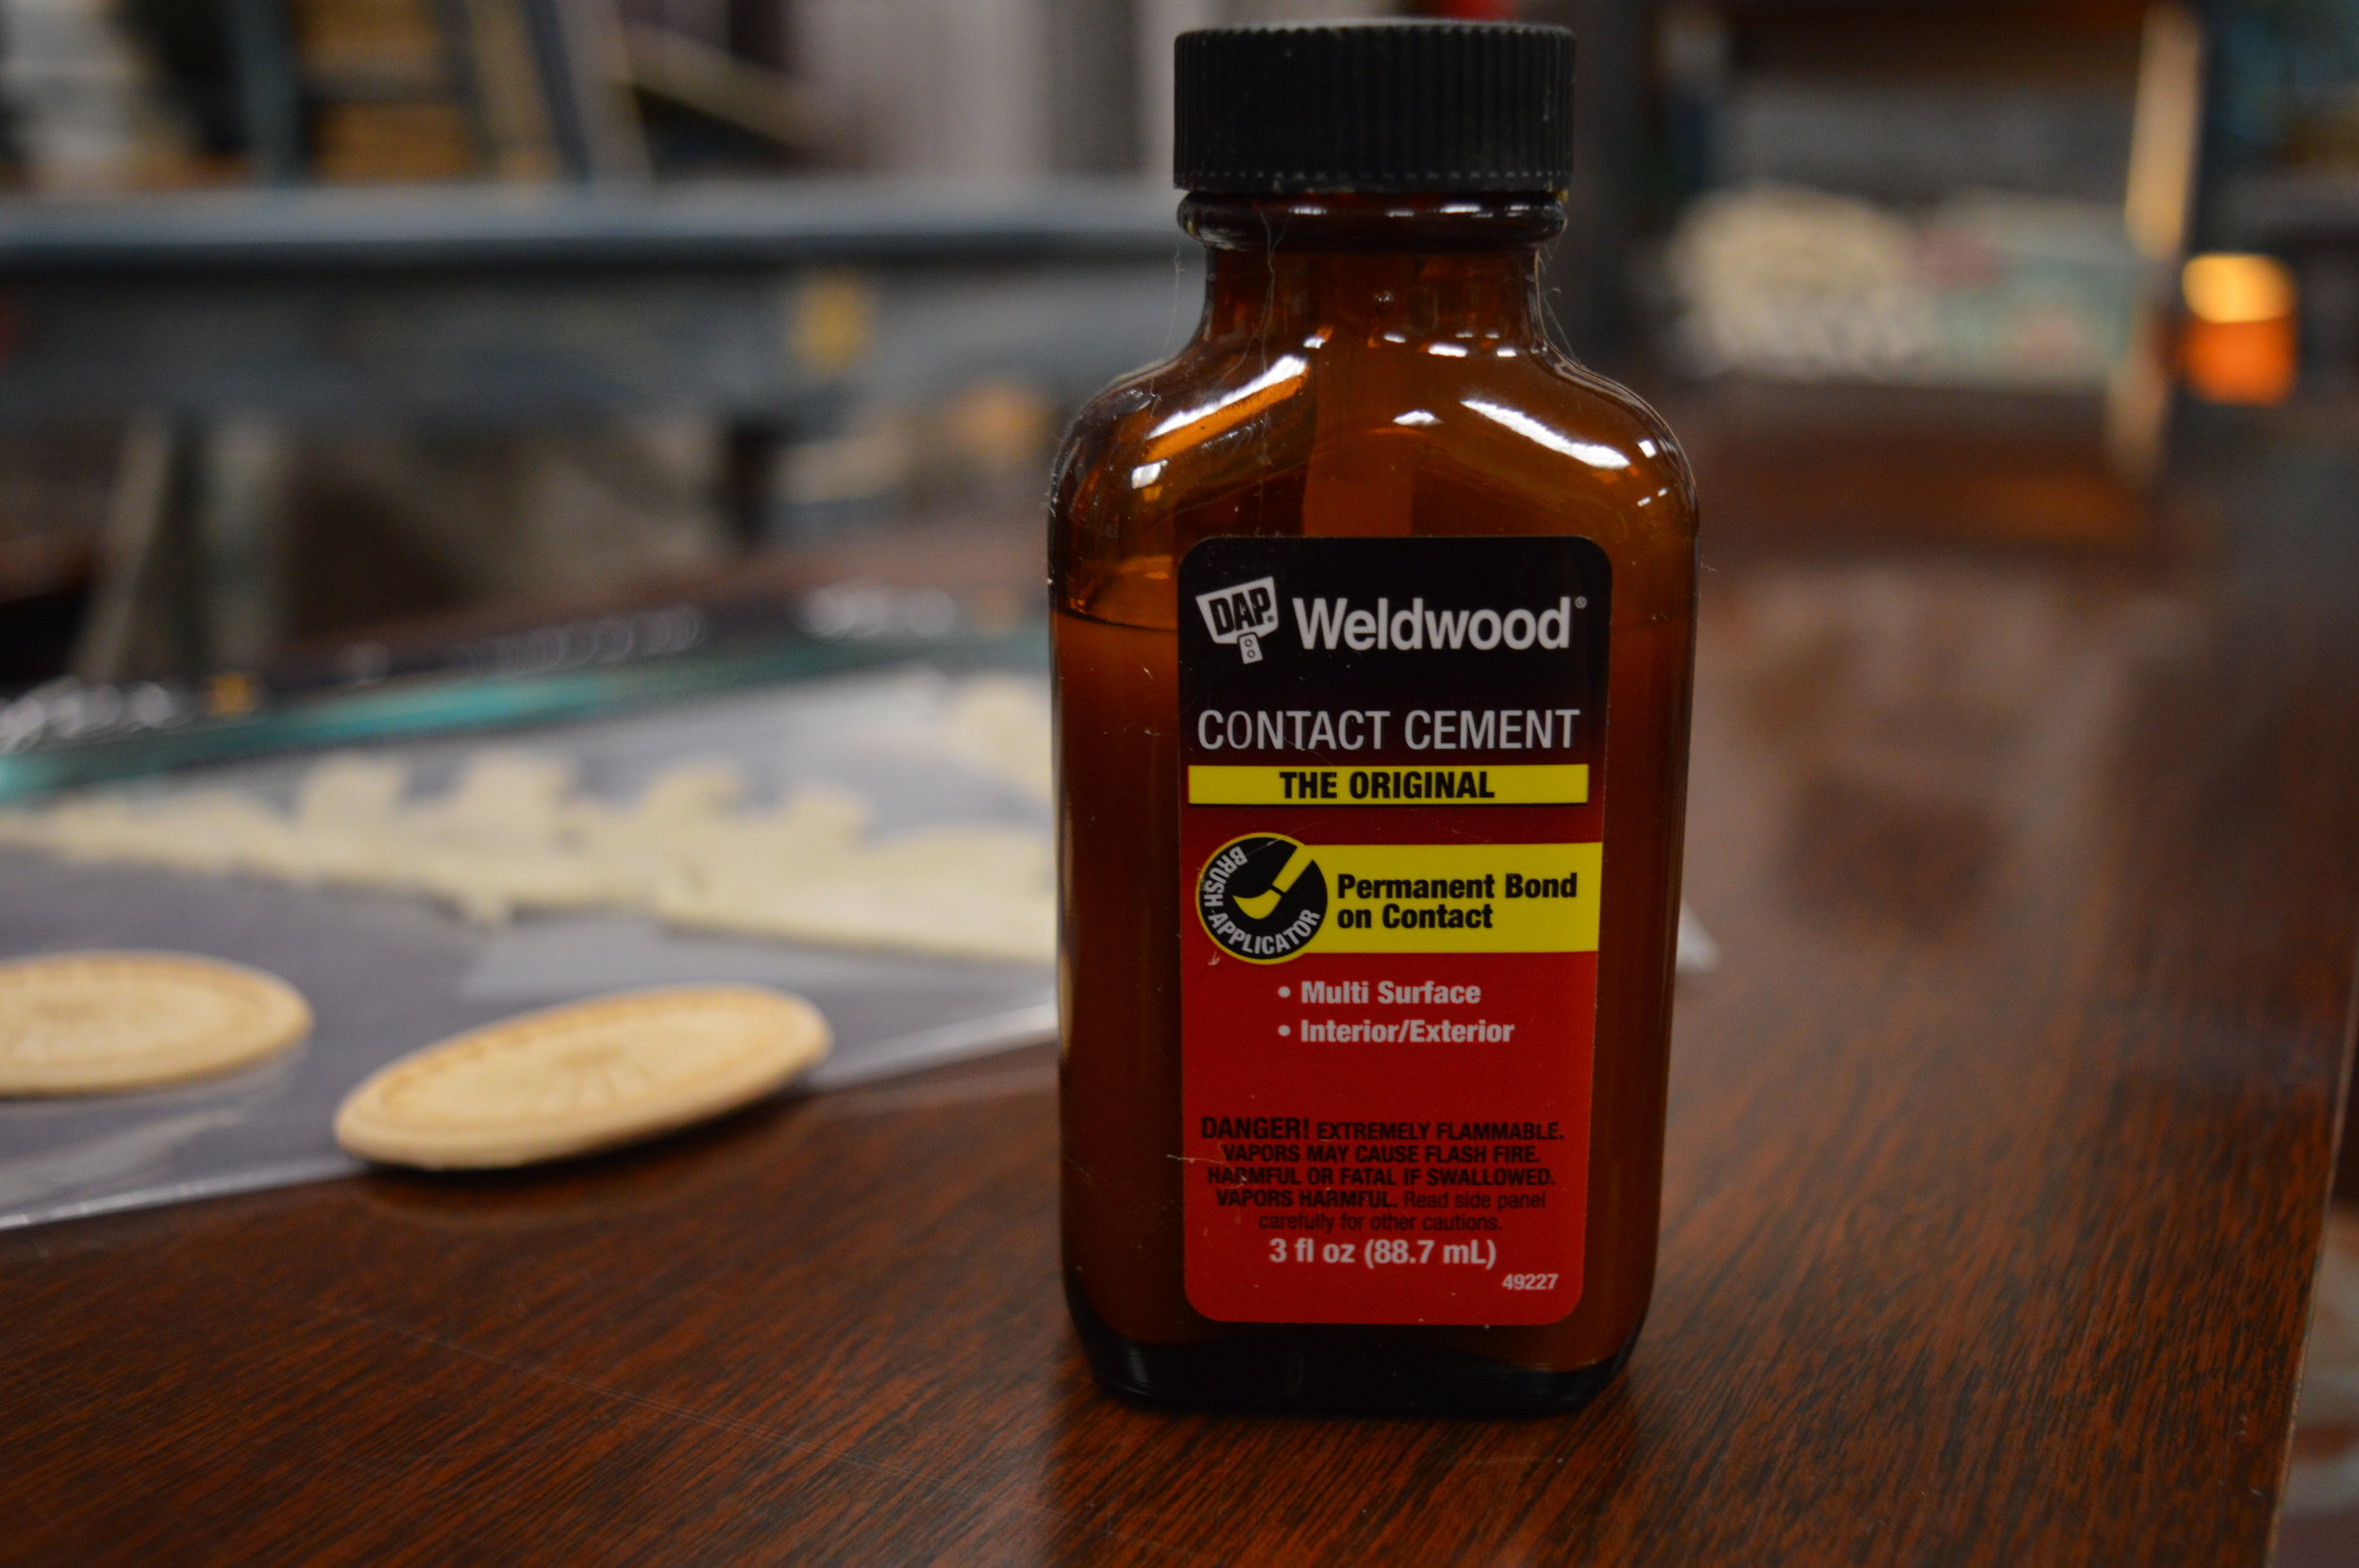
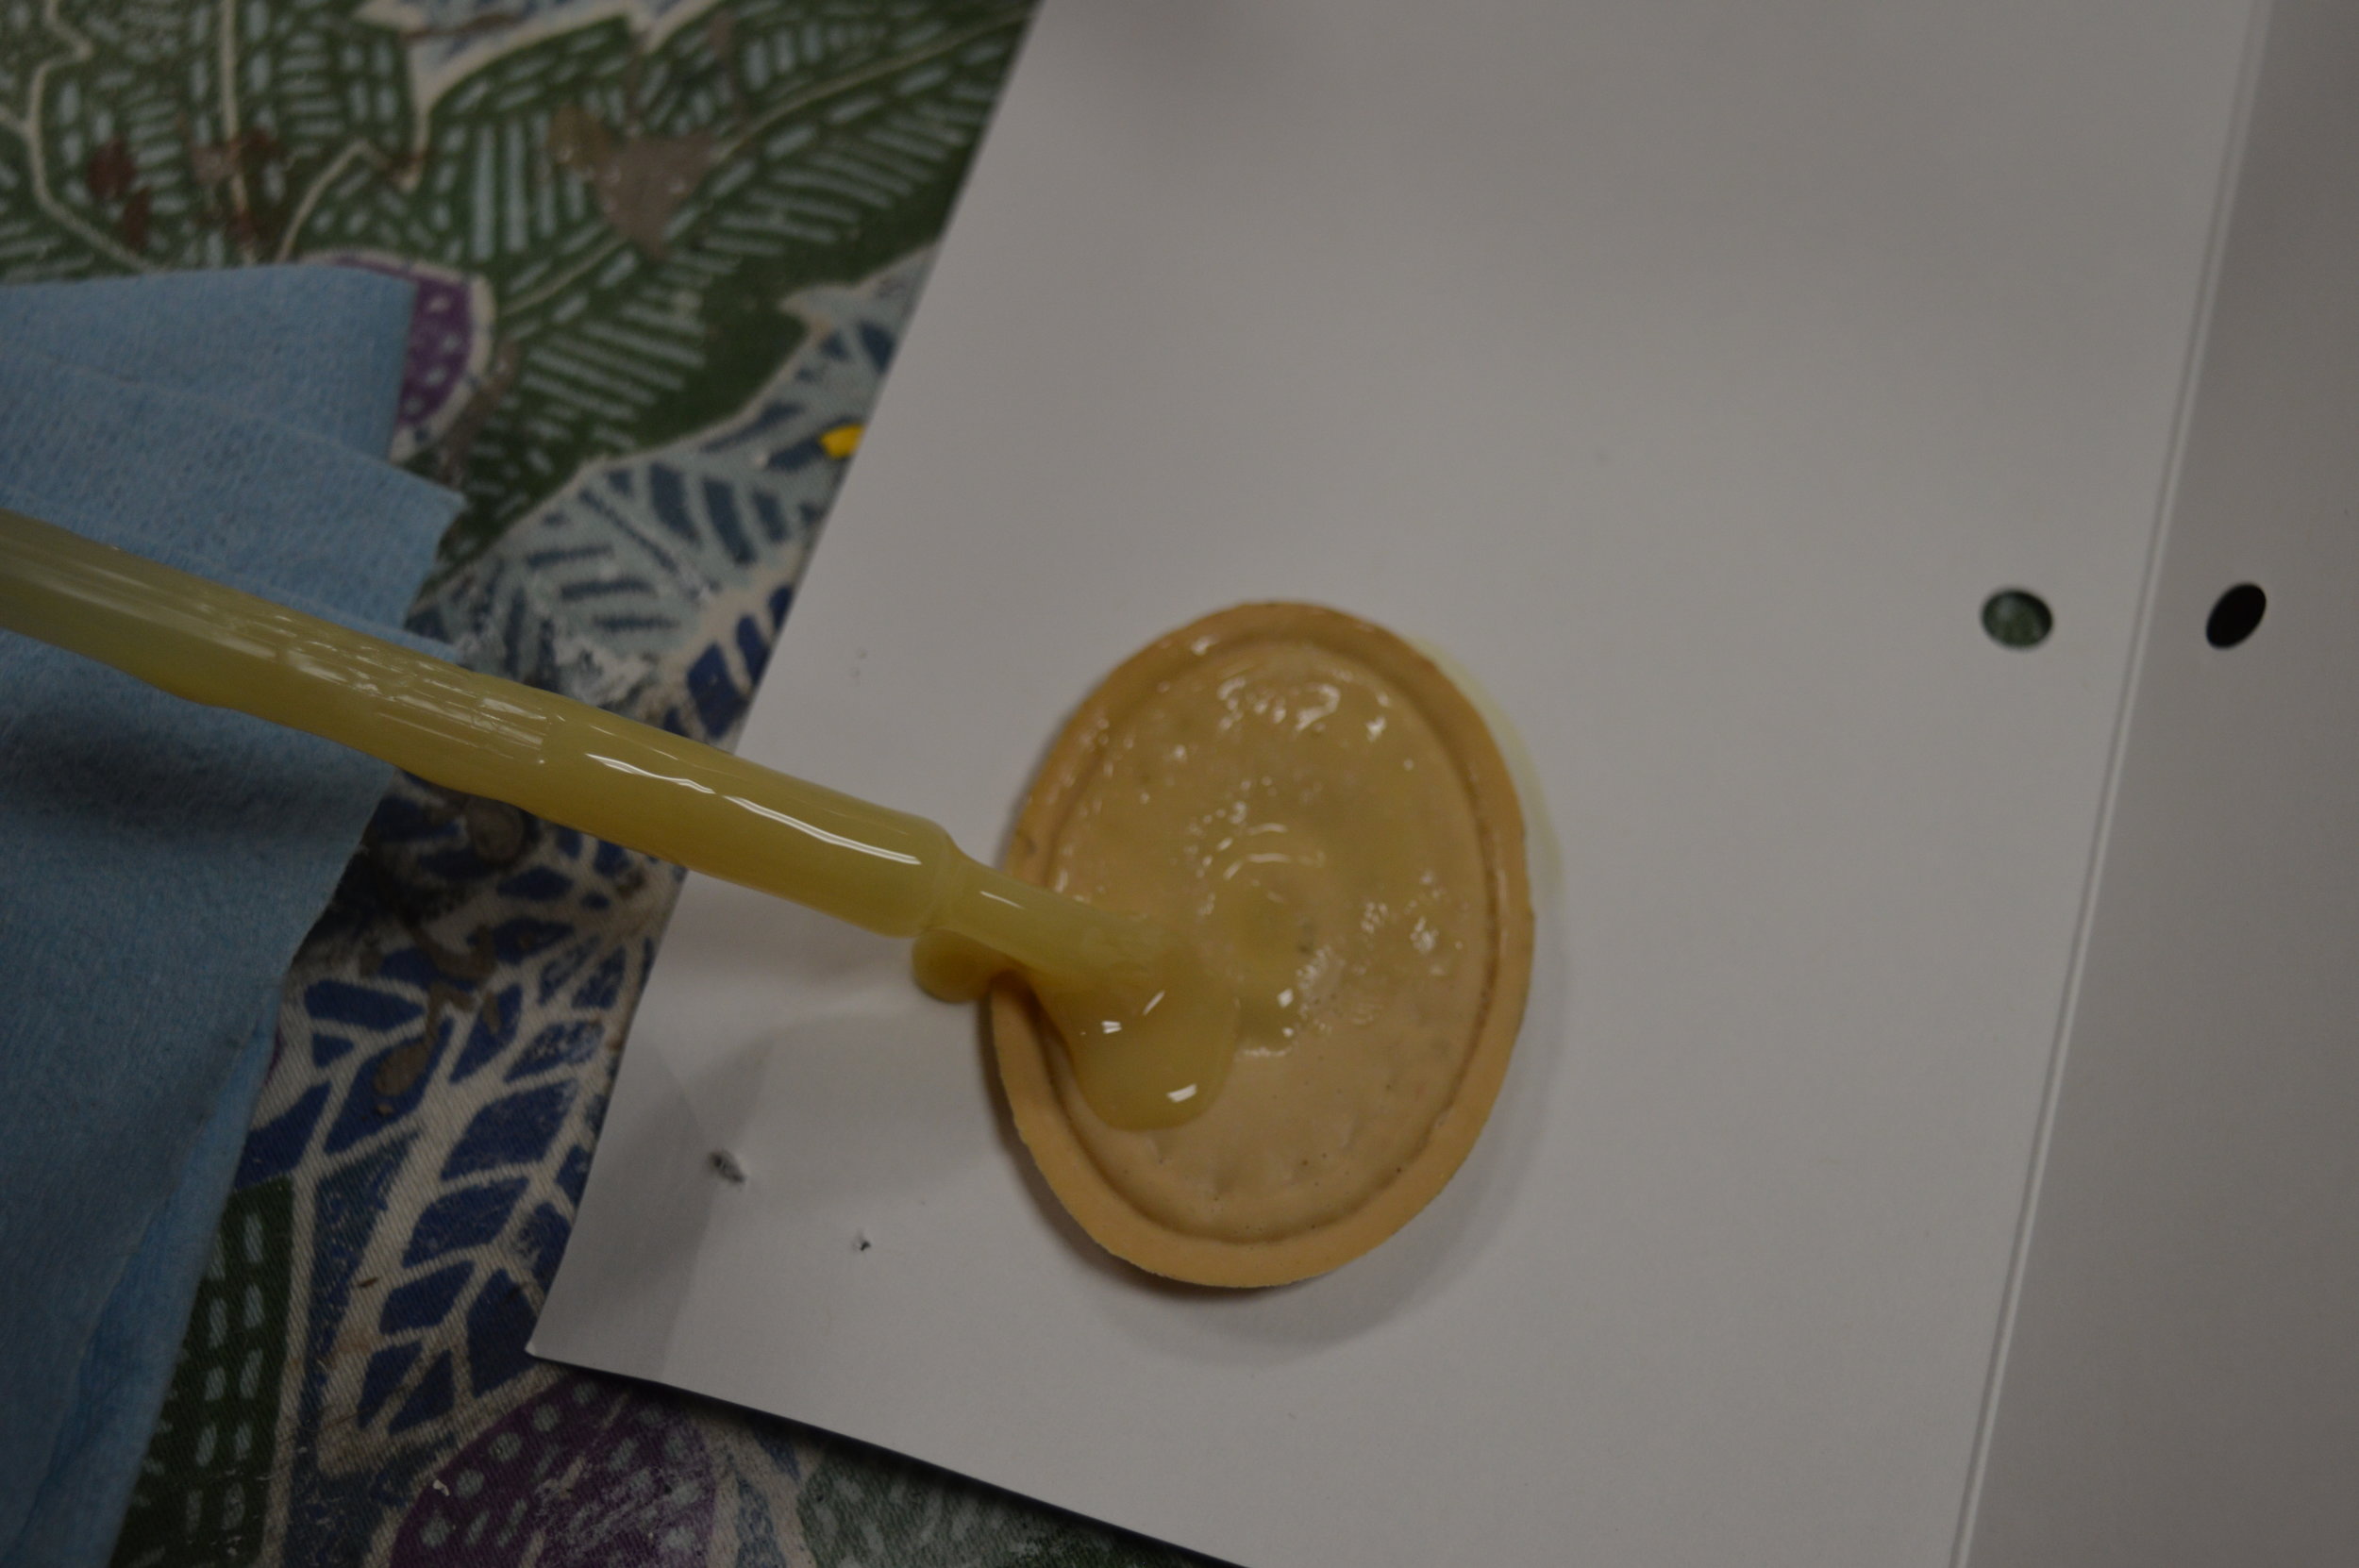
3. We applied contact cement to BOTH the backs of each shape, as well as within the traced shape on the surface of the furniture. These Efex shapes cannot merely be glued on with regular Elmer’s or wood glue— they work together with the contact cement. Basically, the cement dries for 15 minutes on each side, and then when you place the shape down, both cemented sides bond to one another. That way they are on there firmly and won’t budge!
We recommend cementing outside the lines of the traced shape as well, just a little bit, because when you press the silicone Efex down they may flatten and widen out a tiny bit. This ensures that you don’t end up with gaps and loose edges. Make sure you don’t skip areas on the backs of the actual mouldings either. We carry the DAP Weldwood at our Shop & Studio alongside Efex, and we love the small bottles because they have a brush attached to the inside of the cap (like a nail polish bottle) to make life easier.

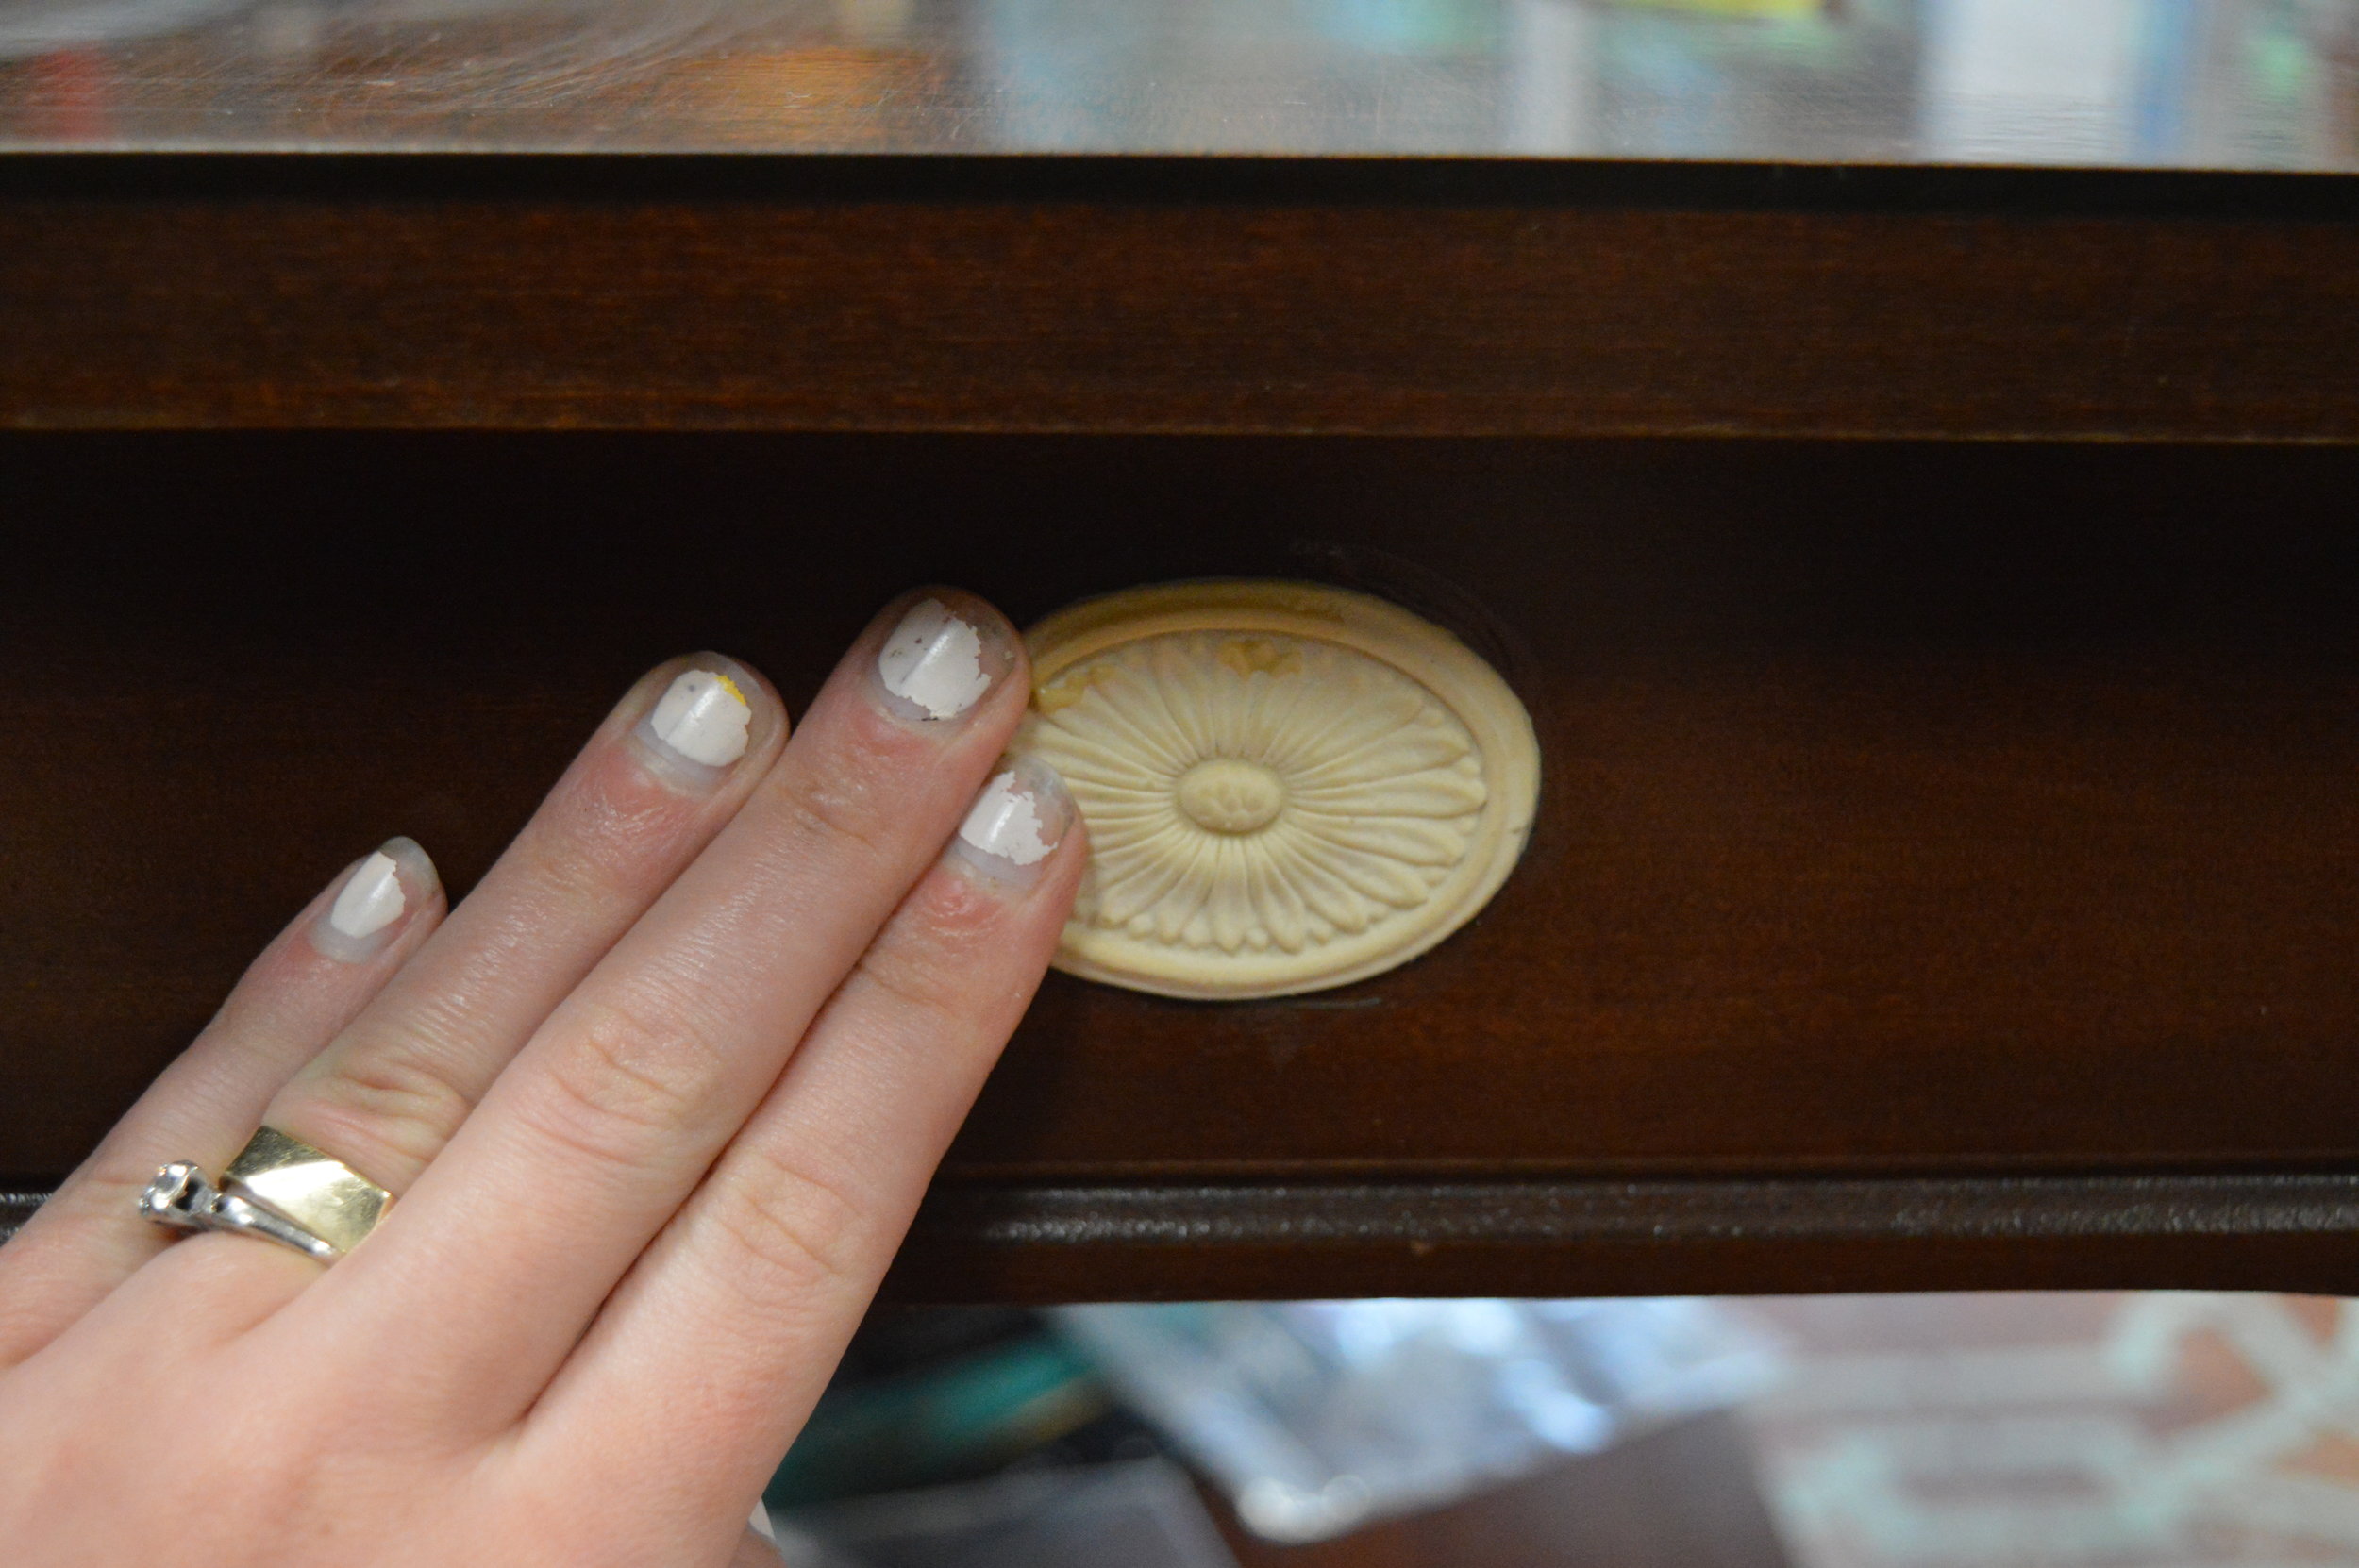
4. We pressed down each shape, aligning it as best as possible to the traced area and contact cement. A great suggestion is to press just the middle of the shape down first and work outward, because once the cement sides are bonded to one another then it’s very difficult to lift the shape back up. Starting from the middle allows you some wiggle-room (pun intended!) to shift the shape a bit if needed where it hasn’t yet bonded. That being said, it really was not difficult at all to make sure they got on there correctly. Our students and customers agree so far on that as well!
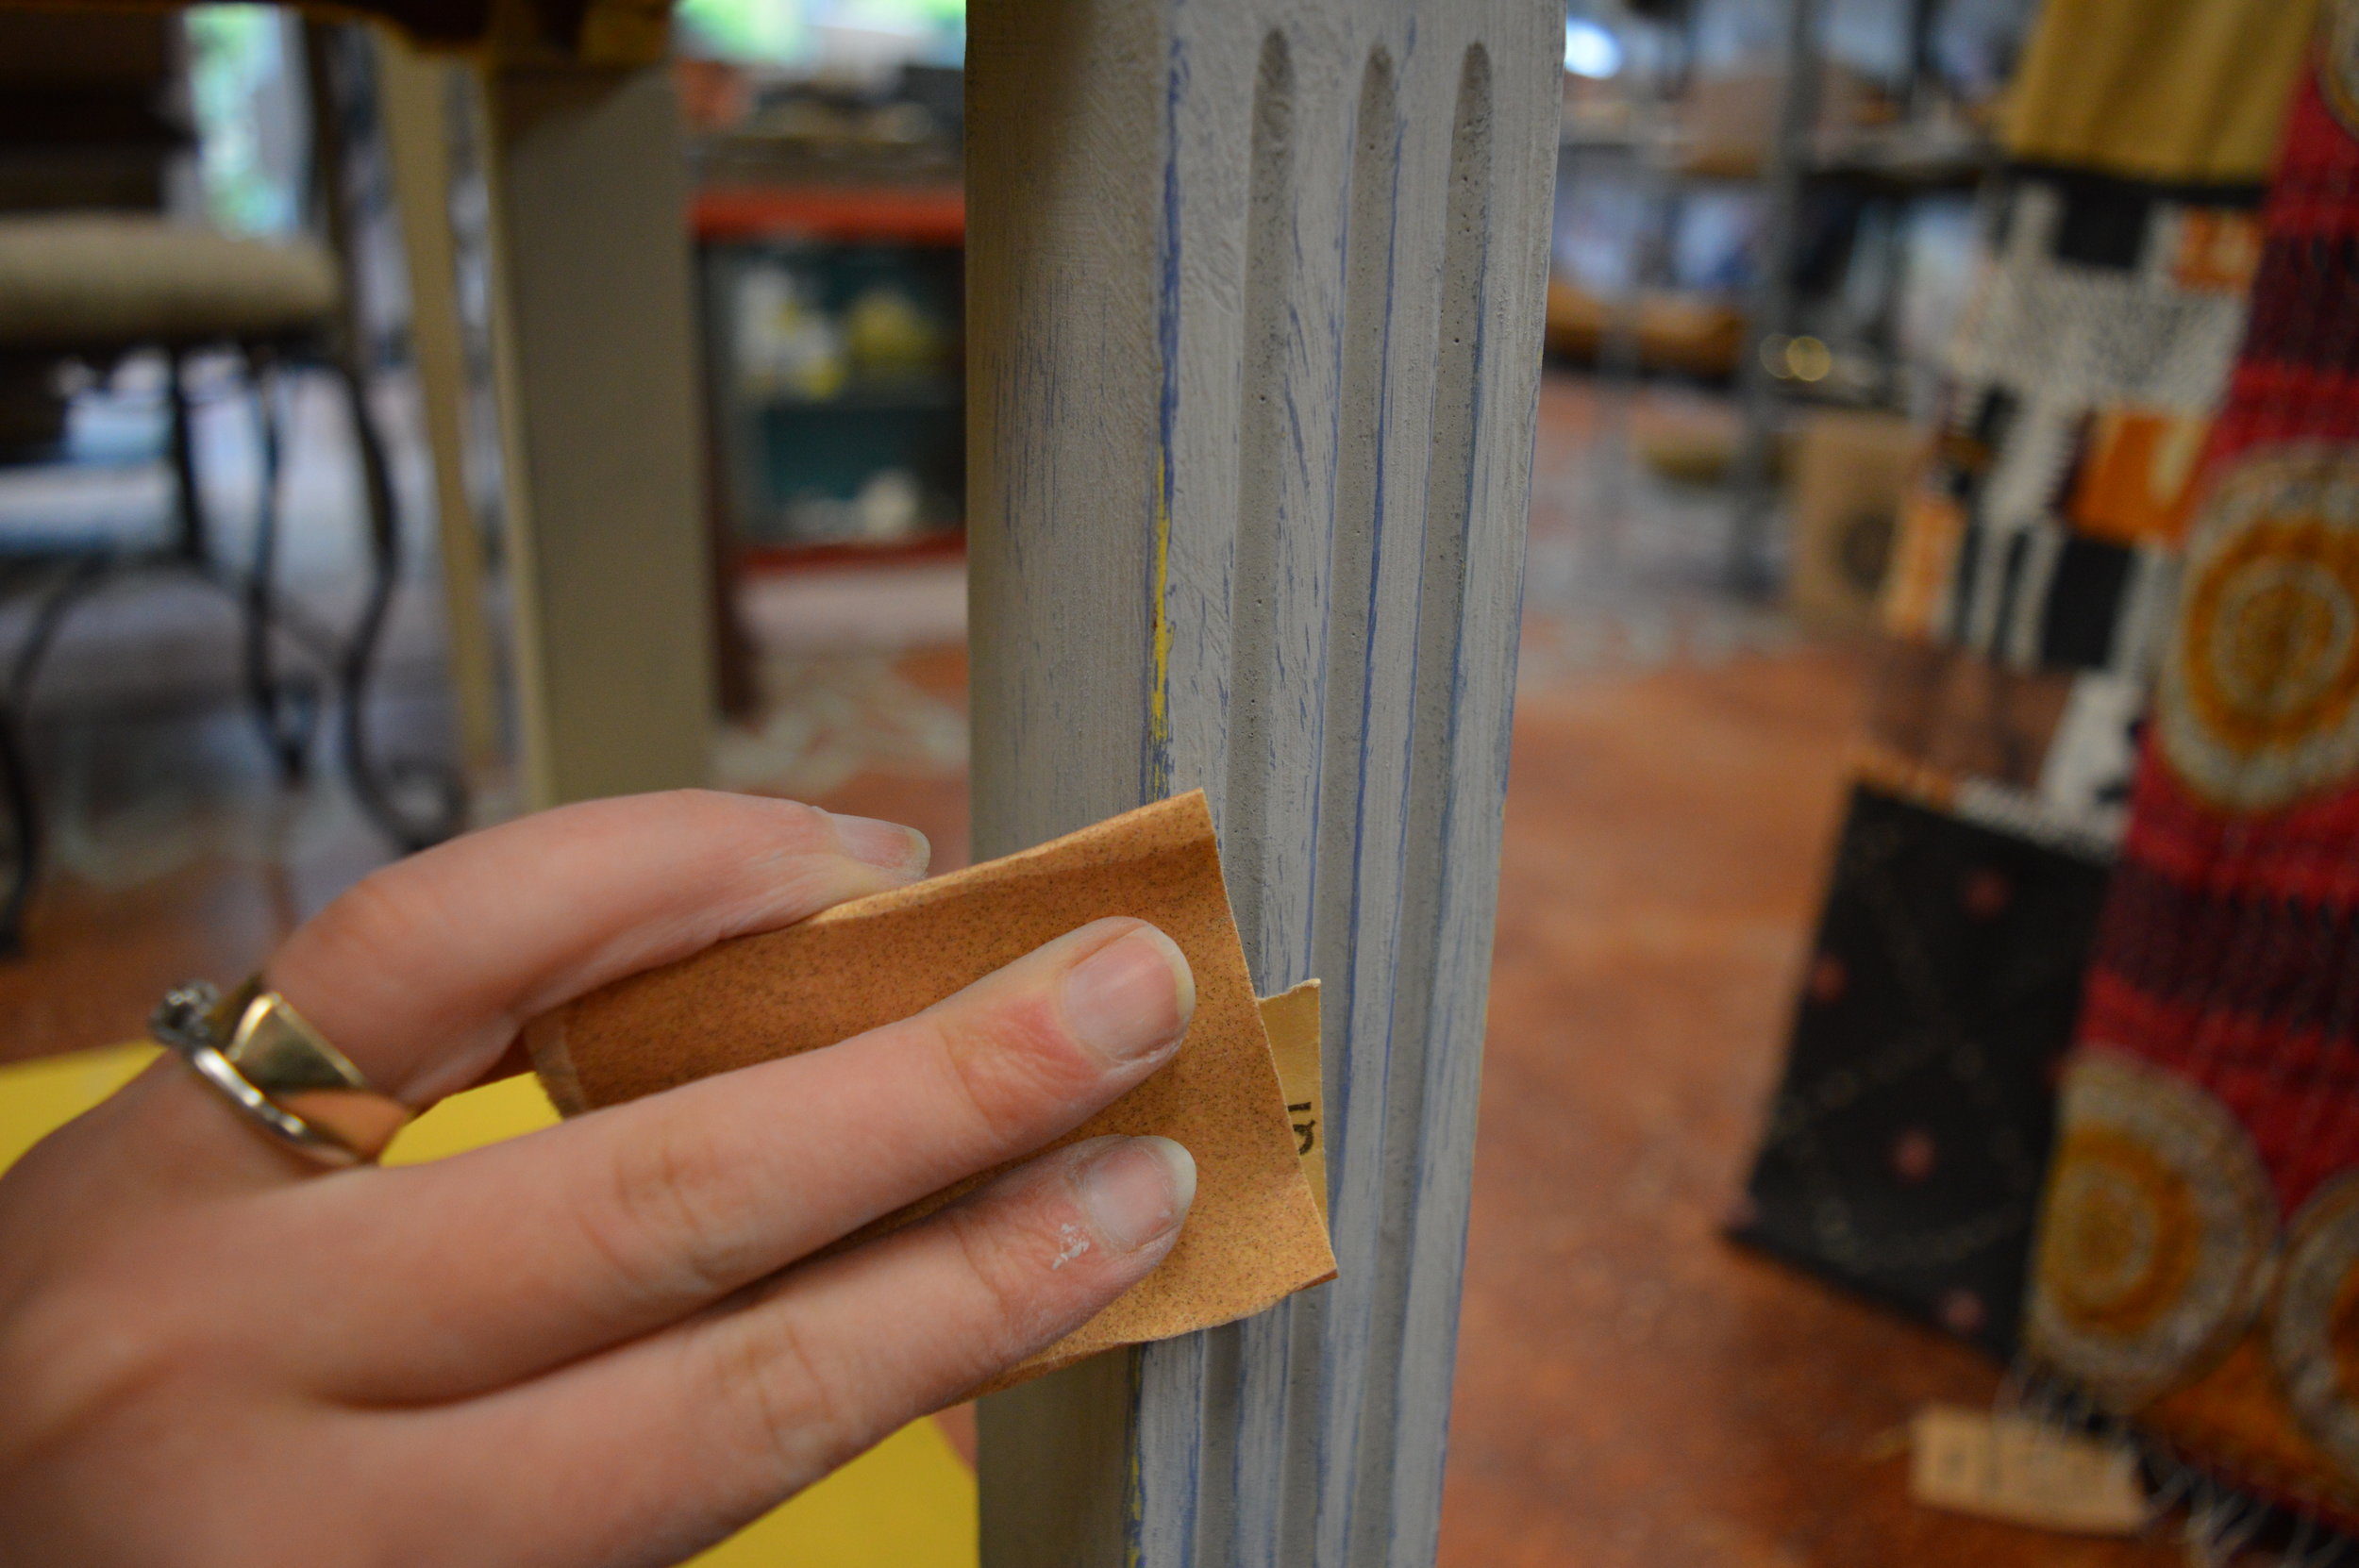
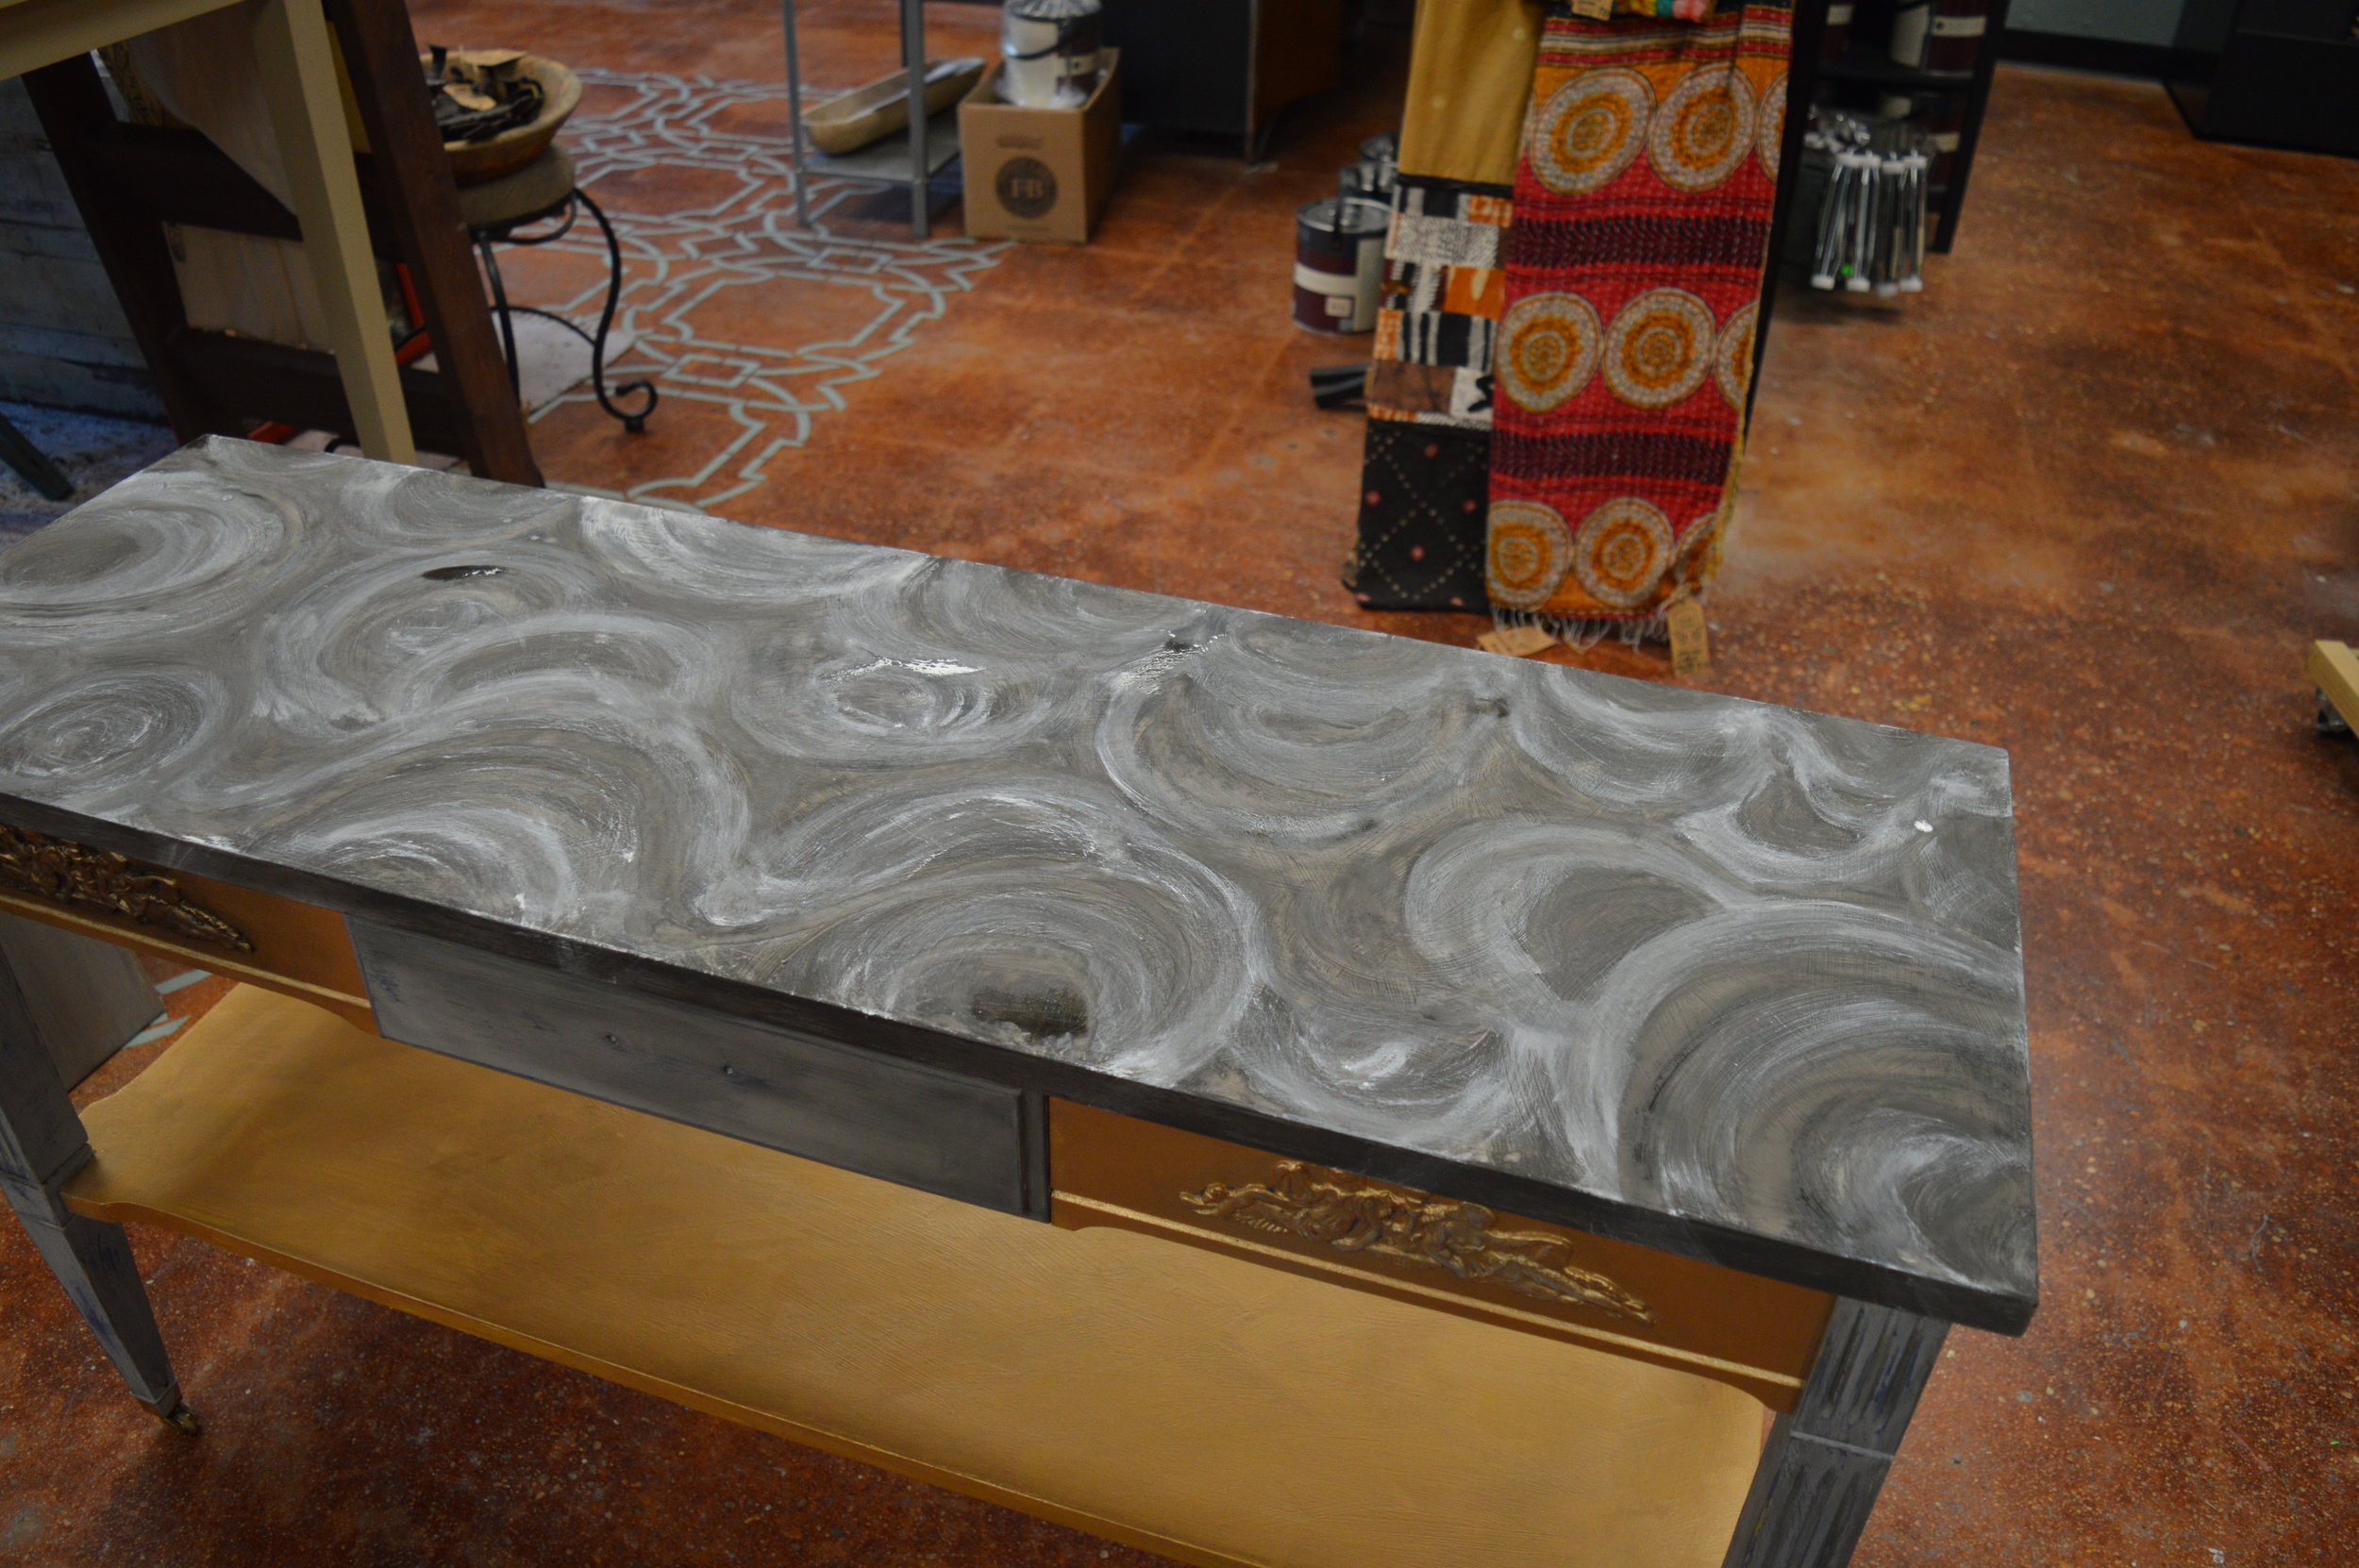
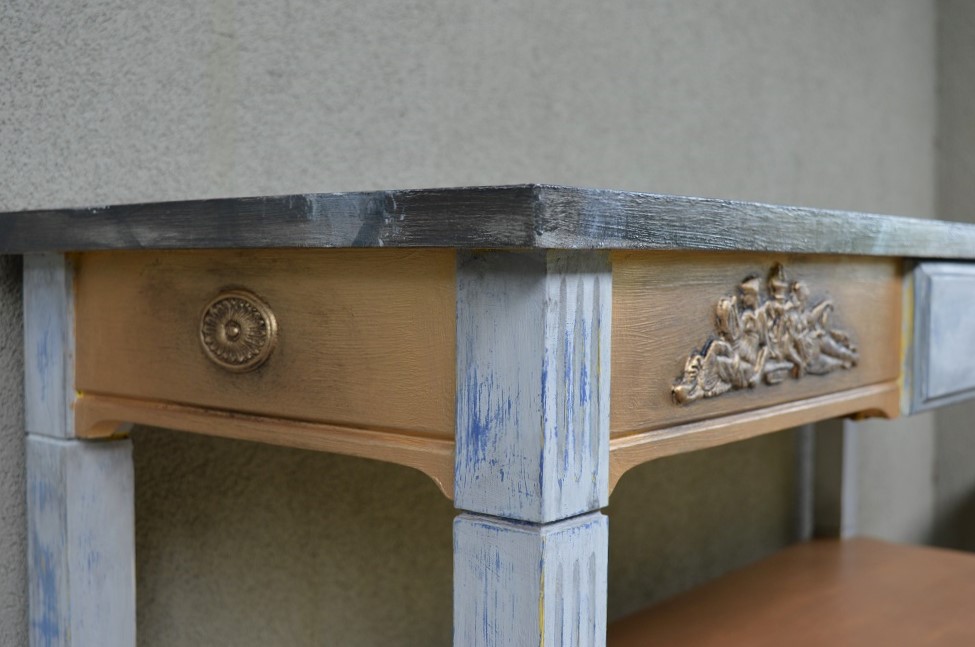
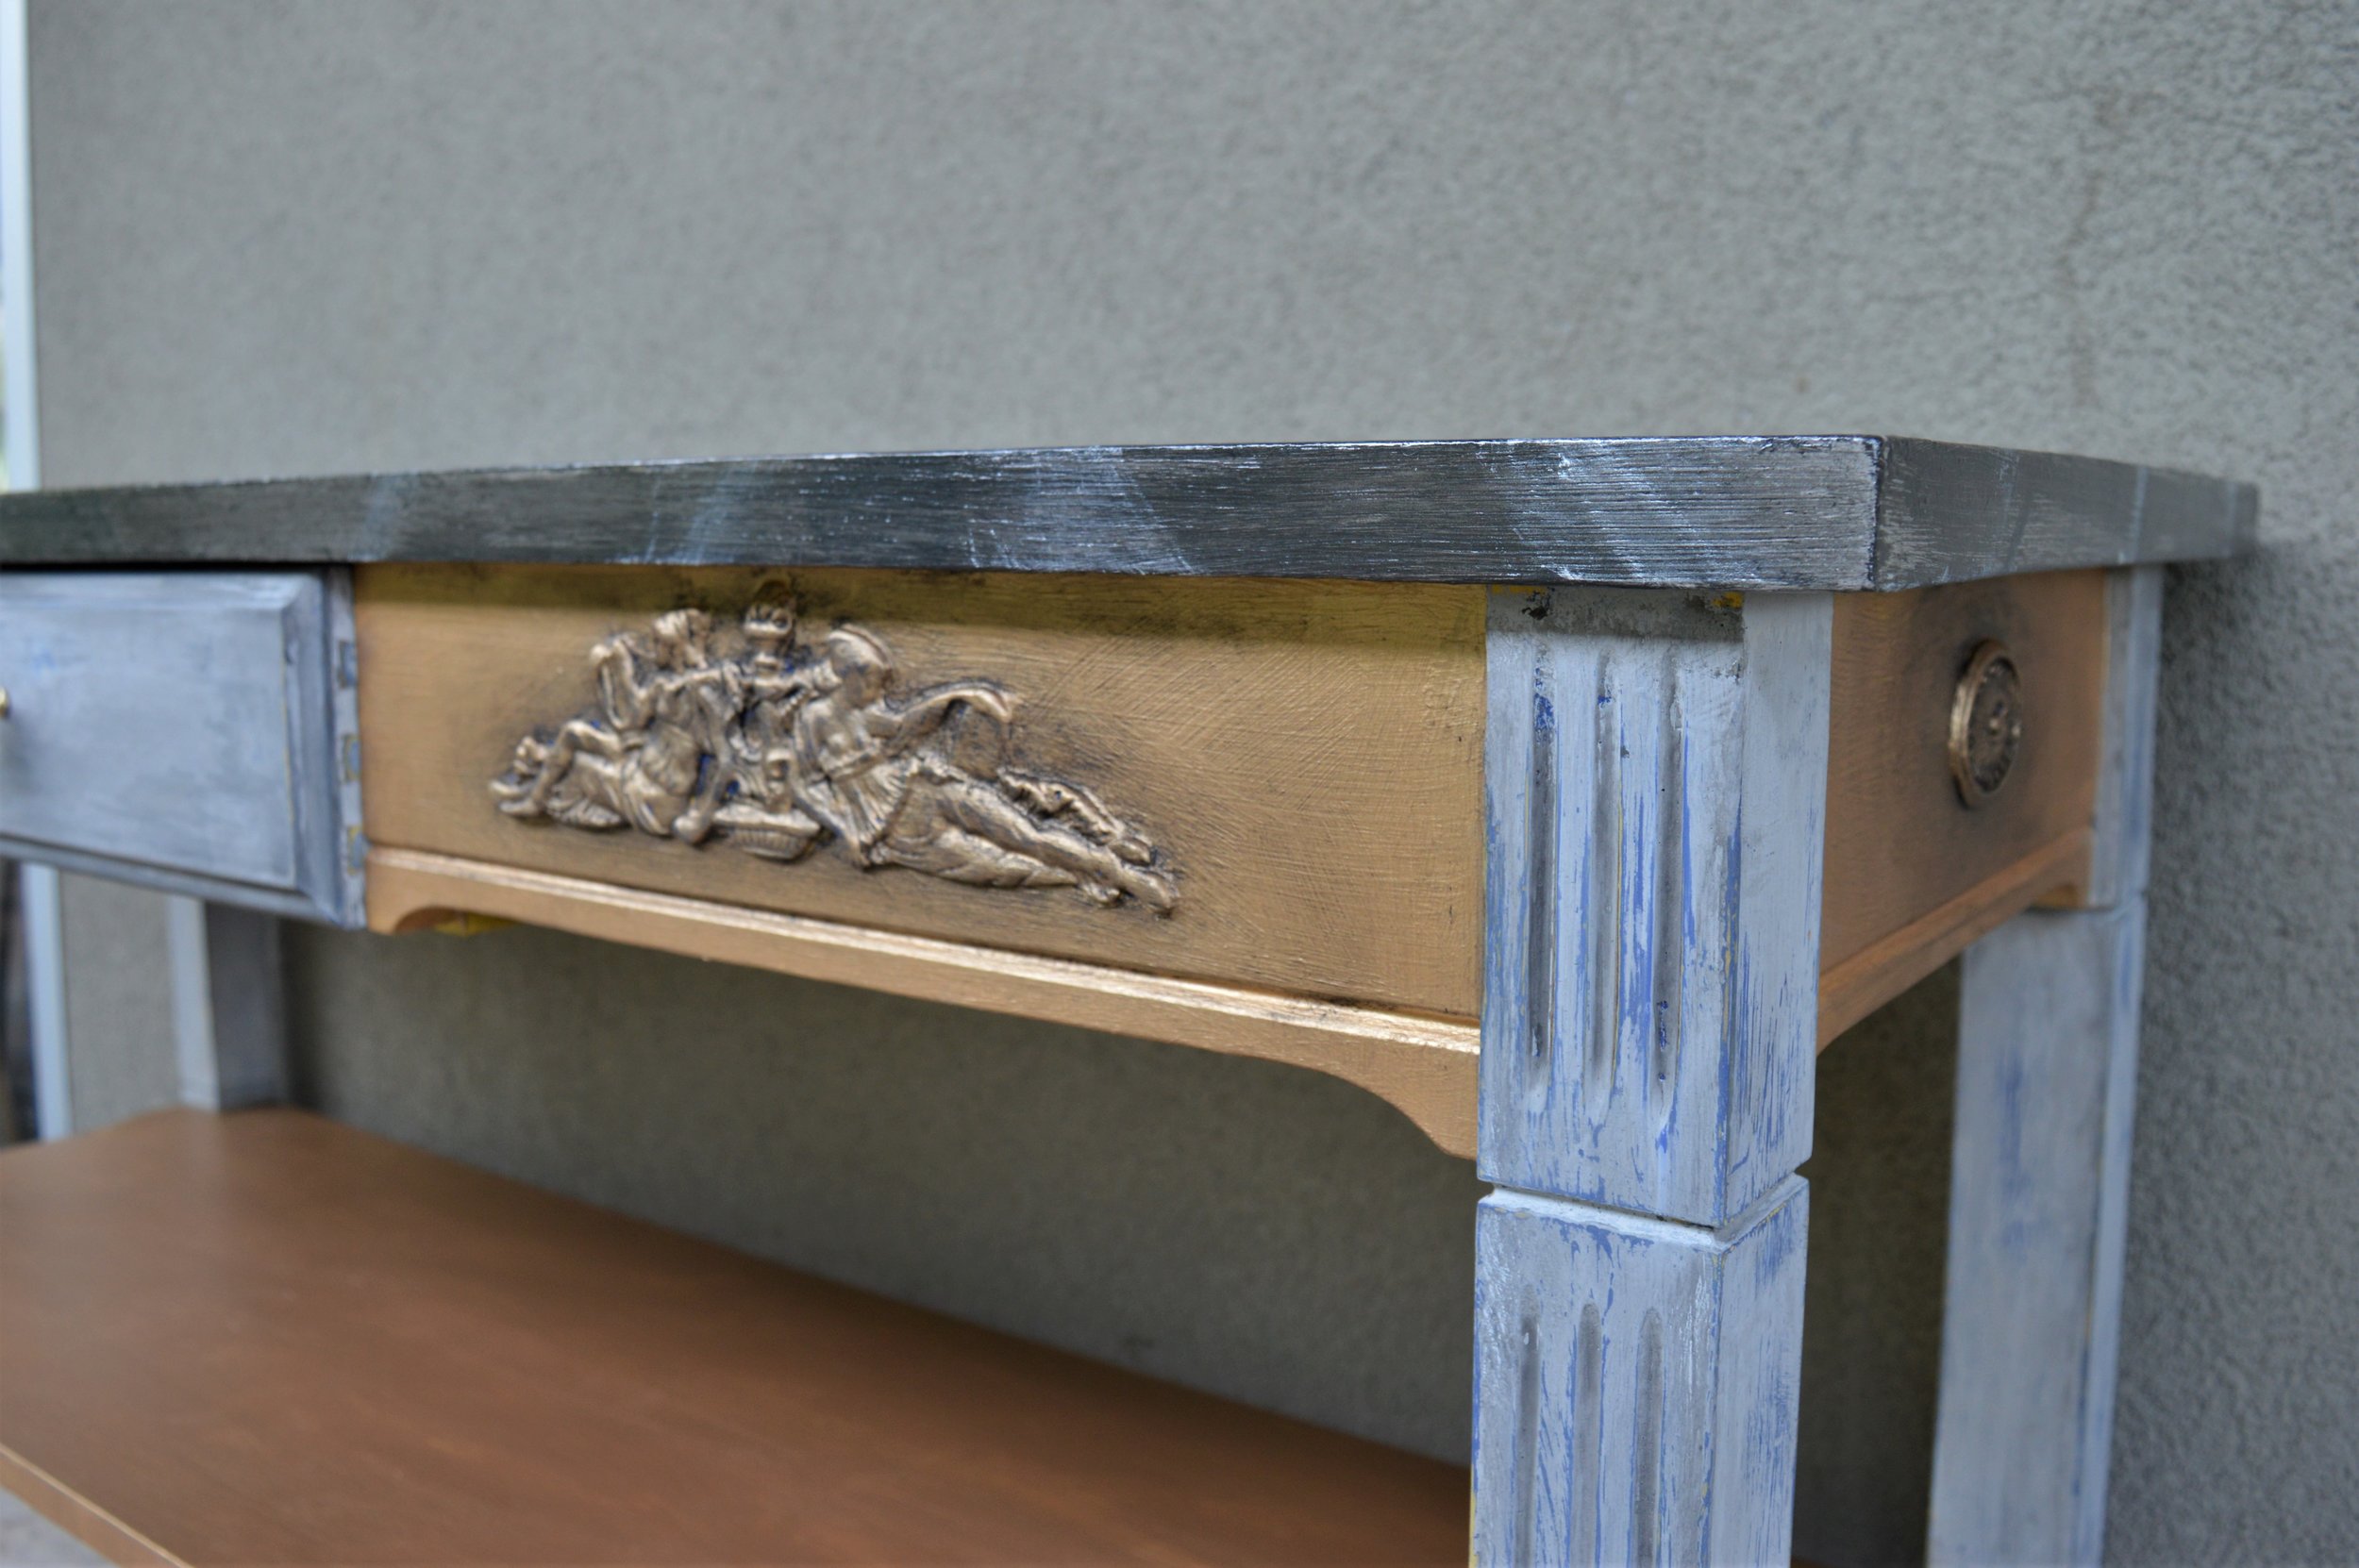
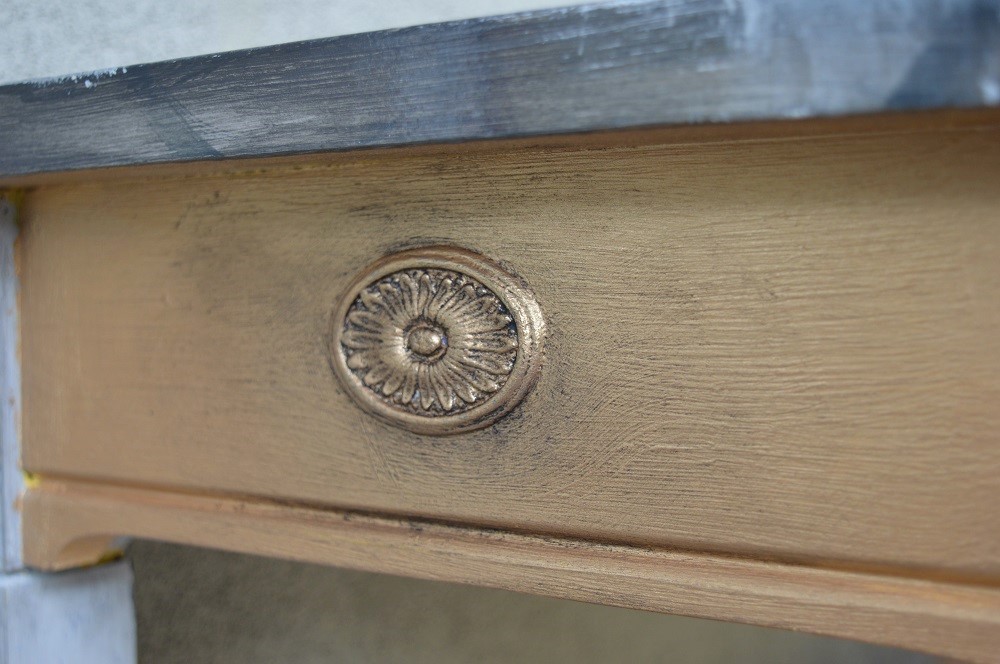
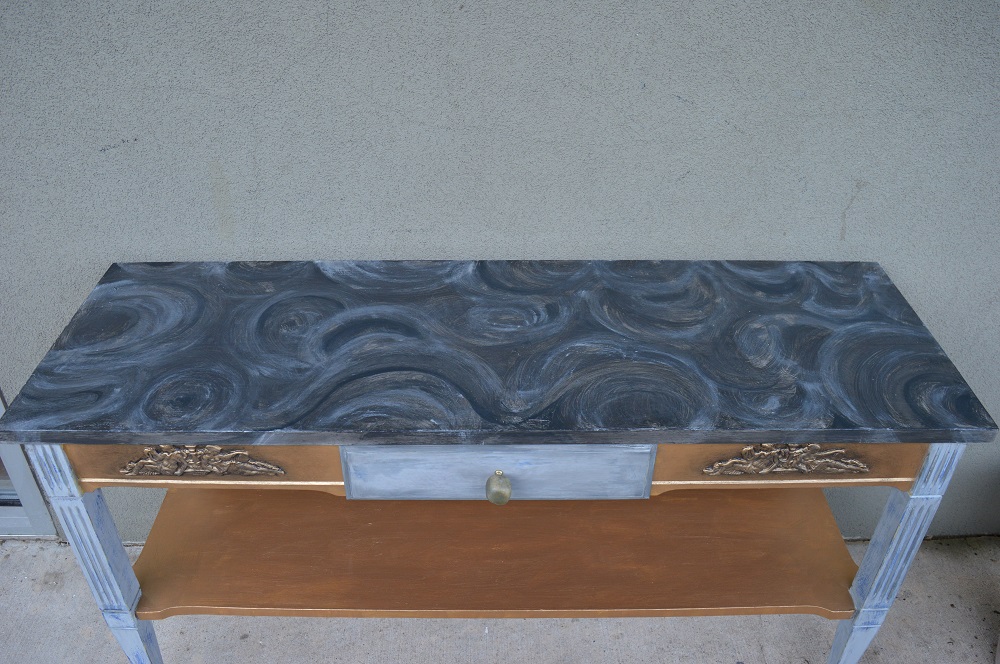
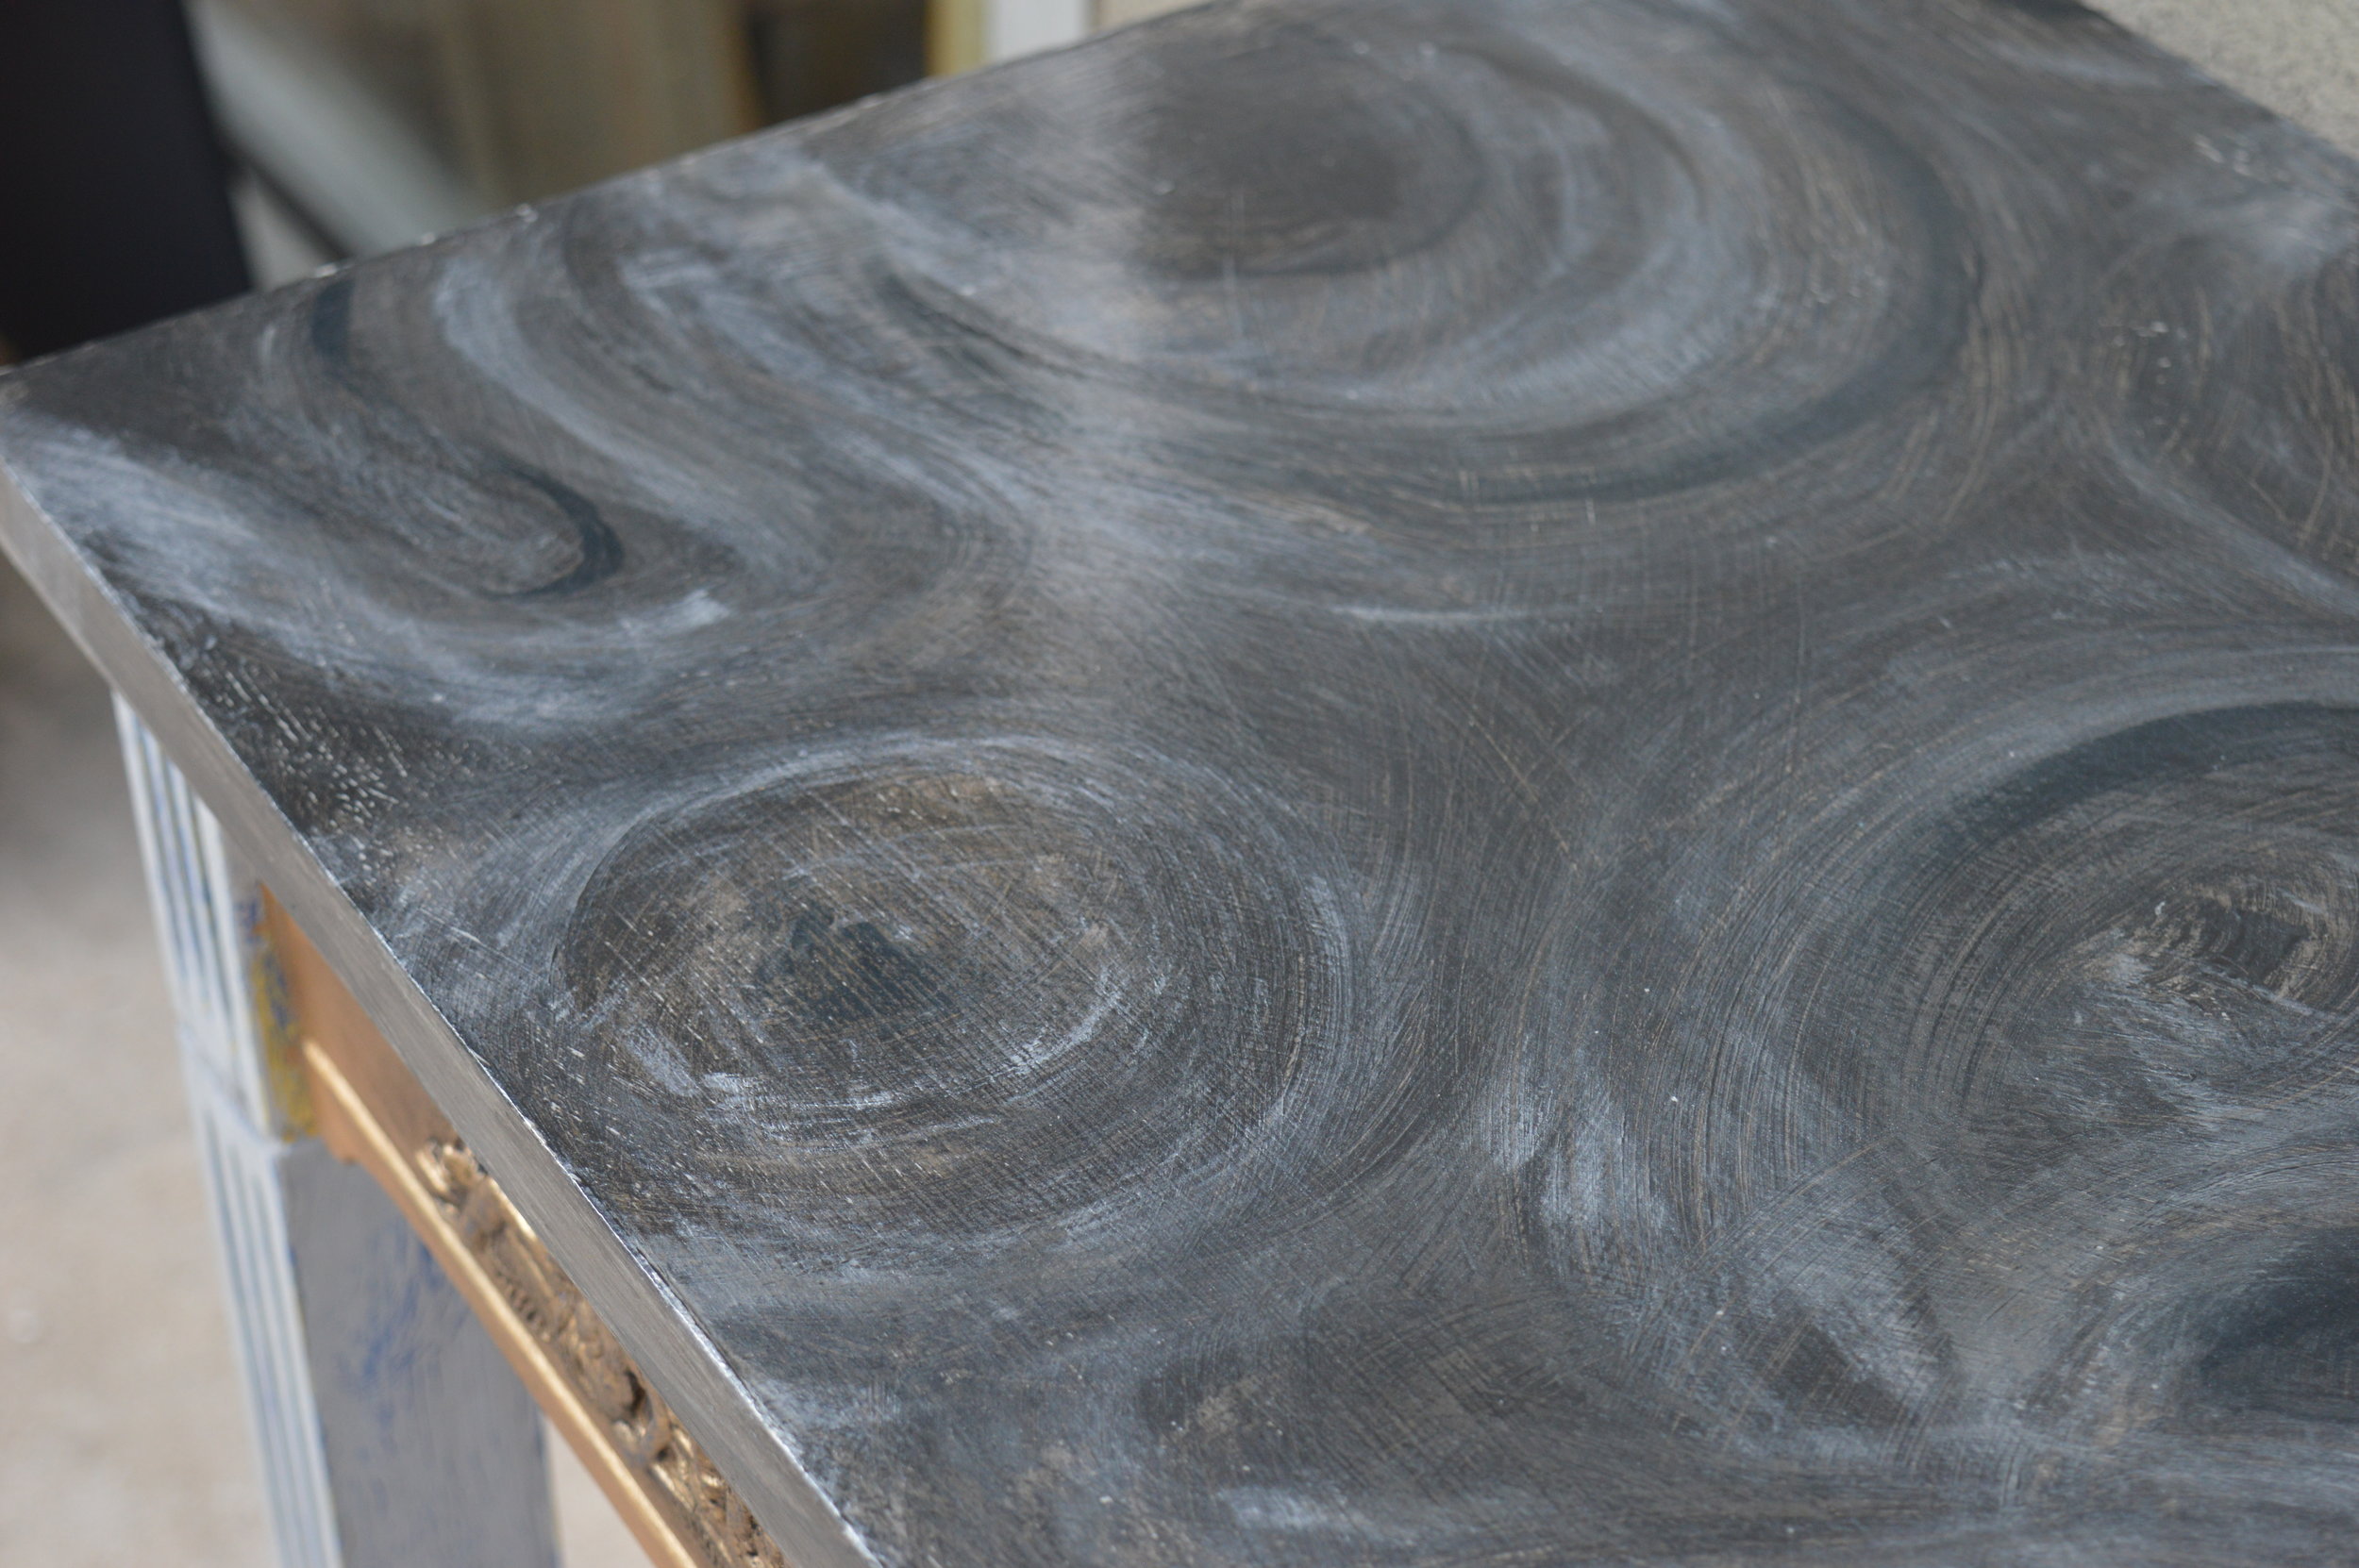
5. We went about finishing our painting technique up right over top! We used layers of Chalk Paint® global Paris Grey, Graphite, Tilton, and Napoleonic Blue. We also used some Modern Masters® Pale Gold on certain areas. We also did a specialty faux stone effect on the top— now THAT DIY tutorial will be for another day!

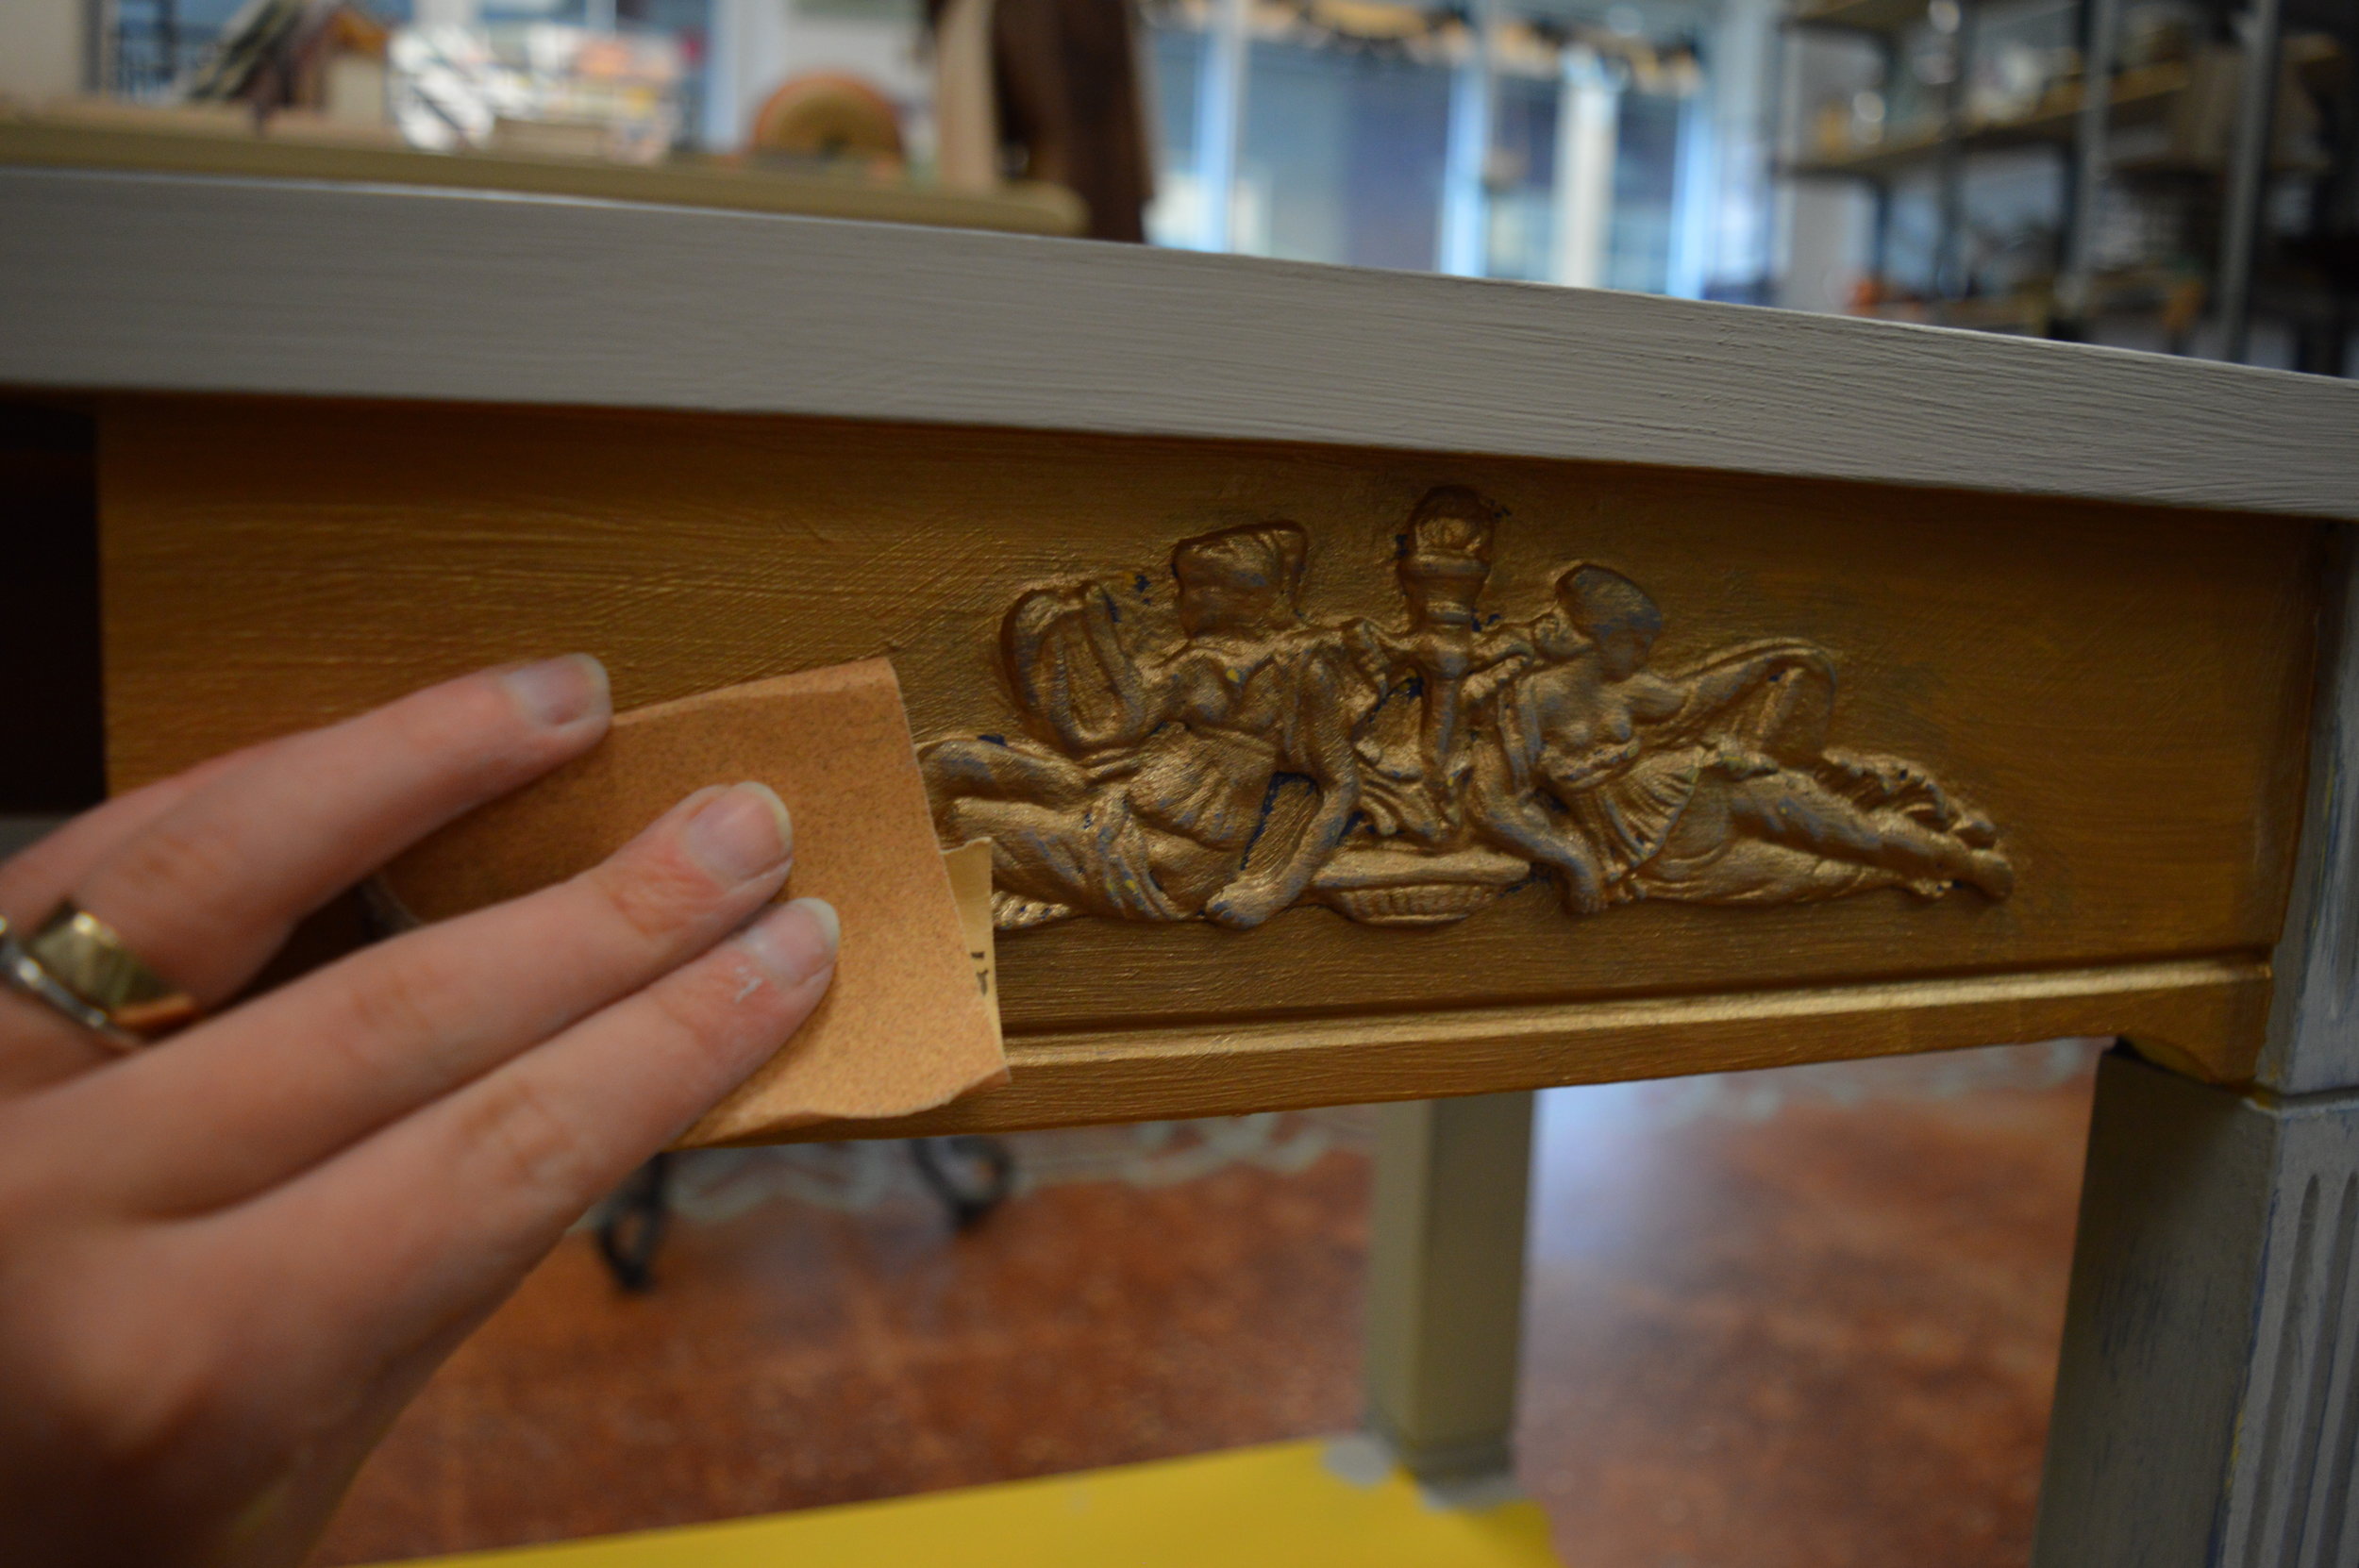
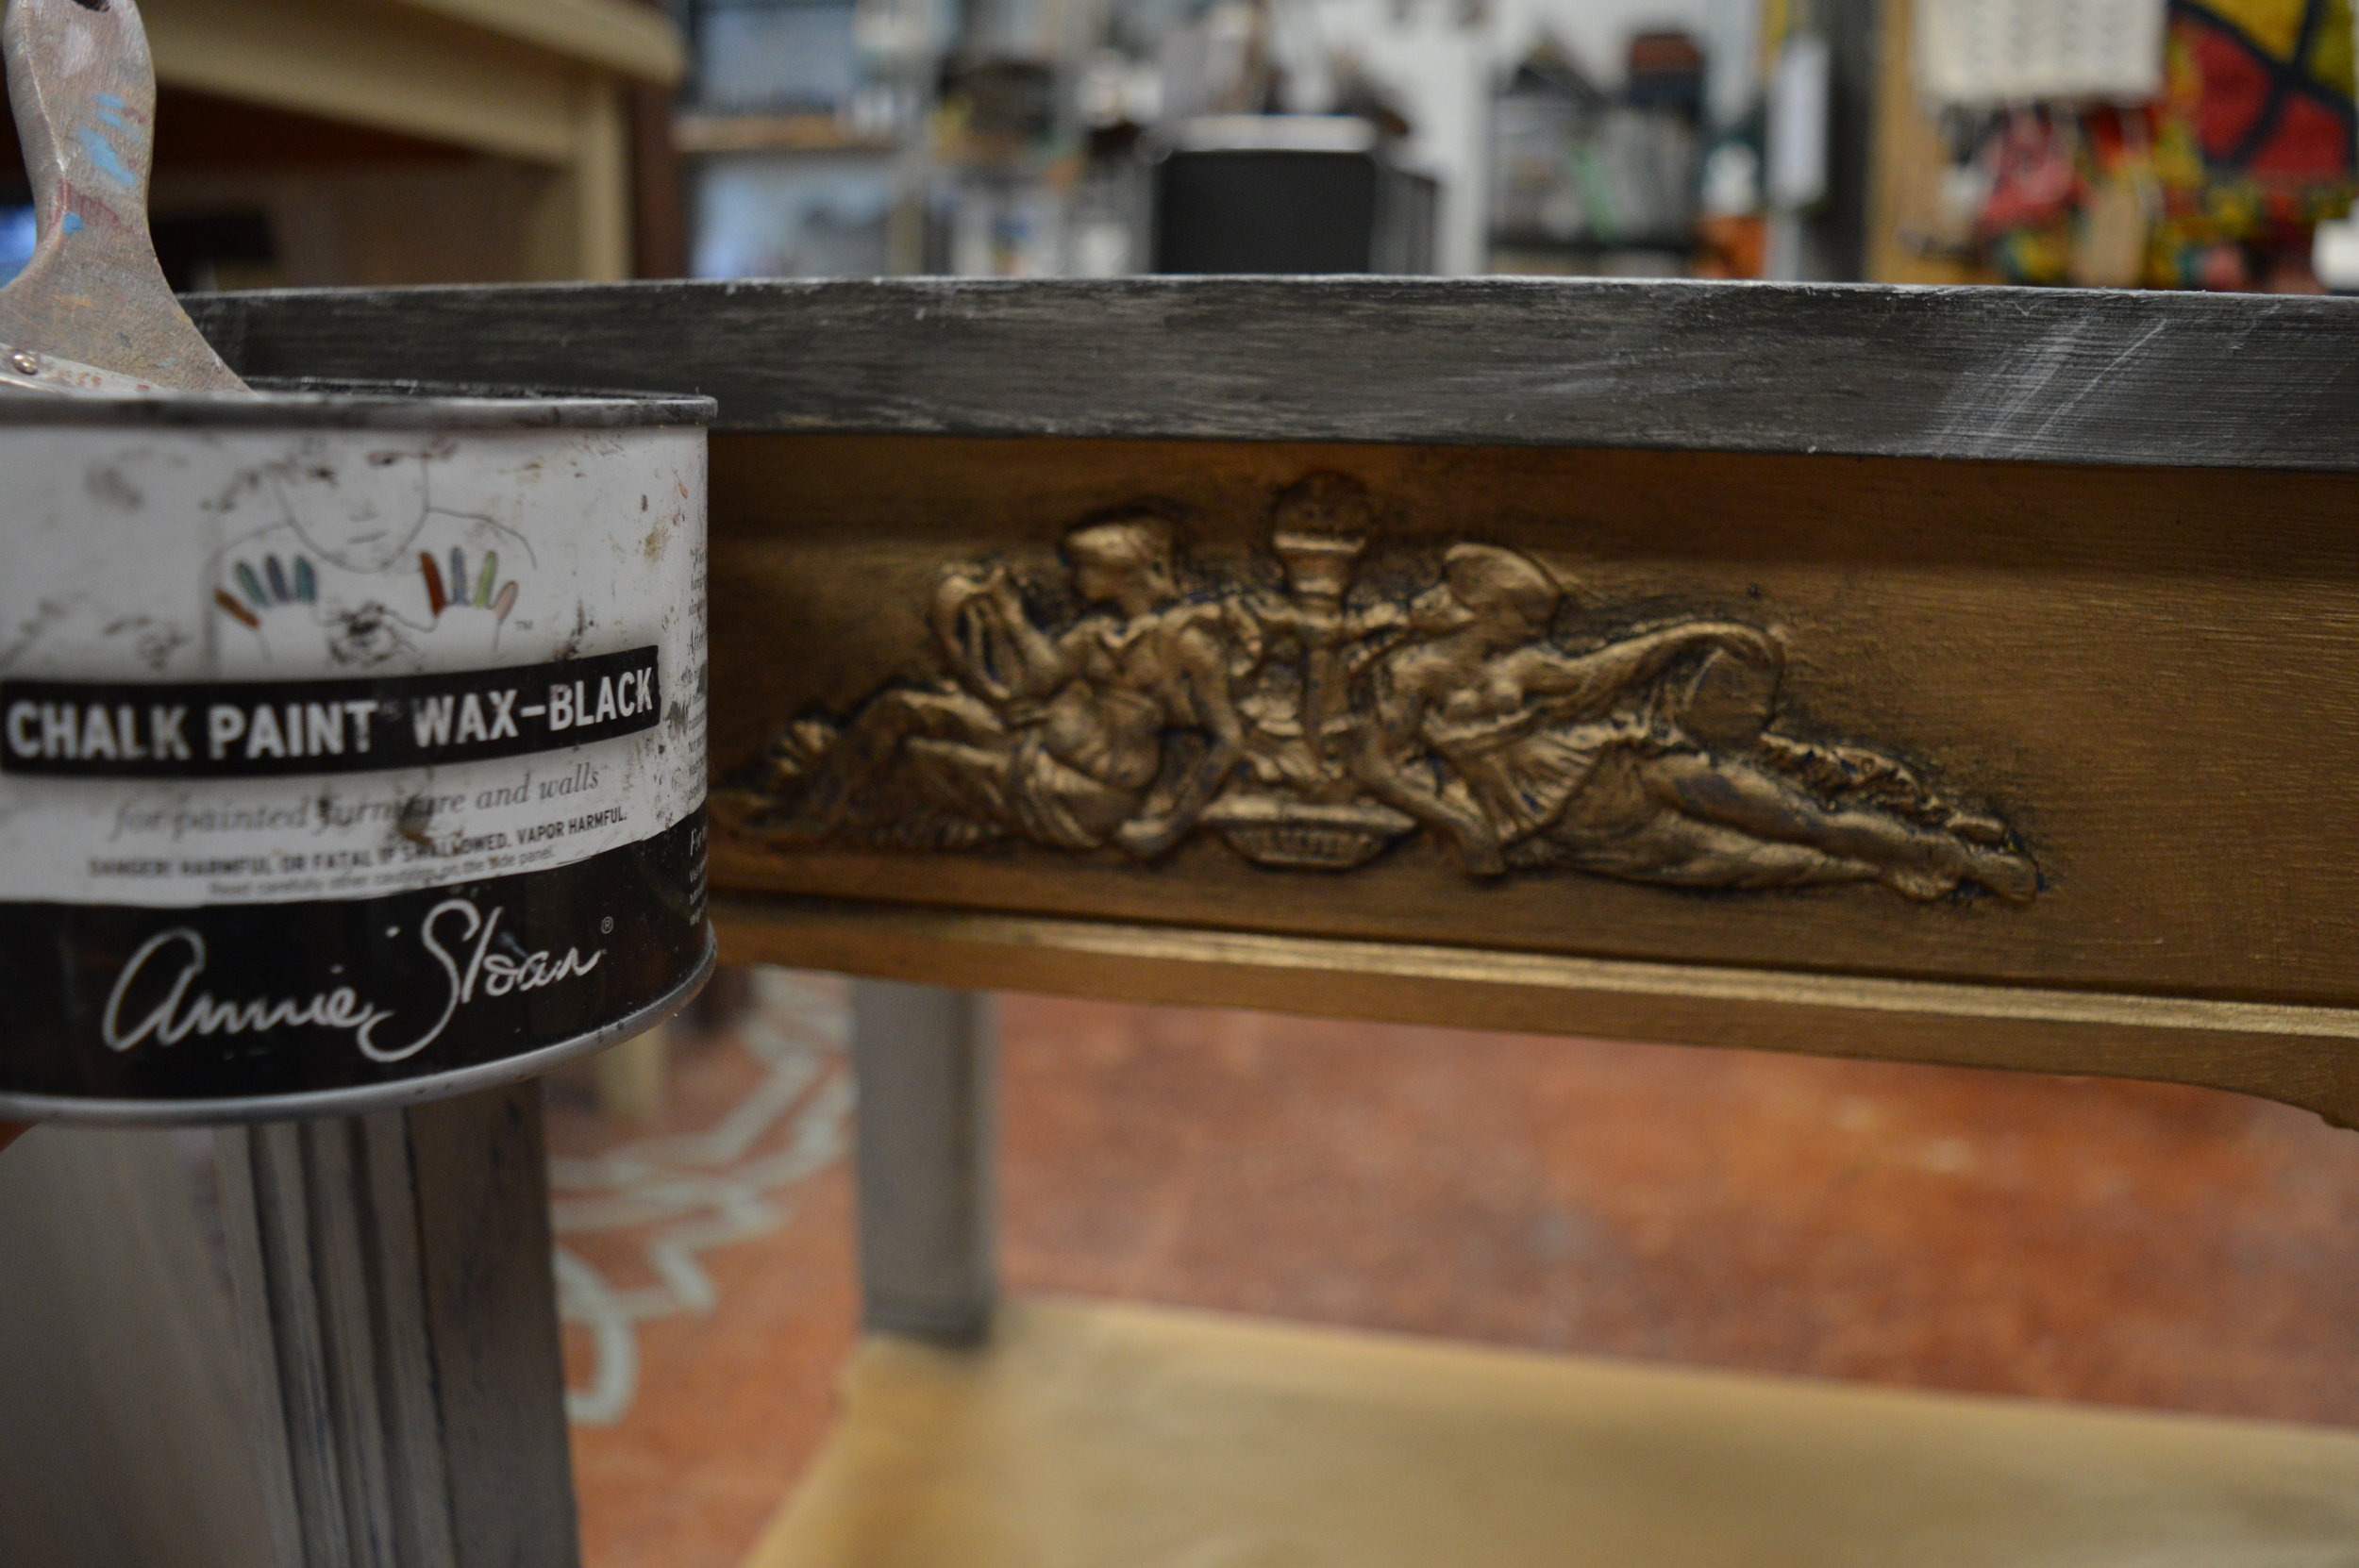
6. We added Chalk Paint® Black Wax around the Efex mouldings to enhance their appearance.
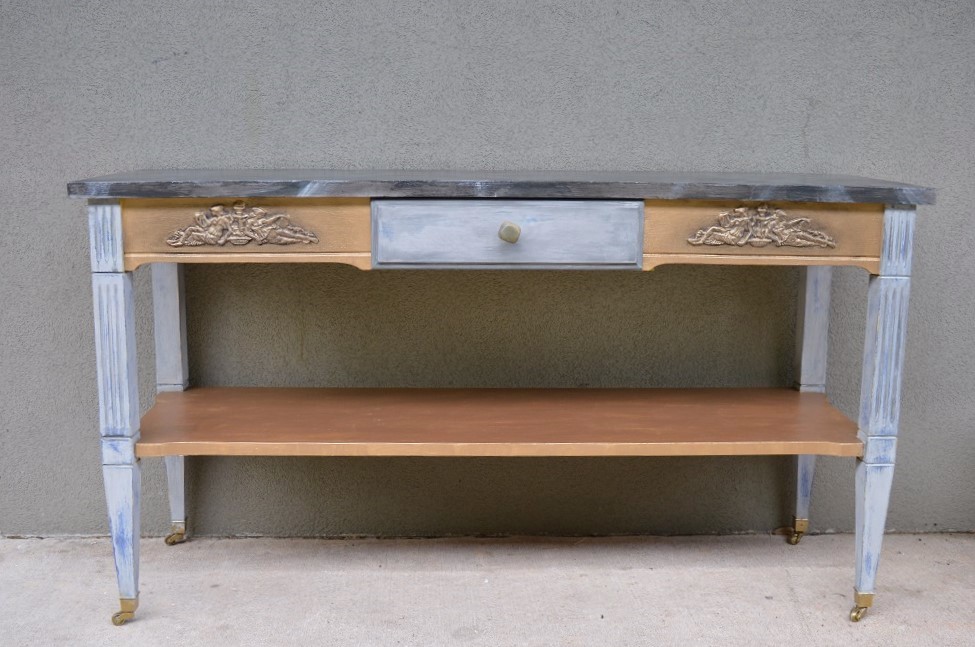
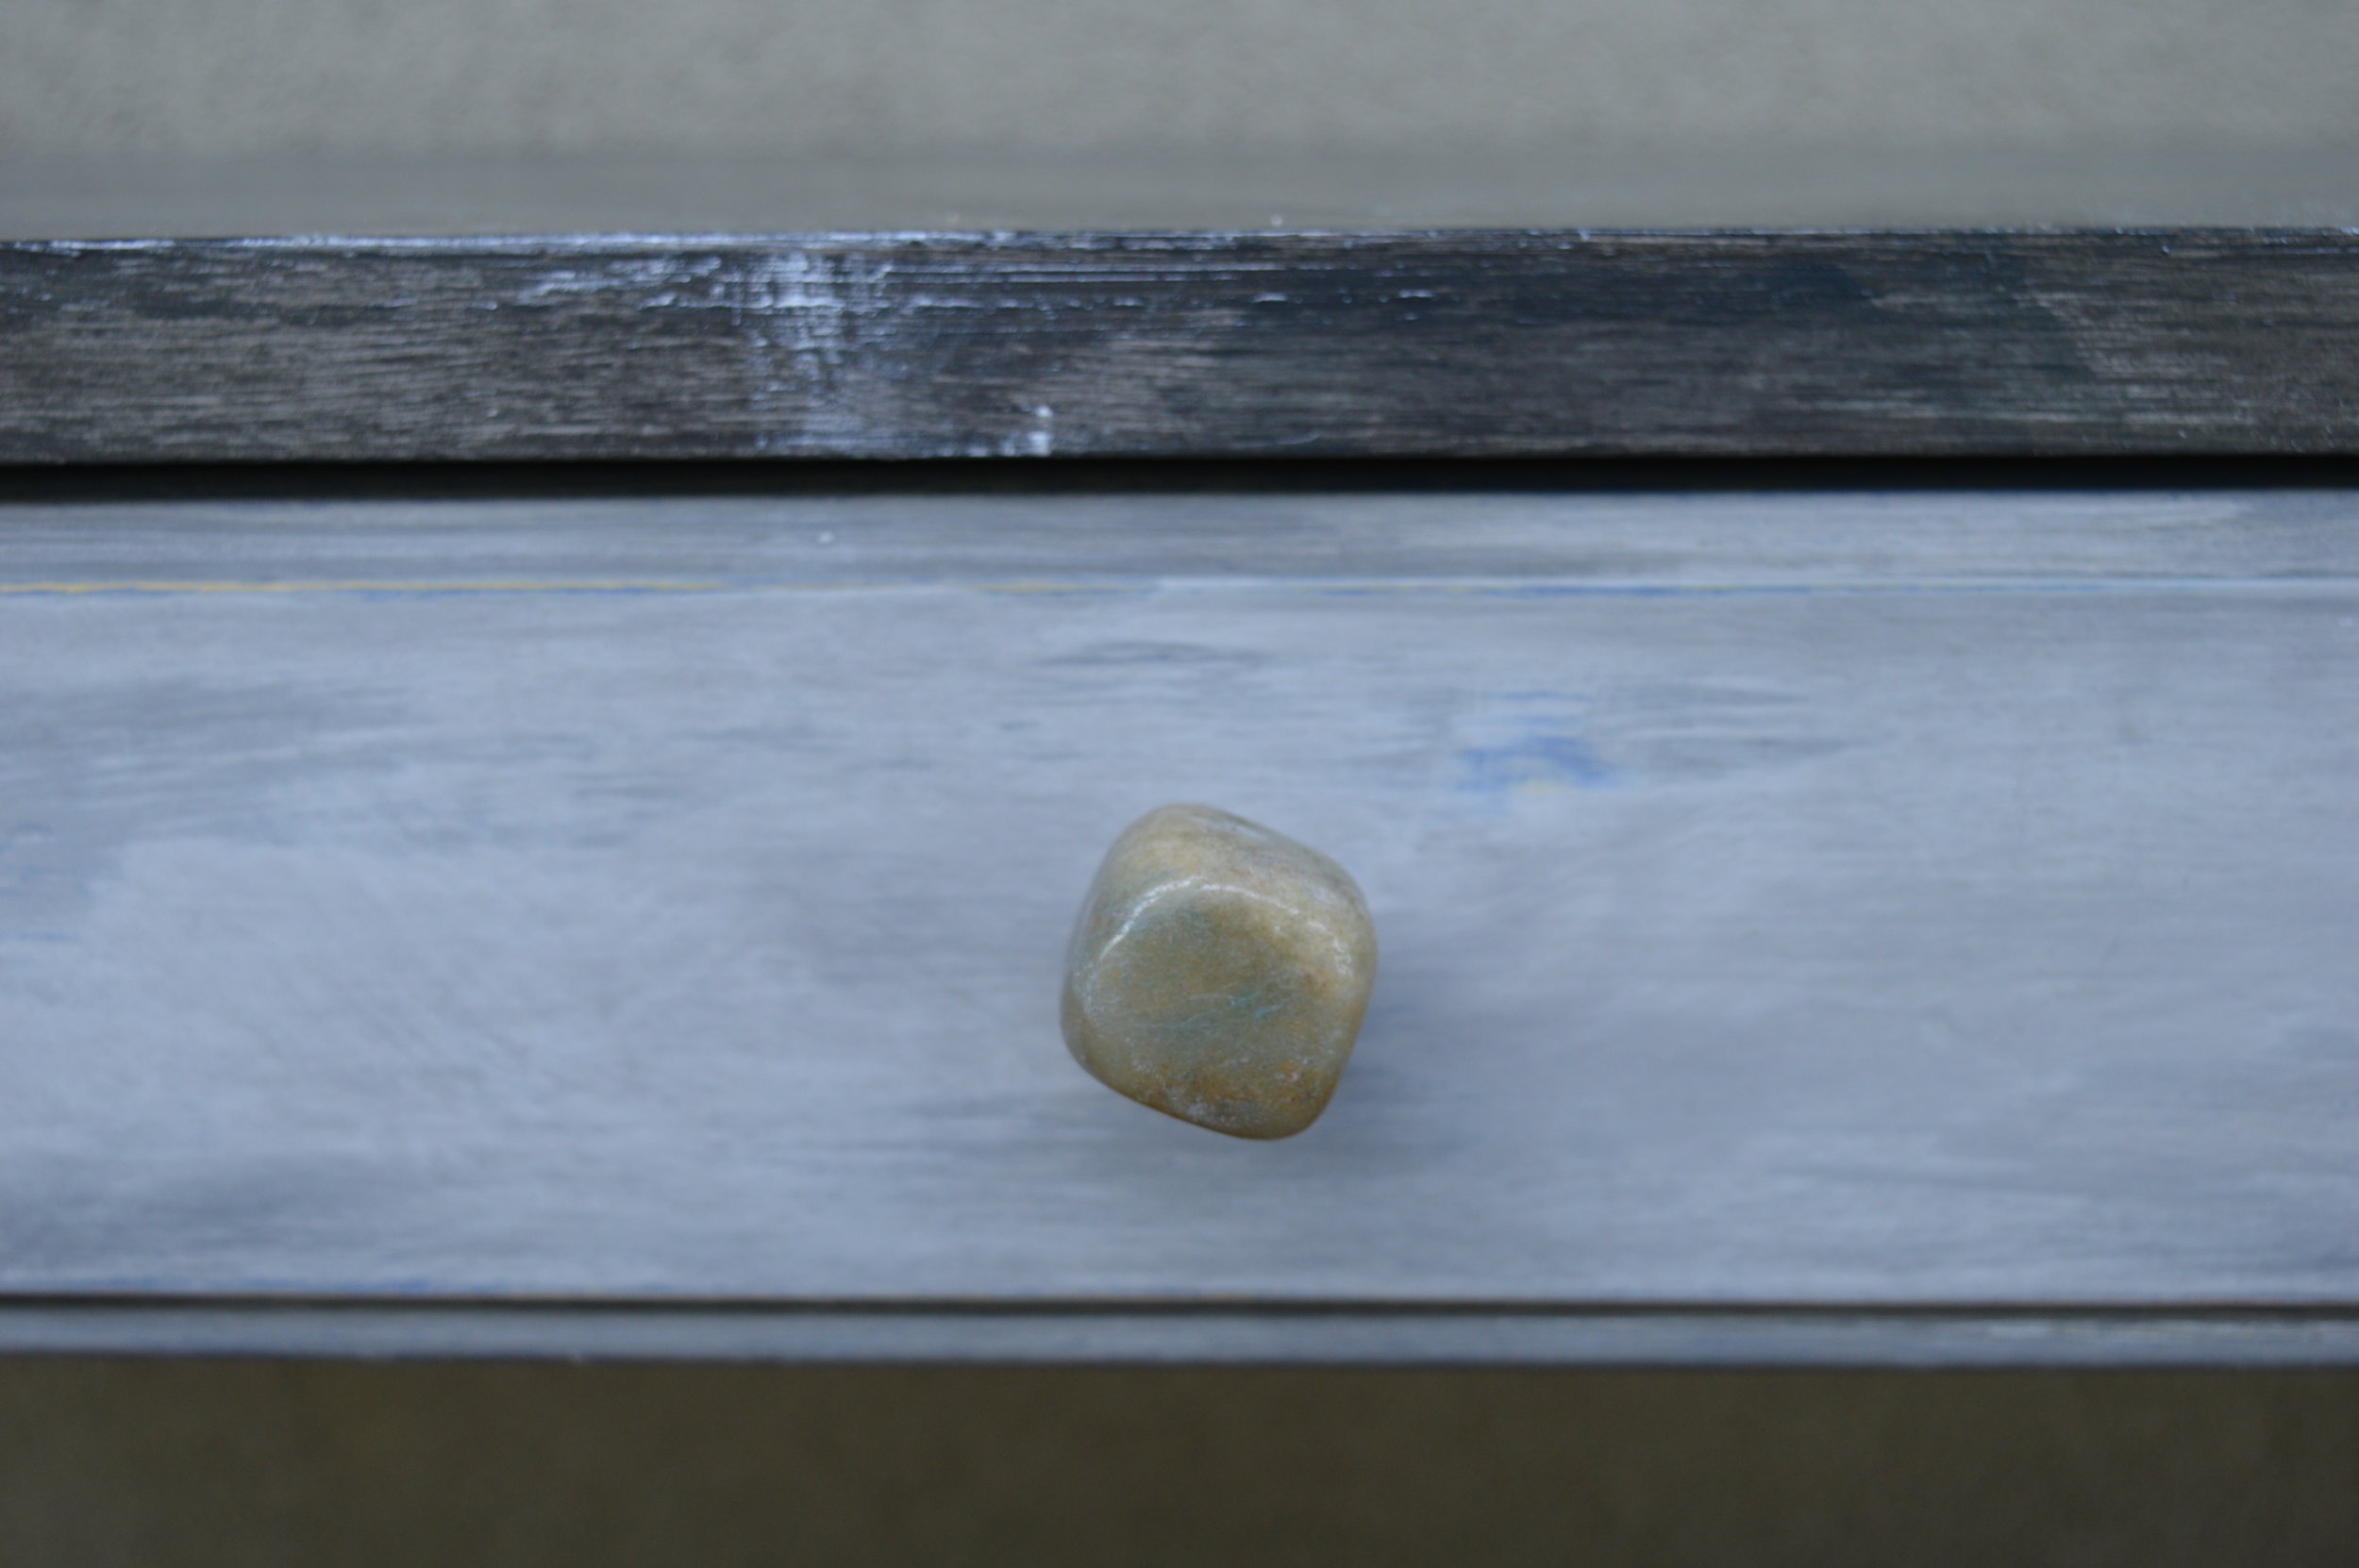
Check out our finished project! We couldn’t be happier with the quality and look of the Efex mouldings that we chose. We also replaced the knob with a stone one, to go with the faux stone effect in the top.


How to Open the New Chalk Paint® Litre Tin Lids
Have you bought an updated litre of Chalk Paint® but not been sure how to open the lid easily? Using these tips it should be a breeze for you.

Hello! Happy February. Our 2019 is in full swing, how about yours? Part of our new year has been an introductory to the updated packaging for the new Chalk Paint® litres. Have you tried the ‘global’ Annie Sloan paint yet? In case you’ve missed it, Chalk Paint® recently got a tiny update on the amount of clay in the formula, and therefore will be a little bit thicker in feeling going forward. We’ve been LOVING how creamy it is, and dare we say we didn’t know how it would ever possible for Chalk Paint® to get any better than what it’s been (since it’s so dreamy)… but it has. Our students and customers have been loving the update too.
The other part of that update is that the large tins will be transitioning over to litres from quarts, so you’ll be getting a tiny bit more bang for your buck as well. Opening the litre lids is a little bit of a learning curve, so we decided to highlight the best ways to open the lids without mangling them. All in all, they will be easier to press shut with just your hands going forward (instead of hammering them shut, eek).
Opening the tin
Ease the tin opener between the top of the lid and the edge of the tin.
Apply slight pressure and lift upwards.
Turn the tin a few degrees and repeat the motion. You will feel the air tight seal break and hear a “pop” noise.
Continue turning the tin until you have covered the whole circumference of the lid before attempting to pry the lid completely off.
Be as gentle and light handed as possible.
Following these steps will prevent the lid buckling or damaging the tin.
Closing the tin
To secure the lid after use, set in place on the top of the tin.
Place both palms on the lid and apply pressure down until you here a “pop”.
*The Wax, Lacquer, and Chalk Paint® tins are all the same, so you can use this method with every Annie Sloan tin. All metals are susceptible to some bending and denting if not handled gently.
If you haven’t made it to the ‘new’ formulated colors yet, visit us to get a quick painting demo to try it for yourself!
Happy Painting :)
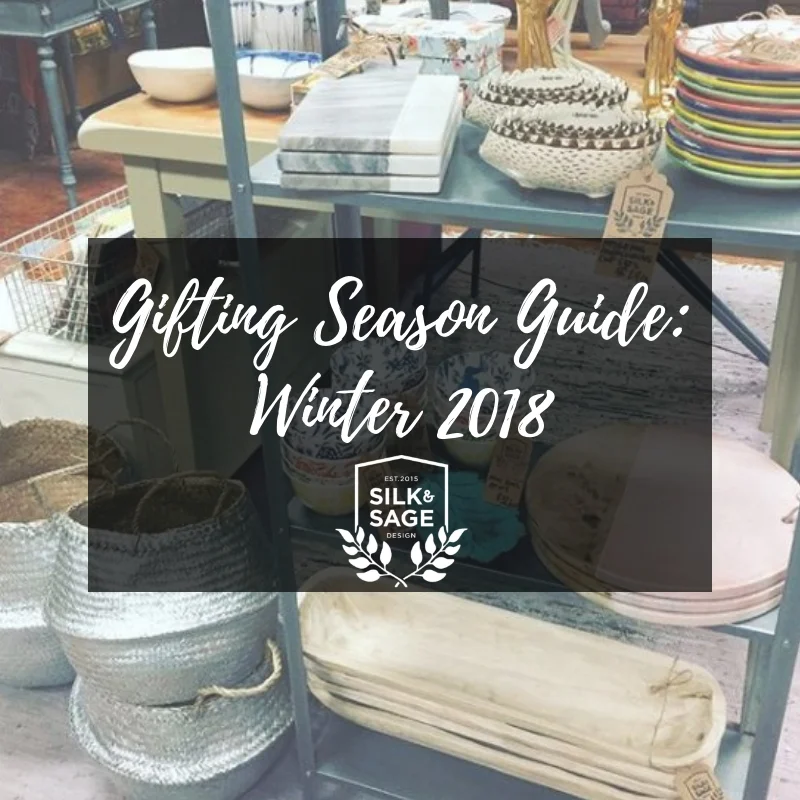
Gifting Season Guide: Winter 2018
Peruse our recommendations for gifts that are unique, made by local artists, and/or are eco-friendly! For all budgets.

As far as we’re concerned, ‘gifting season’ generally encompasses Fall-Winter, with many different holidays and other cultural celebrations going on during this time. Another thing about this season… it often means travelling and spending time with loved ones in their homes, and it can be customary to bring a little thoughtful gift along now and then to such gatherings, especially if it’s the first season spent in a new home (truly housewarming).
It’s true that gifting should always be with the recipient in mind and never a selfish act! Focusing on unique, locally made, eco-friendly, and experiential gifts, here’s our Silk and Sage Design 2018 Gift Guide, with various price ranges for all budgets:
$5 and Under
A Thoughtful, Hand-Written Card With Fun Imagery and/or Original Artwork.
This is a classic that never gets old. The act of sending cards has waxed and waned through the years, but it’s definitely on the upswing in our opinion. Even for the smallest budget, sending your loved ones a genuinely thoughtful message (especially if you haven’t seen them in a while) is uplifting. And if they love the artwork they can frame the card!
Check out our locally-made ATX cards in-store from Beth and a Brush, Stationery Bakery, and Sharabella Fini, ranging from $4-$5 each including an envelope for each!

$10-$20
Zinc Heart & Arrow Measuring Spoon Sets.
Practical style in the kitchen is timeless. This set of measuring spoons available in-store has your typical 1/4 tsp - 1 tbsp. increments… but in the shapes of hearts (we just can’t get over them)! And you can untie their little leather strap to separate each spoon out if you’d like. They’re classier than your basic IKEA measuring spoon sets at $18 per set. Bonus idea: write down a favorite recipe and include it with the spoon set, or snag a yummy box of cake or spiced bread mix to give with the spoon set as a gift that you can bake together.

Rifle Paper Notepads and Weekly Calendar Pads.
Who doesn’t love organization that actually works and is low-commitment? Rifle Paper notepads, grocery list pads (with a magnet for your fridge!), and weekly calendar pads can be used whenever someone wants, however they want. Various lovely designs available in-store! Notepad styles range from $10-$13.

$20-$40
Candles Are Always Winners.
Candles are perfect for many reasons. They are consumable and experiential, thus making them loved and used with delight (most people we know almost savor their candles in small doses forever until they’re burnt through). We’re all about sustainable and nontoxic candle making methods too.
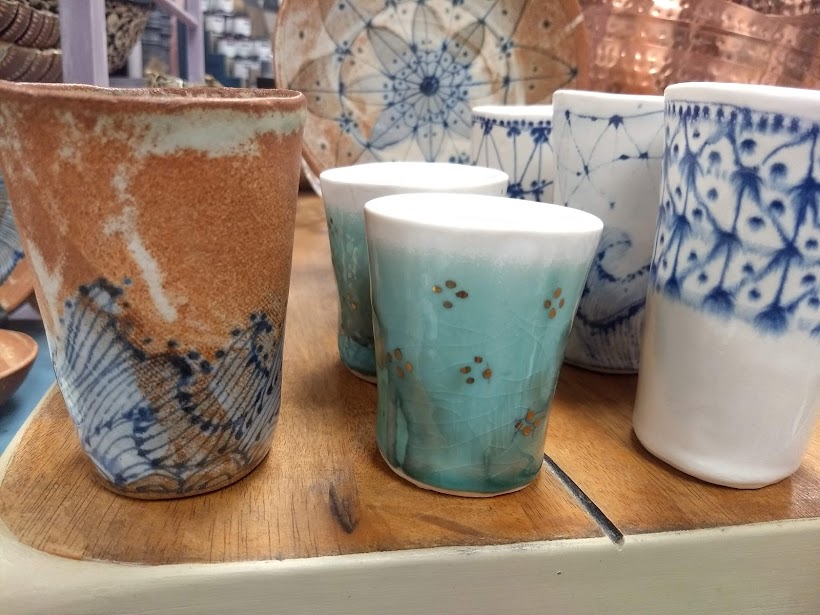
Explore scents from our candles-with-a-cause local Hello George Candles that supports Austin Pets Alive!, and candles in hand-thrown reusable ceramic vessels by Hey Moon Ceramics at our Shop & Studio. Both feature soy wax, lead-free wicks, and scents that are natural and/or essential oil derived ranging from $24-$38 a piece.

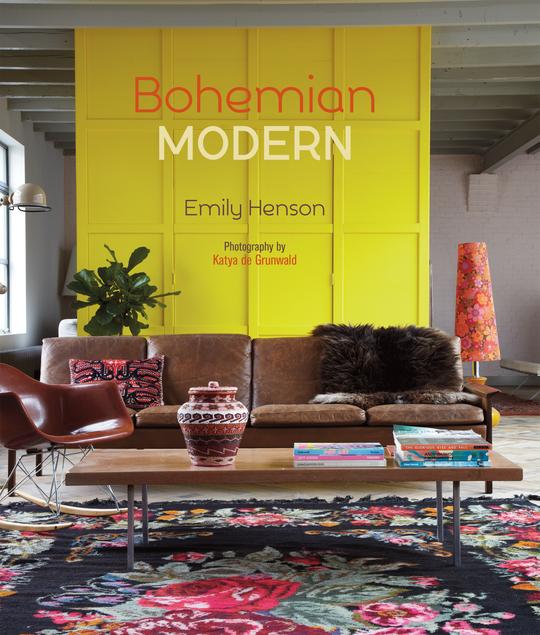
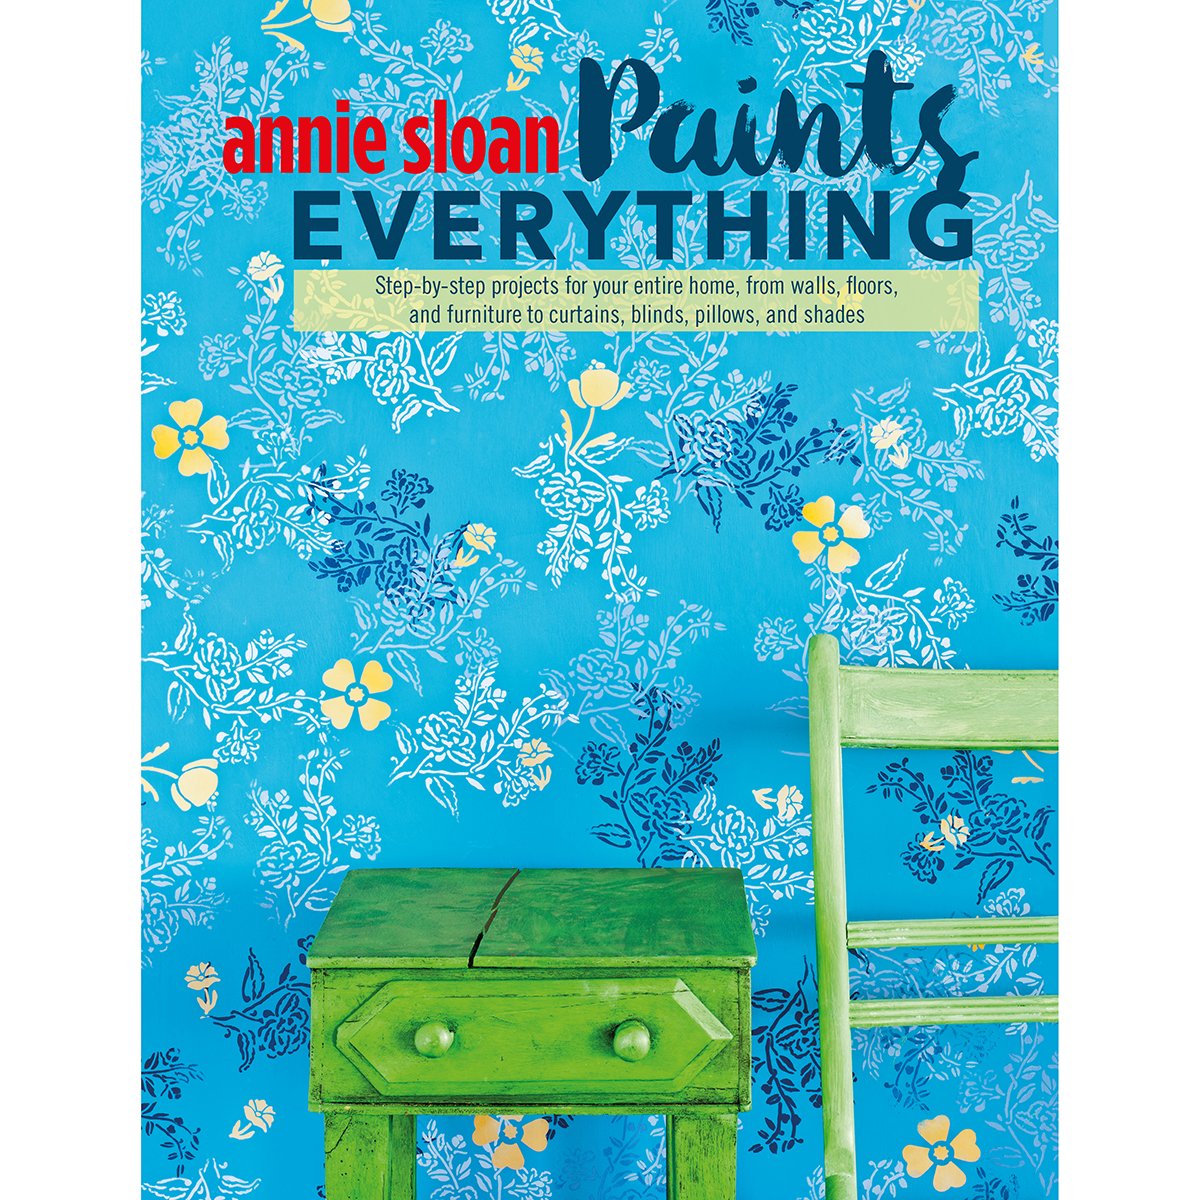
Design Book(s).
Pinterest is great and all, but what’s even nicer is to have a curated selection of inspiration bound right in front of you. Design books double as coffee table look books and well-loved idea generators. We’ve got great titles in-store, from Bohemian Modern to Creative Family Home, many books with step-by-step DIY painting projects, and price ranges from $20-$38.
Hammered Copper Bowls.
Our XL hammered copper bowls are large enough to be used as tabletop centerpiece vessels, or huge serving bowls for your dinner party gatherings. Each are 14.25” in diameter and $28. They are well loved gifts and are back by popular demand… snag one (or a couple) at our Shop & Studio as giftables while they last!

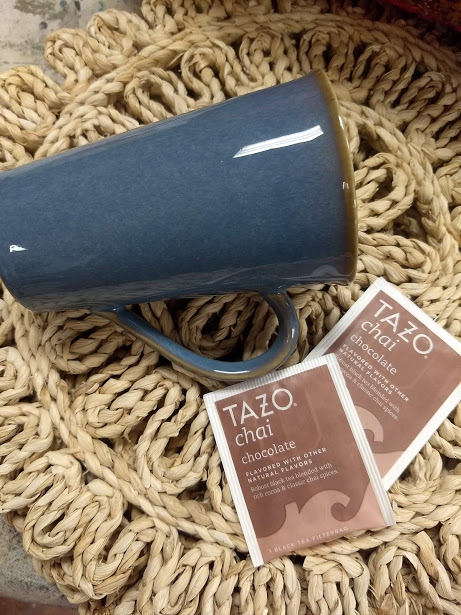
A Well-Made Mug.
We have a lovely selection of mugs for coffee and tea this season, many of which actually fit into cupholders and of course also fit well in the hand. Visit us for our complete current selection including works by Spako Clay, with price ranges from $24-$36 each. Bonus gift idea: add a tea ball or infuser, and/or a tea or coffee you know your giftee will love!
$50-$85
Captivating Throw Blankets.
For those with boho-chic, relaxed, and traveler vibes, throw blankets are an easy and timeless gift. We opt for ones that have been hand made, upcycled, sustainable, and made with care and compensation for the makers. Use them on the couch, on the bed, or take them to outdoor events (like picnics, concerts). Explore our one-of-a-kind kantha quilts, indigo, and mudcloth textiles in-store, ranging from $70-$80 each.
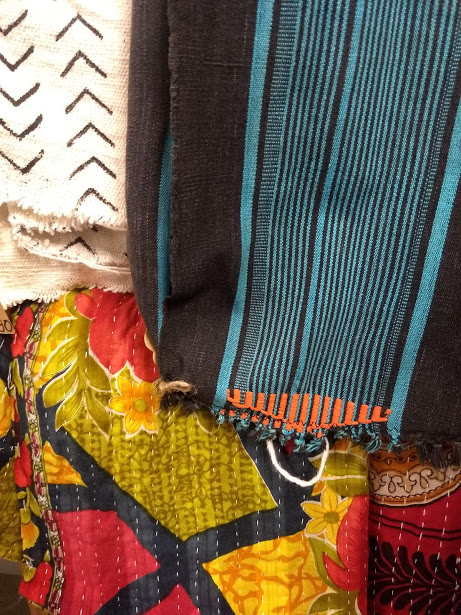

Image courtesy of Carla Aston’s blog to show the possibilities!
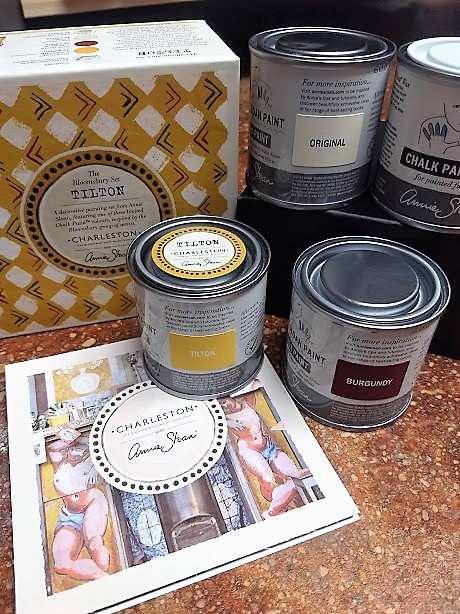
*Limited Edition Chalk Paint® by Annie Sloan Charleston Collection Color Boxed Sets.
A brand new arrival! These could be quite perfect for the painters in your life that seem to have just about everything. The new collaboration with Charleston Trust reveals 3 new colors: Firle (a chartreuse-y green yellow), Rodmell (an eggplant-y purple), and Tilton (a rich golden yellow). Each boxed set comes with a Project Pot of one of the new Chalk Paint® colors plus 2 Project Pots of colors that are complementary to it on the color wheel, plus a small pot of Clear Wax and an inspiration booklet! So cute yet sophisticated, for $48.95 per boxed set.

$85-$150
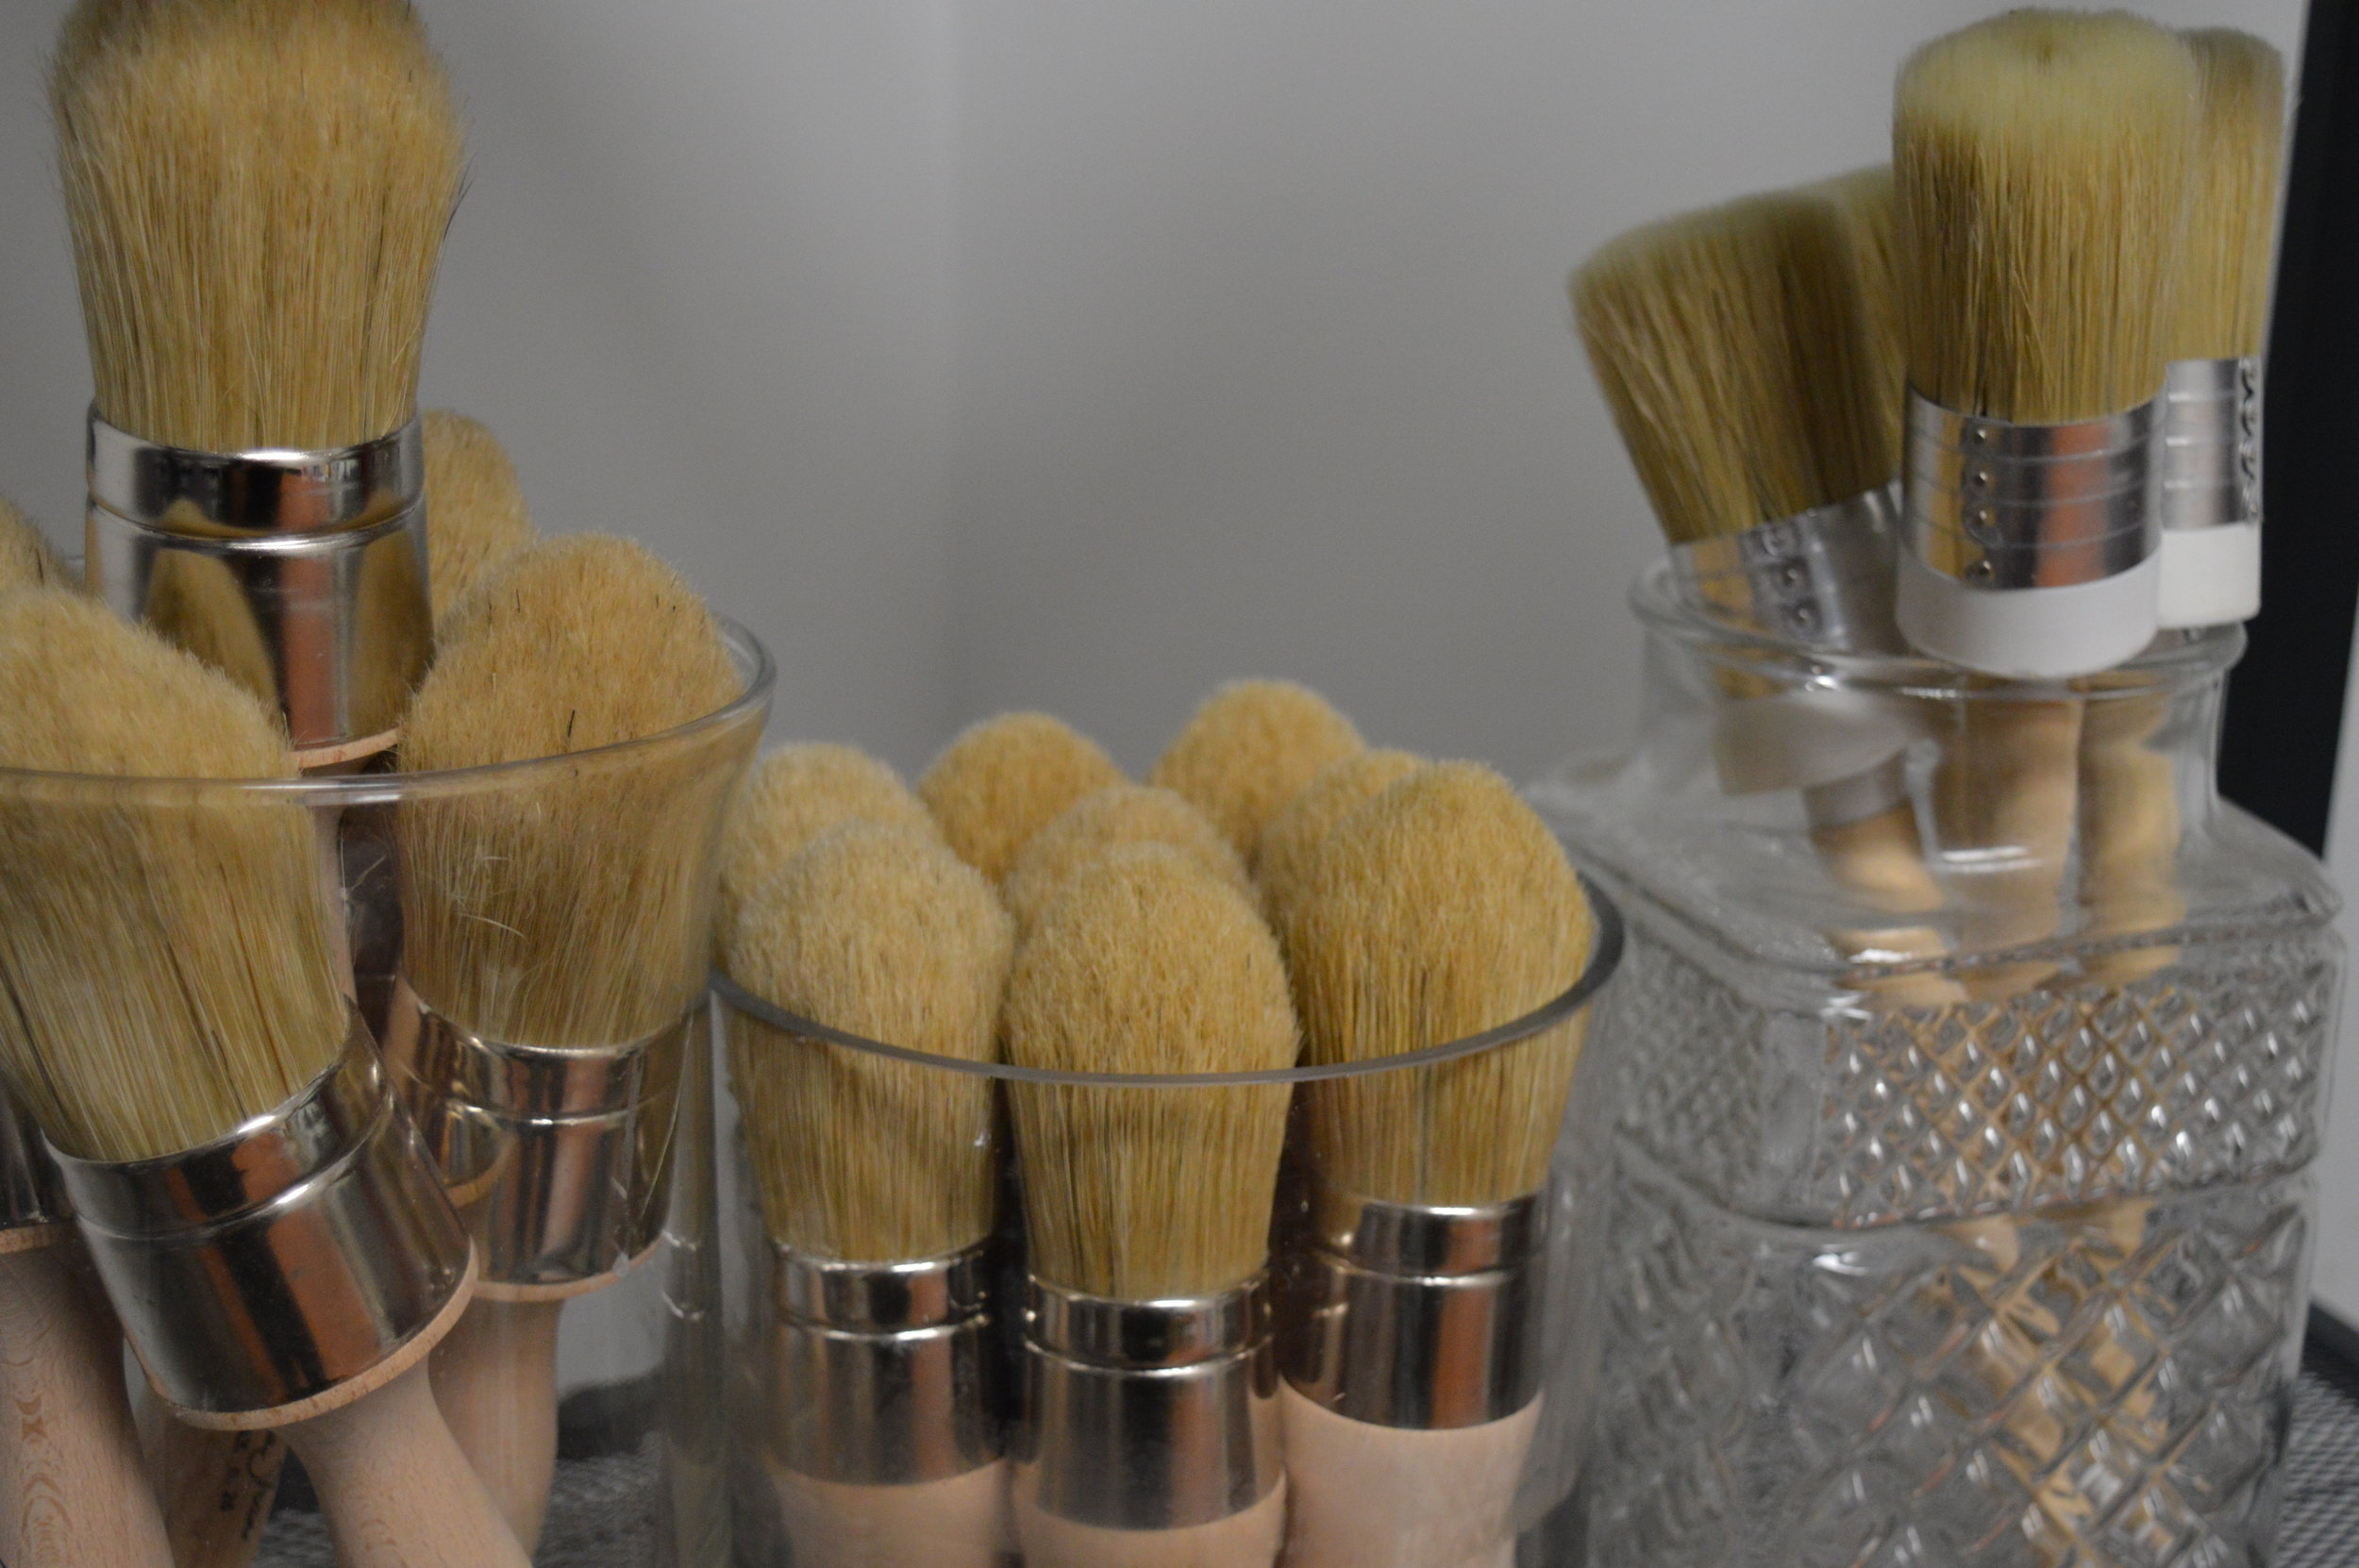
Chalk Paint® Mini Project Pack.
This is a gift that’s perfect for DIY and upcycling beginners. The Project Pack comes with 2 small Pots of Chalk Paint® Decorative Paint (you choose the colors) and Soft Waxes (Clear and Dark Brown), and a small Natural Bristle Brush. Bonus gift idea: add on a Small Wax Brush and/or an Annie Sloan design book that we feature in-store. Ranges $84.95-$149.95 for the different options.

Our Miss Mustard Seed’s Milk Paint Starter Kit
We decided to create an unofficial starter kit for MMSMP, to make it easy for those who are just getting started with or trying to gift some Milk Paint. Everything you need is in this kit, and we feature the Basic Kit plus one with a Wax Brush option. Ranges $98-$122 for different options.

$150+
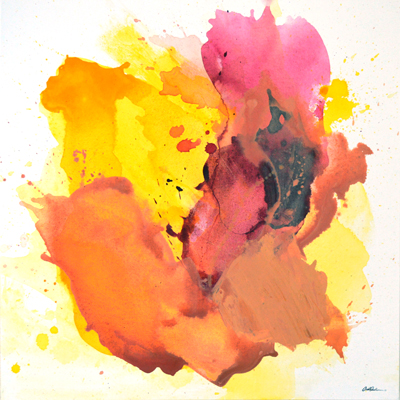
Original Fine Artwork.
Are you close to your giftee and know their taste? Have they been eyeing a certain artist? What about local, original fine artwork? Check out our featured works from Arielle Austin (many of which are still under $150) in-store for mixed and layered abstract paintings and prints.
A Gift Certificate to a DIY Decorative Painting Class.
Set any amount and we will create a cute gift certificate for your giftee. Then they have the freedom to choose the level, date & time, and type of class to learn new DIY painting and technique skills— with Chalk Paint® , Milk Paint, crackle techniques, distressed techniques, metallics, and much more.

>> BONUS: Stocking Stuffers at Various Amounts! <<
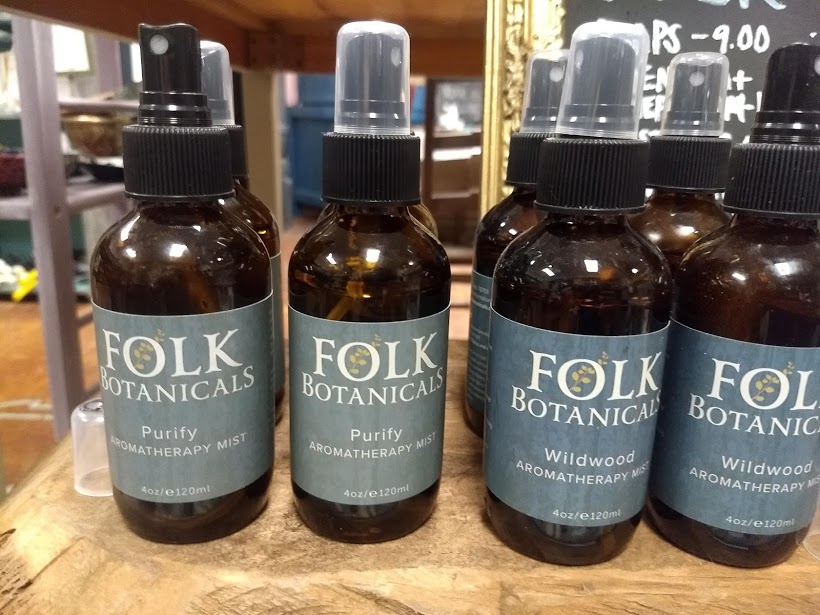
FOLK Botanicals Essential Aromatherapy Mists in Coastal, Purify, and Wildwood- $18 ea. (locally made in small batches with dreamy botanical blends)
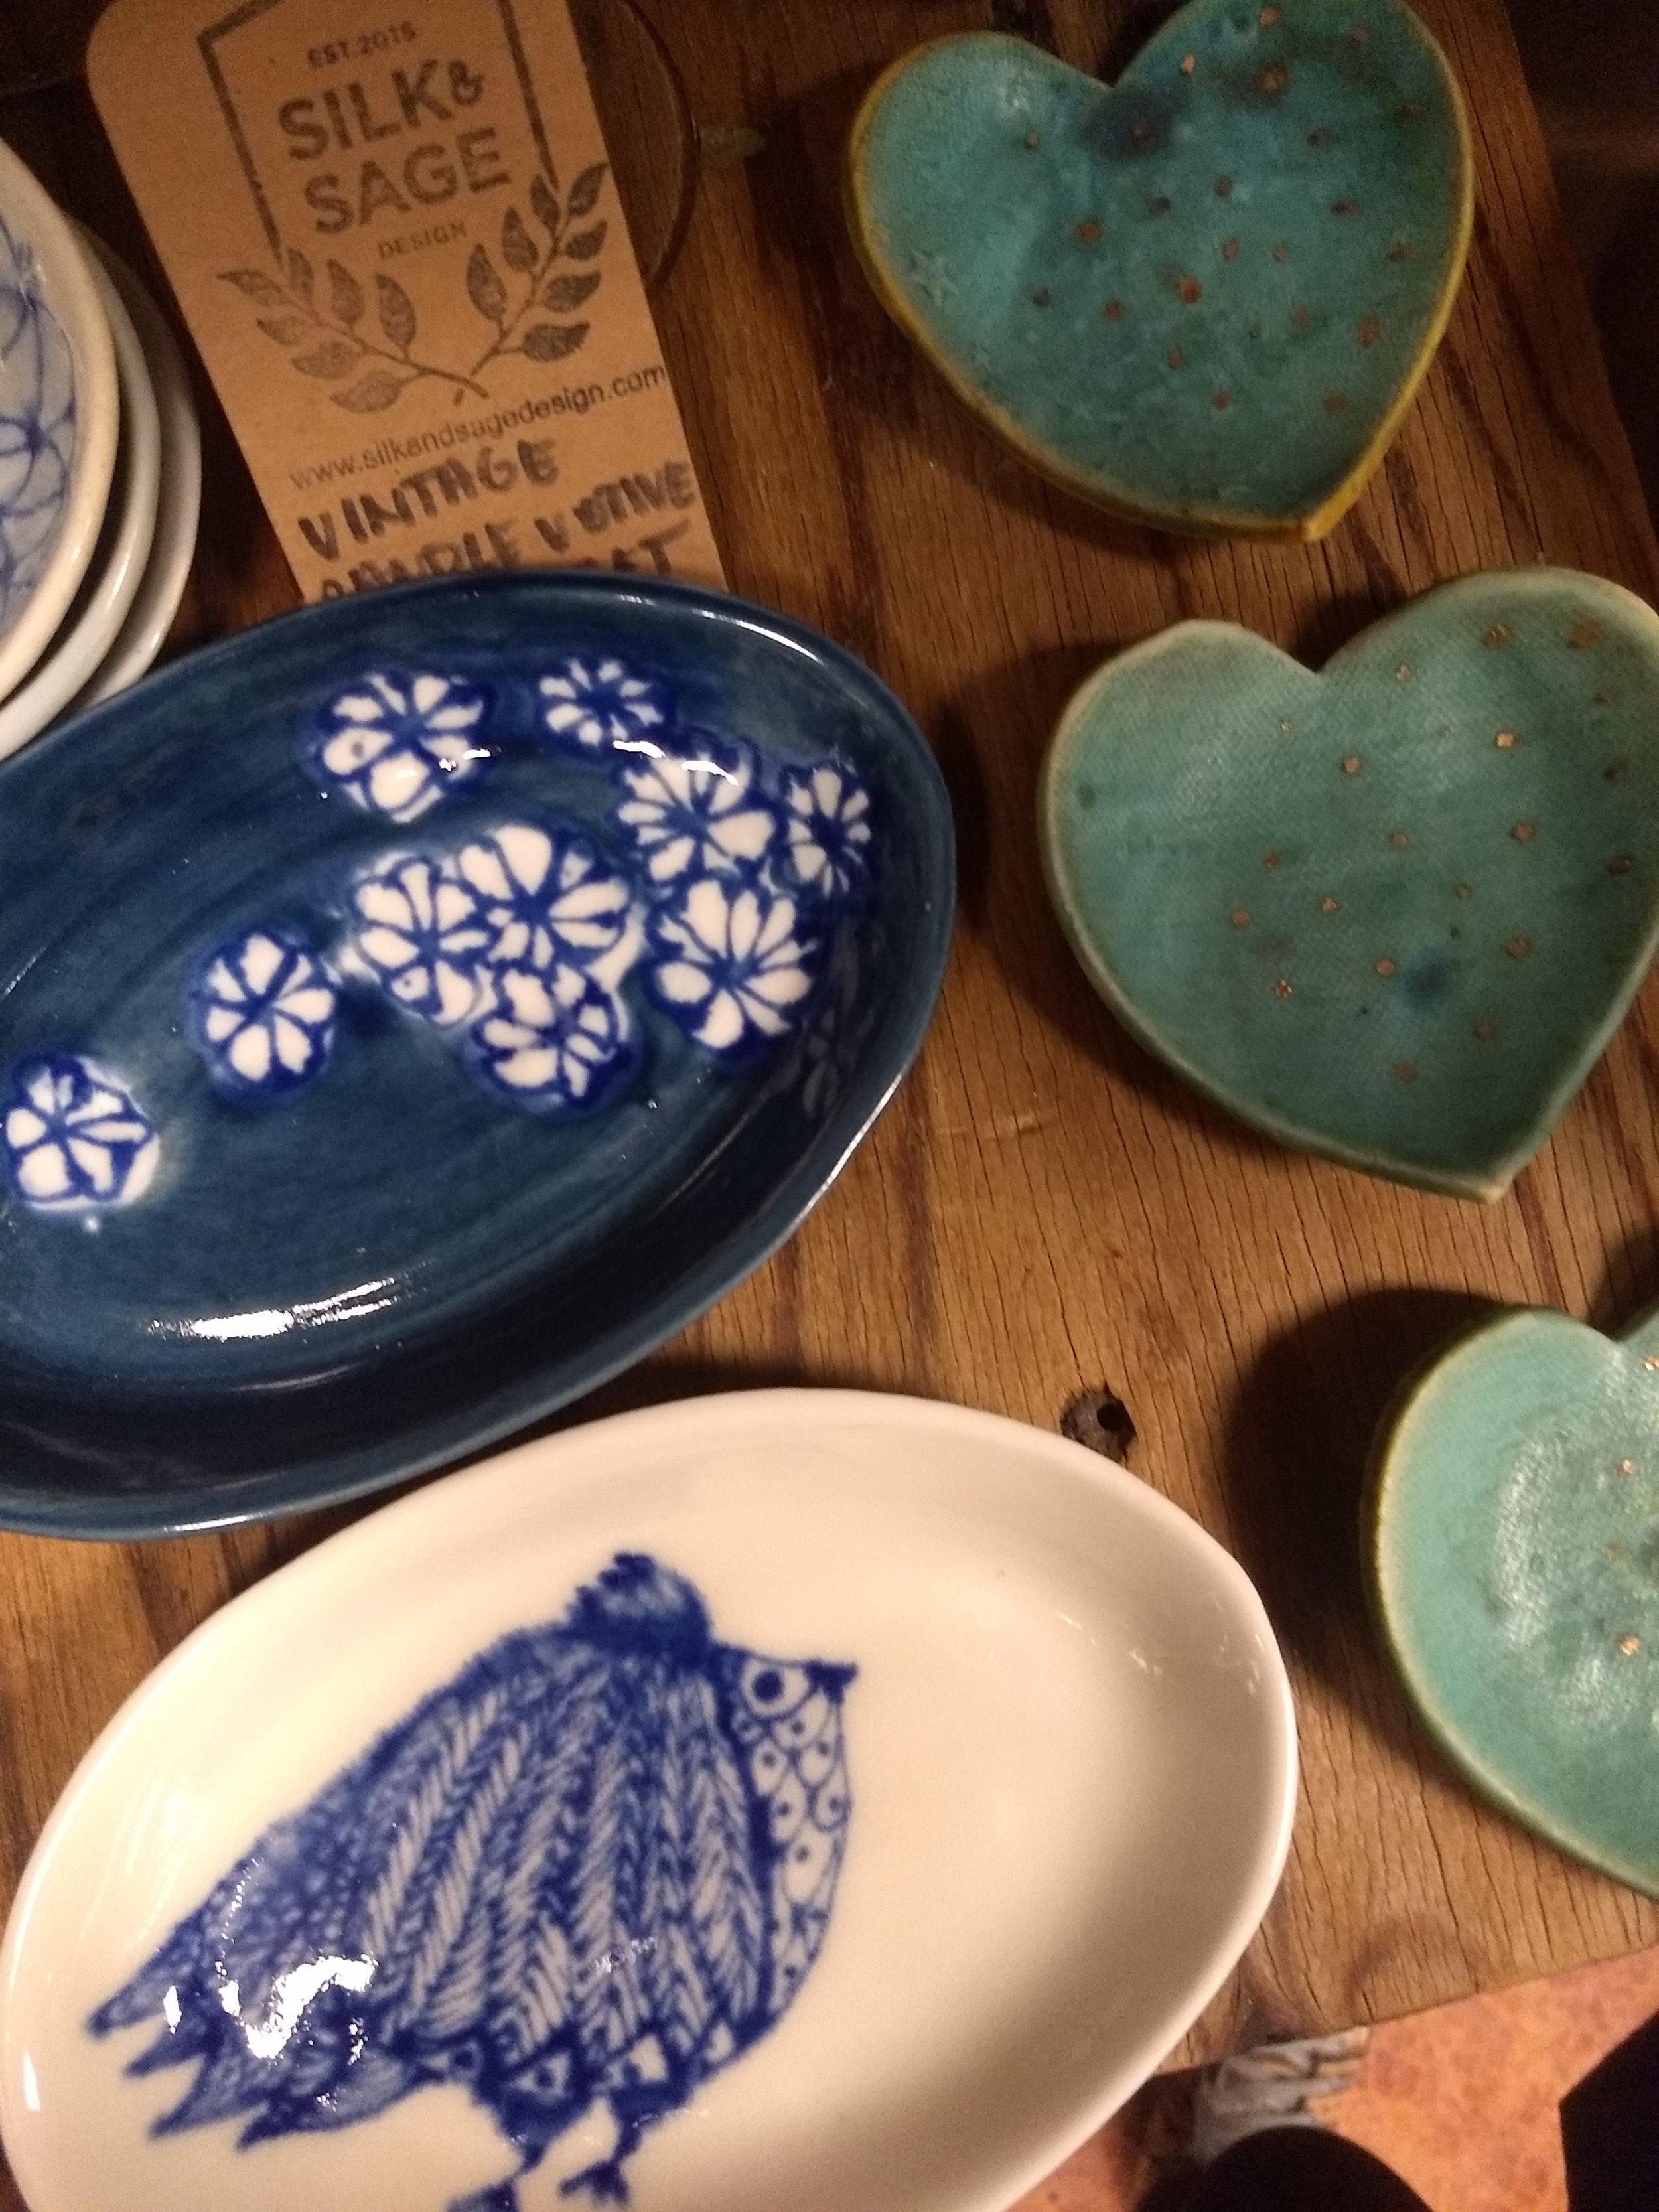
Spako Clay Turquoise Heart-Shaped Mini Dishes with 24k Gold- $28 ea. (locally hand-crafted, limited edition!)
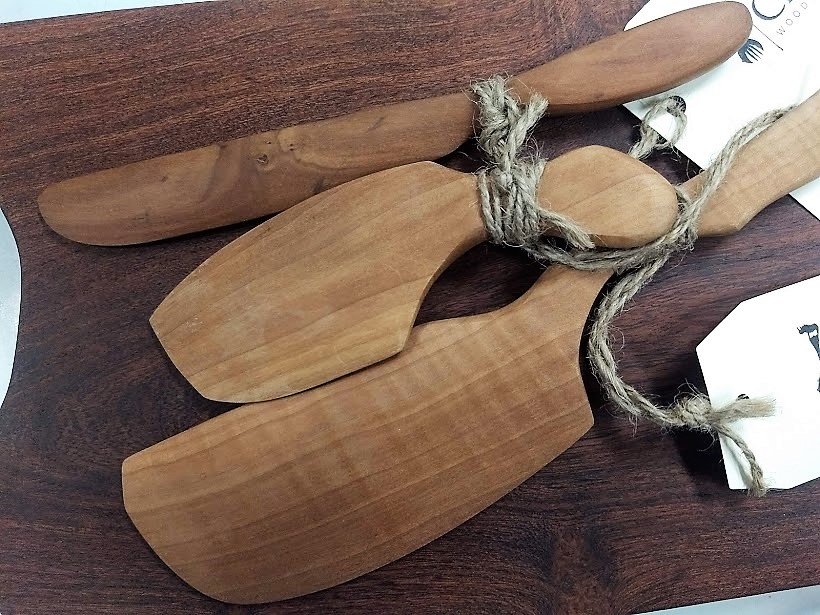
Pear-Wood Spreaders, Cheese Knives, and Pastry Knives by Cooper & Claire- $17-25 ea. (locally hand-crafted, each is unique from urban salvaged wood)
And these are just the tip of the iceberg. We hope your season is cozy, and full of love with truly memorable experiences. Visit us at the Shop & Studio to explore and contact us to purchase any of our wonderful giftables listed above (ask about our shipping options). #shoplocalaustin <3
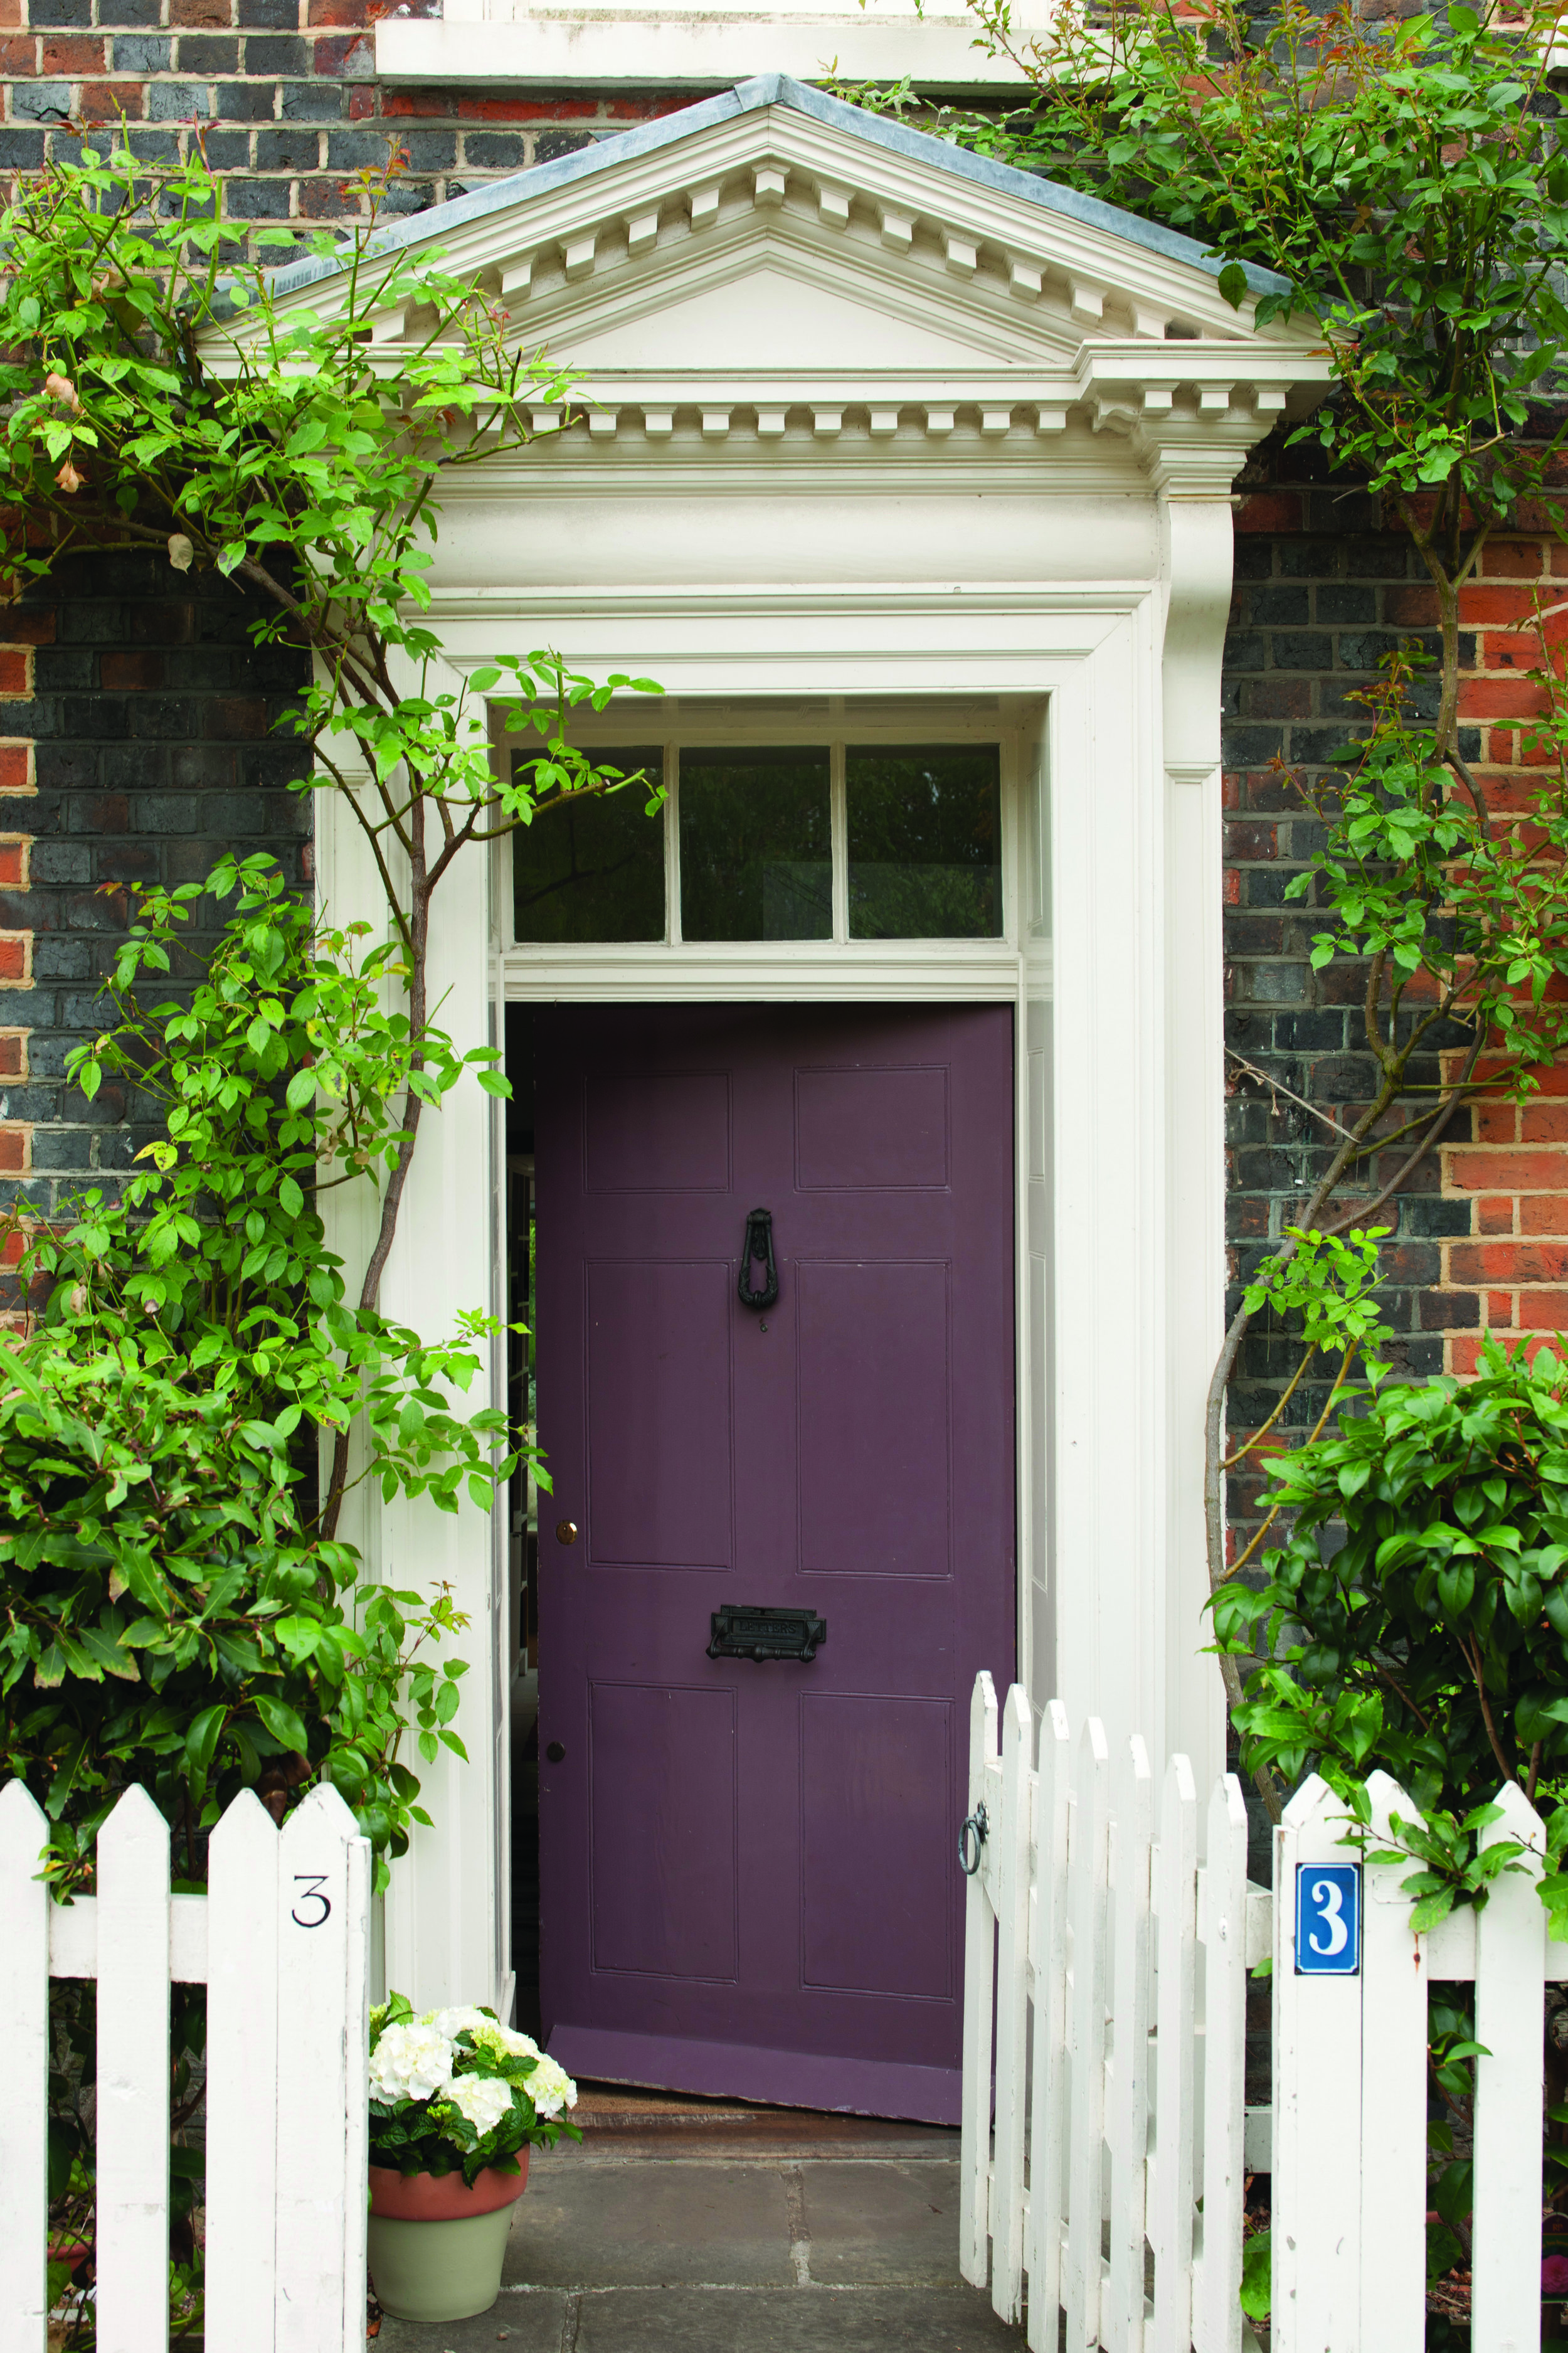
How to Paint Your Front Door with Farrow & Ball®
Some great tips and tricks for painting your front door with F&B paints!
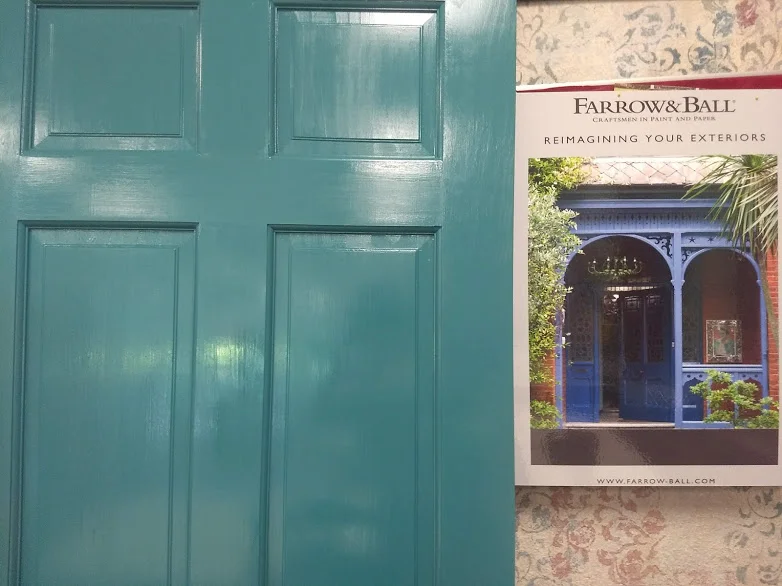
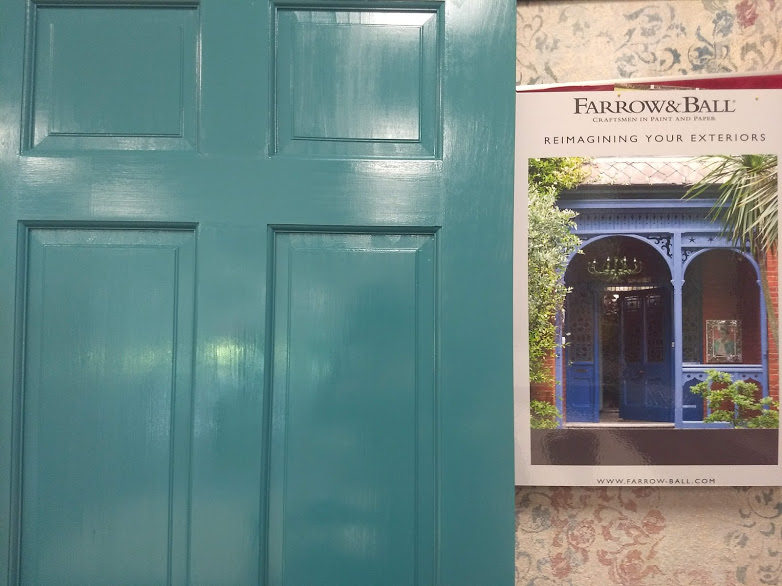
We were joined last week by Ben McCabe from Farrow & Ball® for two free demo sessions on how to paint your front door, which was helpful for not only door projects but also for any projects in which someone might use F&B exterior-grade paints. In case you missed it, we have a little recap for you! The luscious color featured on our large door and smaller demo sample doors is Vardo, in case you want to replicate the look.

First off, why work with Farrow & Ball® paints? F&B has been around since the 1940s and is well known in the design and home-improvement community for their durability and eco-friendly paint properties, as well as for their fabulous colors and sheen levels. Their paints have more pigment and paint solids in their recipes so more solid coating and color is left behind once the paint dries, which is best for longevity and wear. Also their paints are water-based containing no acrylic or latex.
For exterior projects we always go with their exterior-grade paints, which are the Exterior Eggshell (20% sheen), Exterior Masonry (2% sheen), and Full Gloss (95% sheen)... and Exterior Eggshell and Full Gloss are for those exterior metal and wood projects. For wear and longevity we also always follow their recommended primer + paint process. We choose the correct primer for the job (please visit our F&B Primer Guide Page) and add one coat, then apply 2 coats of the correct paint for the job. This will ensure the paint adheres correctly and stays true to color, per their warranty on exterior-grade paints.


Here are some great tips specific to painting doors with the paint:
- Always make sure to thoroughly stir the paint up from the bottom before using-- do not machine-shake the paint cans like you would with other brands of paint at the hardware store. Machine shaking is too vigorous for the paint and pigments and may result in an uneven appearance.
- If you can take your door off the hinges and bring inside to work, that's great! But that's not always possible. If you can't, tarp and tape around the walls and floor to protect from paint splatter. While paint dries you may also hang a plastic sheet in front of the door to protect from pollen and debris (do not wrap the door though of course).
- If working during hot times of the year, work during the cooler parts of the day for ease and maximum paint and primer performance. If humid, you may need to extend dry times to wait until the next day for the next paint coat, especially for Full Gloss.
- Normal recoat time for primer is 2 hours, and normal recoat times for exterior grade paints are 4 hours (extend for humidity).
- Use the right tools! For paneled doors like we worked on in the demos, use smaller brushes for the panel frames, then medium brushes for the flat panel fronts and the trim around them. Use rollers for longer continuous parts of the trim or for flat doors.
- We recommend starting on the panel frames, then working toward the flat panel fronts. After those are completed, we recommend doing all horizontal parts of trim (not including the very bottom panel of the door), then doing the vertical trim in small pieces in the center of the door. Next we recommend painting one of the long trim pieces on the side of the door, then the very bottom horizontal piece, then the remaining vertical side trim piece. *Piecing out a paneled door into smaller sections ensures you don't disturb places that are a little tacky and drying, and also help ensure even visible sheen especially on Full Gloss.
- For flat doors just keep a wet edge, working from one side to the next using the proper roller.
- F&B paints are self leveling, wow! But we always love to 'lay off' the paint in a continuous stroke per section. We do this with the proper sized brush for that section which doesn't have much paint added to it (it's okay if there's some leftover paint in the brush from earlier strokes, just not newly added paint).
- If you mess up or leave a weird texture, or something gets in your paint, just let it dry properly per recoat time. Gently sand out whatever is undesirable, then paint back over the section that it's in for a paneled door... for flat doors, if it's tiny you may try to do a tiny spot-treat, however it's most likely you'll need to do another coat after sanding it out.
- No topcoats needed over the paint when working with F&B exterior-grade paints.
- Always clean and prep your door before painting over it with F&B paints. Clean off gunk and let thoroughly dry. For pre-existing doors, no need to strip off the finish. If painting over an old gloss, make sure to just sand down the gloss a bit (before cleaning so you can wipe off everything at once). For new wood doors make sure to give a scuff sand with 150 grit sandpaper, even if the door feels smooth to you!


Stop by our Shop & Studio for color samples, demos, tips, and more!