
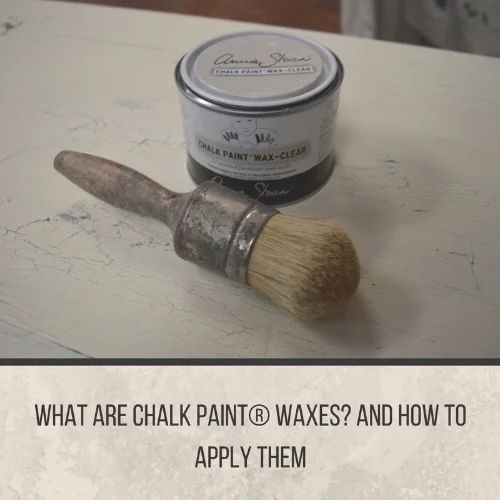
What are Chalk Paint® Waxes and How to Apply Clear Wax
We want to teach you the quintessential waxing technique for Chalk Paint® Waxes- watch the demo videos with Clear Wax.
Have you worked with Chalk Paint® waxes? Waxing is a crucial step to finishing your work and creating a durable surface to seal the decorative paint. We're constantly perfecting our technique, and because we know there are many questions (as well as misconceptions) about it, we're off to task to share our tips with you! Feel free to also pop on over to our Chalk Paint® FAQs page.
The waxes come in four types: Clear, Dark (brown), White, and Black. They can be protective AND decorative at the same time. Waxes:
- are completely non-toxic when dried and cured, and even suited for 'child-safe' applications.
- should be at a slightly-melted crisco or butter-at-room-temp texture (sit in a sunny window or warm environment if they feel a bit firm to work with).
- fill the pores of a surface painted with Chalk Paint® decorative paint and cure to leave behind a hard surface that has bonded to the paint.
- in the case of Clear and White Waxes, are applied directly to the painted surface.
- in the case of the Dark and Black waxes, are applied over a wiped-back layer of Clear Wax (so you can control their depth)- the exception to the rule can be over Graphite since it's such a dark color to begin with.
- can be mixed together to create mid-tones like beige and grey.
- can be tinted with a drop of paint for an extra pop, if you need an exciting green or pink wax for example.
- can be layered up to 2-3 coats total for extra durability for heavy-traffic surfaces like cabinets and dining table tops (wiping back thoroughly and waiting 24-48 in between coats).
- dry within 24-48 hours for each coat, however need to be gently-used until they finish curing.
- cure and reach full hardness within a period of 2-4 weeks, depending on how many coats have been applied and humidity (again, gently use your surface depending on its usage- you can probably put your dishes back inside your cabinets, however that kitchen table will need to wait a bit longer to be ready for your dinner party!).
- are water-resistant.
- are interior-grade only.
- once fully dried and cured provide a brilliantly durable surface, which is easily maintained by wiping food spills, dirt, and dust away with a damp cloth or mild soap and water at most- we've also gotten crayon, marker, sharpie, highlighter, and other stubborn marks off by cleaning with more wax, which pulls it right up and out of the surface.
- are as durable as polycrylic-type topcoats when applied correctly and let to fully cure before heavy use.
- can be buffed to a soft satin sheen, or left relatively matte in finish.
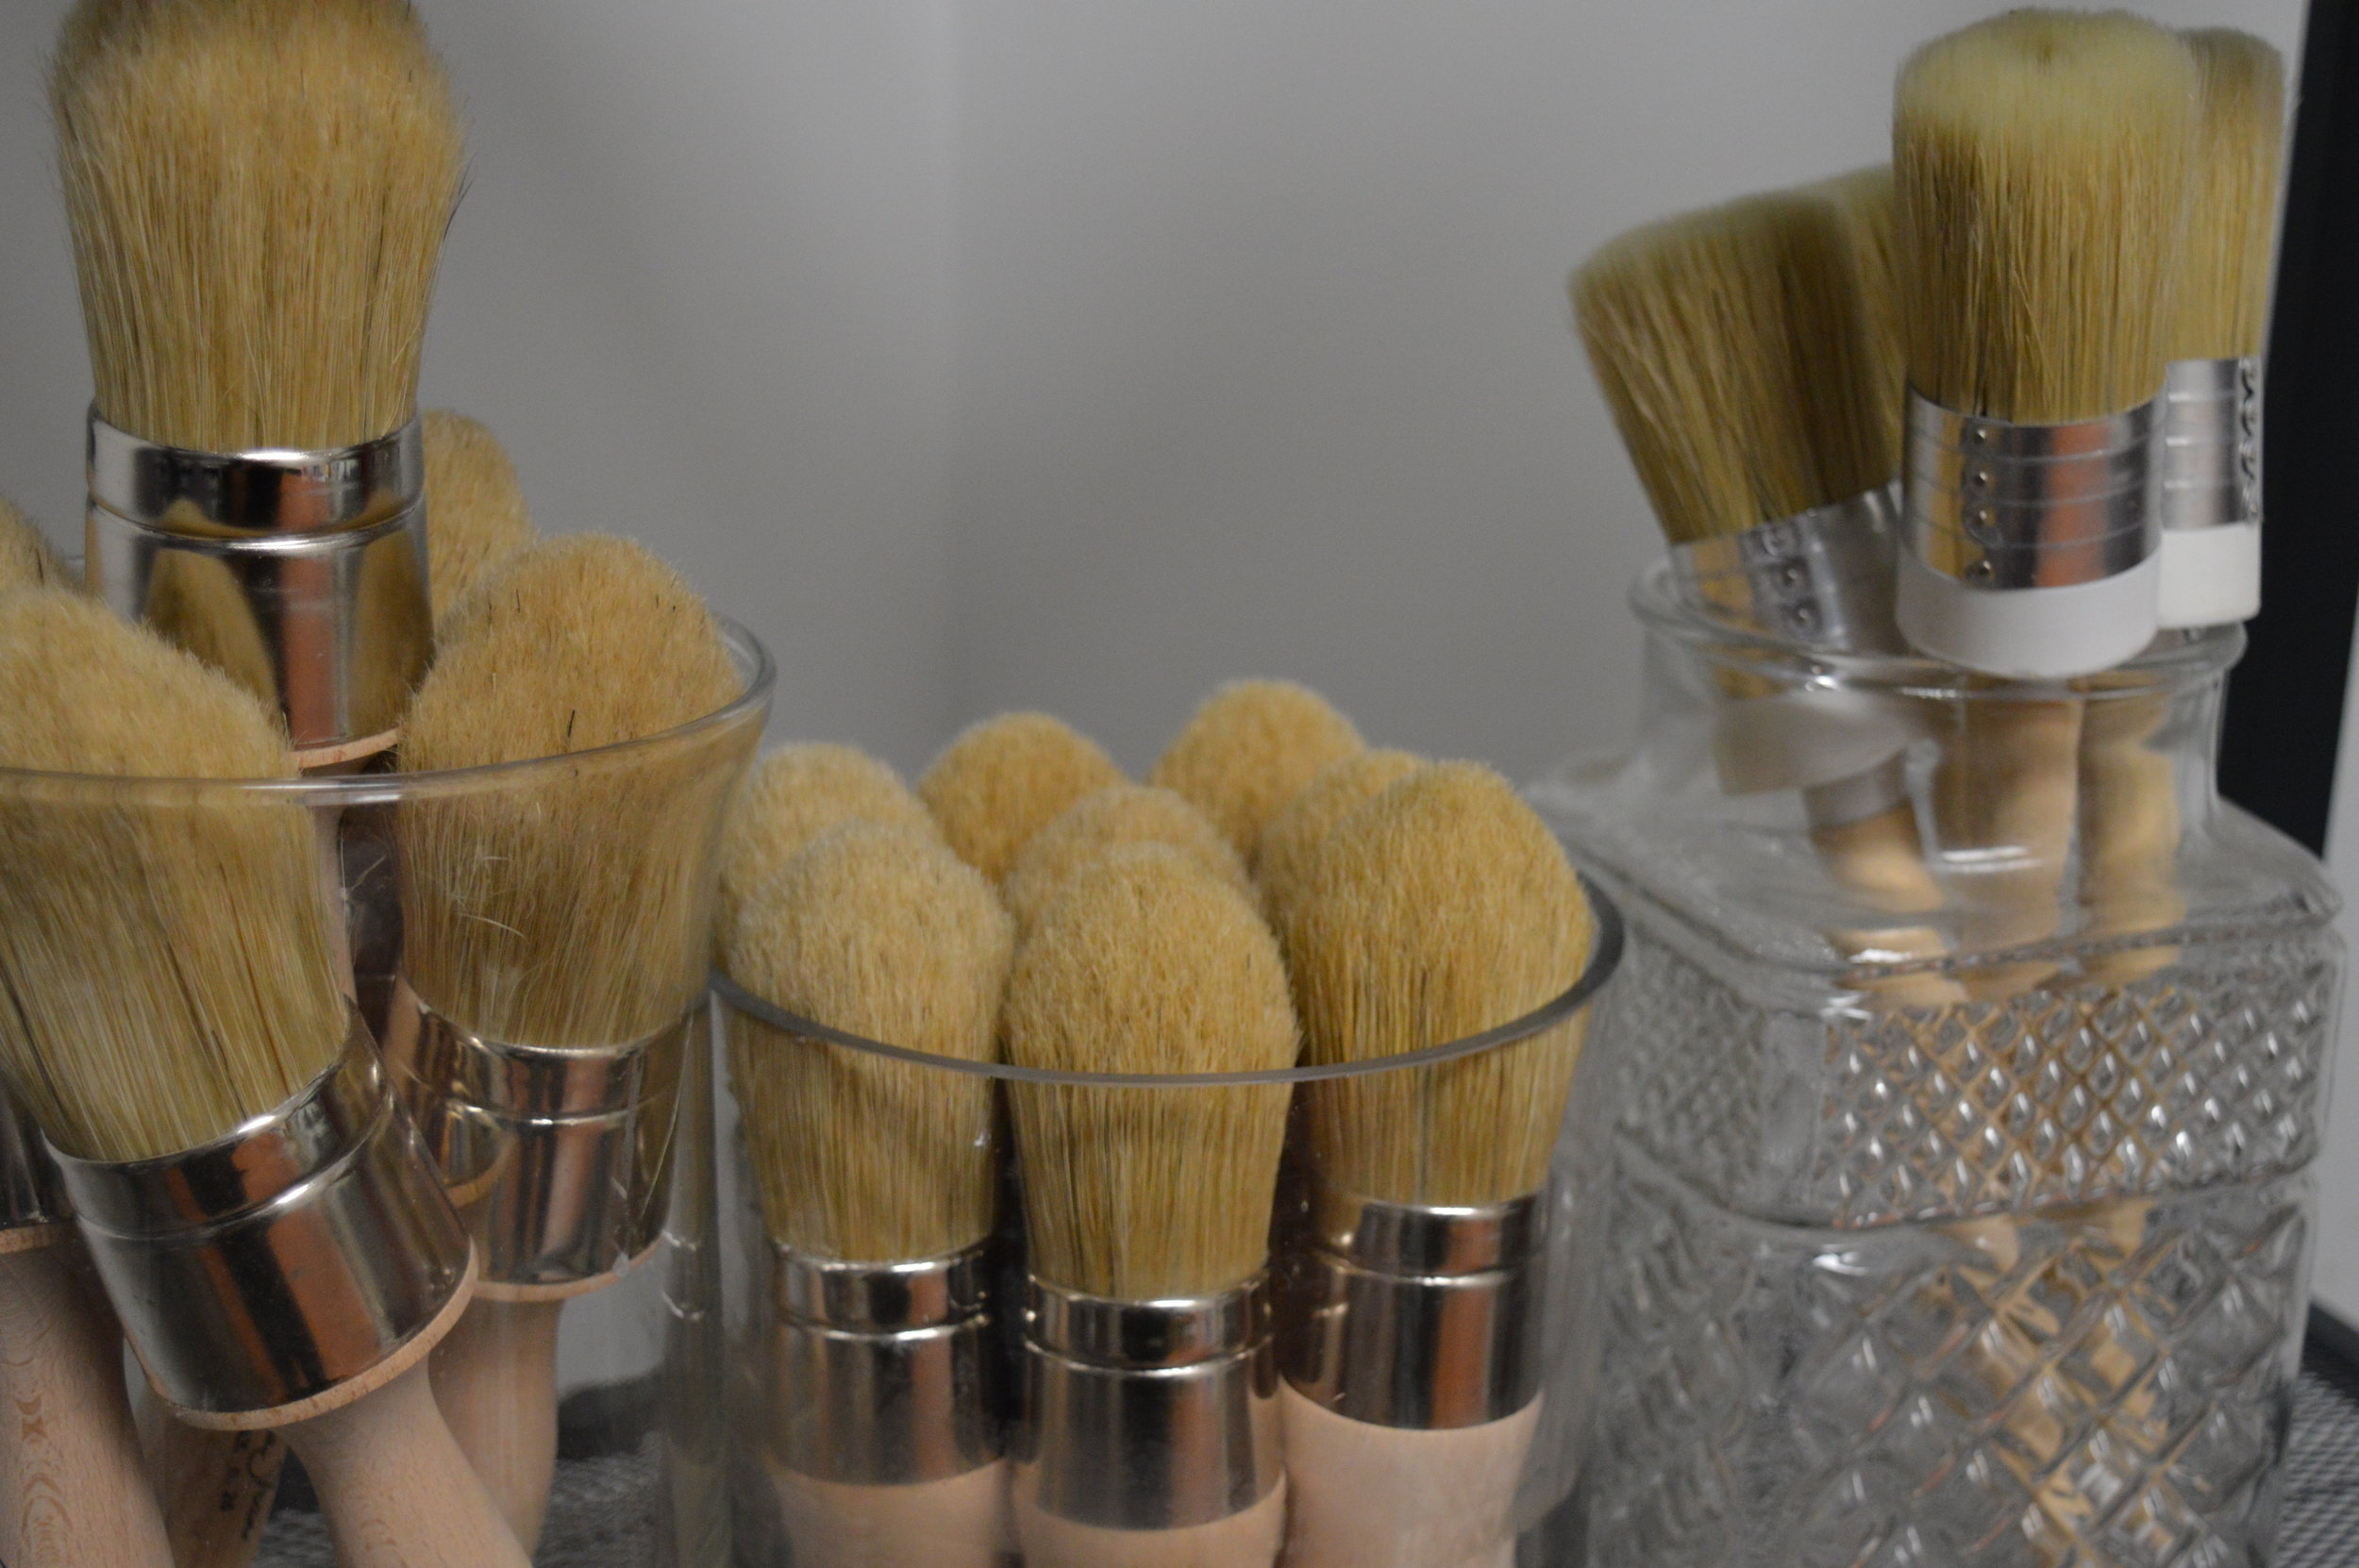
Using wax brushes to apply all waxes ensures we don't apply too much or unevenly, and also prevents as much wasting of wax as possible. Here are some in-depth video demos of a preferred technique that works for most surfaces:
Part 1: Using Your Wax Brush to Apply Clear Wax
Part 2: Wiping Your Excess Wax Back, Finishing Up
And here's a concise recap of the waxing process to conclude:

Remember, patience is key when allowing topcoats to fully dry and cure during a DIY process. When you buy new furniture, topcoats have been allowed to fully cure before being put on a sales floor. We do have other topcoats with the same durability for different finish sheens (such as semigloss), for exterior projects, and others that might cure a tad bit sooner for heavy-traffic areas (ex; if you work with wax for your coffee table just keep in mind that you need time to let it cure). For all topcoats on tables we do recommend using placemats, coasters, etc. anyway to protect the finish as long as possible (nothing is completely iron-clad y'all). However we do say 'trust the wax!' because you can't beat it over hand-painted finishes, and can easily spot repair it if unexpected damages do occur.

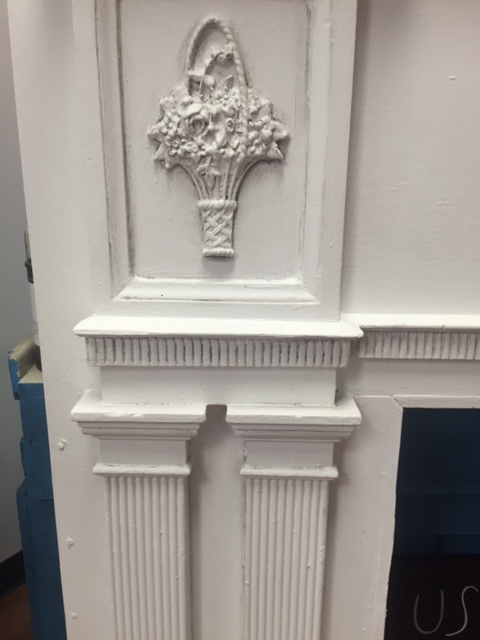
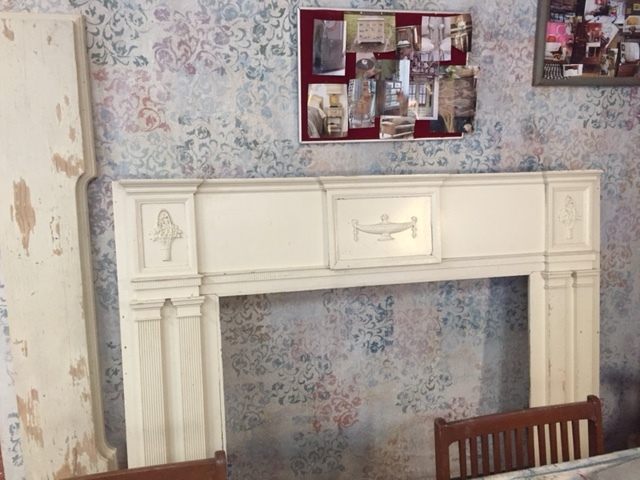
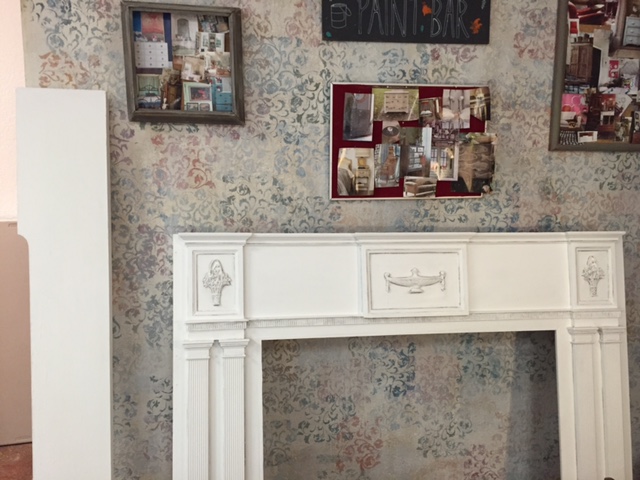
Before & After: Antique Mantle
We repainted and repaired an antique mantle, with Chalk Paint® Pure White plus waxes for a subtle yet fresh update!

When we were approached to rework this lovely antique mantle, we immediately said yes (for many reasons, mainly because we do this for a living duh!). This is something that we would only find in our vintage and antique-picking dreams we felt... and it needed some love and color updating for sure.
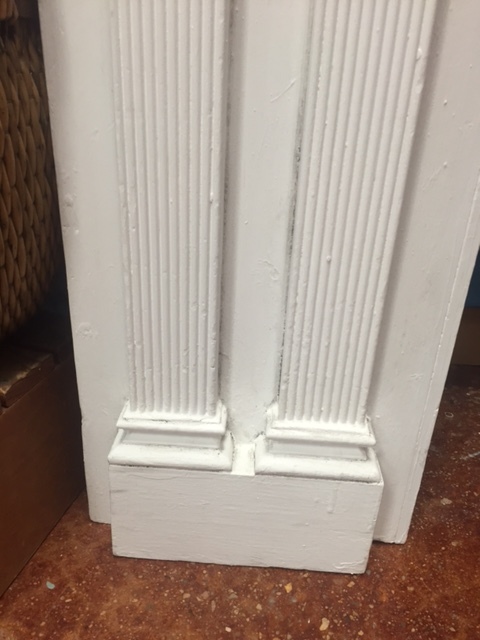
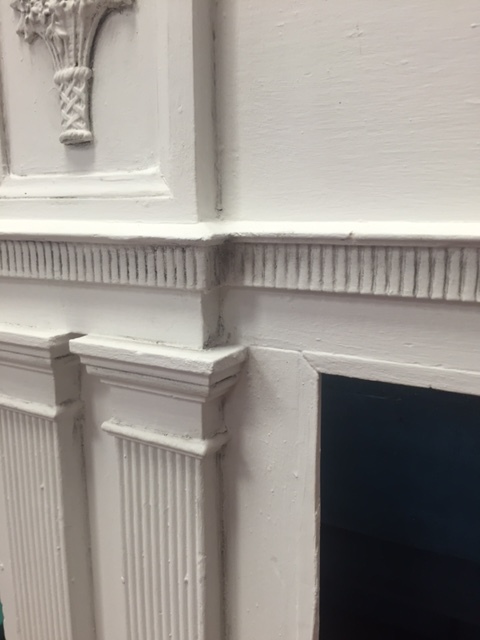
First we made sure to thoroughly clean it, plus sand and scrape away the peeling latex paint layers where applicable. Whenever working over a previously painted surface you must sand down chips and scrape away anything actively chipping, otherwise it can peel up your new paint layer. Next we assessed some cracking along seams of the 'shadow box' details:


This is not an uncommon encounter when working on old wooden pieces. Seams can split, and one common place to notice this is on everyday surfaces like doors, cabinetry, and window frames. We caulked these with 'painters caulk,' Big Stretch specifically. It's geared toward high flux of seams especially when painted over (make sure to check cure times and time between caulk and paint when using on your own). We trust this option too because once cured, Chalk Paint® decorative paint would adhere well.
Next we primed with our water-based, white-tinted Smart Prime because some old stains were evident to be popping through the Pure White. We think these may have been from old smoke that absorbed into the wood from long ago use. No matter how much you clean, sometimes a chemical or other substance might just need to be covered up durably! We learn to be flexible with these things...
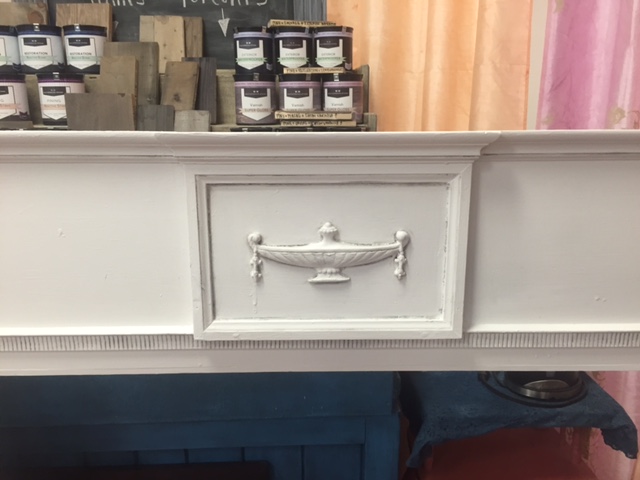
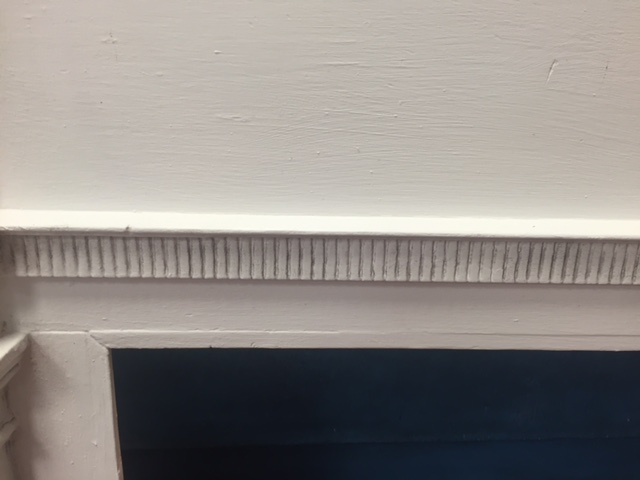

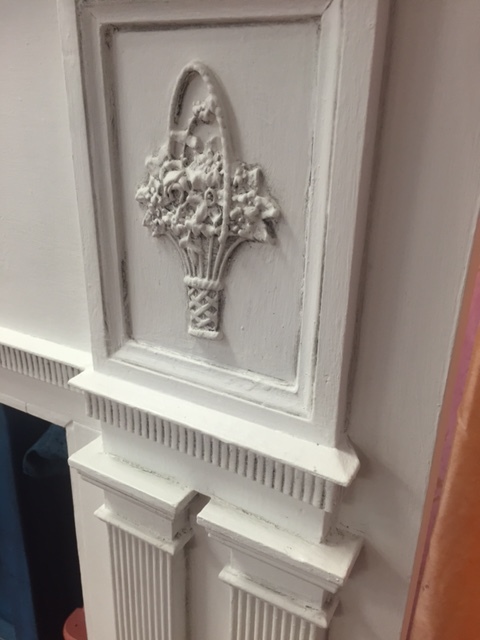
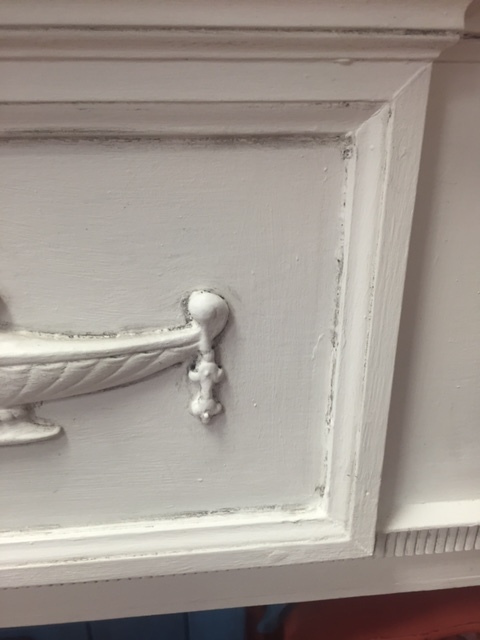
And then two coats Pure White Chalk Paint® decorative paint, plus clear wax all over, and black wax in the details with a light hand. Voila! It's not a super drastic change, however it breathed new life into this piece by freshening it up and helped the uniquely carved details stand out better. Have you painted a mantle before? How did it turn out? Feel free to share! Happy Painting xoxo
What Is Chalk Paint® and Why Do We Like It So Much? (How to Paint With Chalk Paint®)
We clear up some questions about Chalk Paint® decorative paint, and talk about its benefits and how to apply paint to furniture.

We get daily questions on what Chalk Paint® is, and what it can be used for-- which is a great thing! The more questions the better, and the better that we can help you with your projects. However with so many types and brands of paint out there in the world, it's easy to feel overwhelmed with choices. Besides talking about what Chalk Paint® is and why we recommend it, we'll also talk about why it stands out from imitation paint lines.
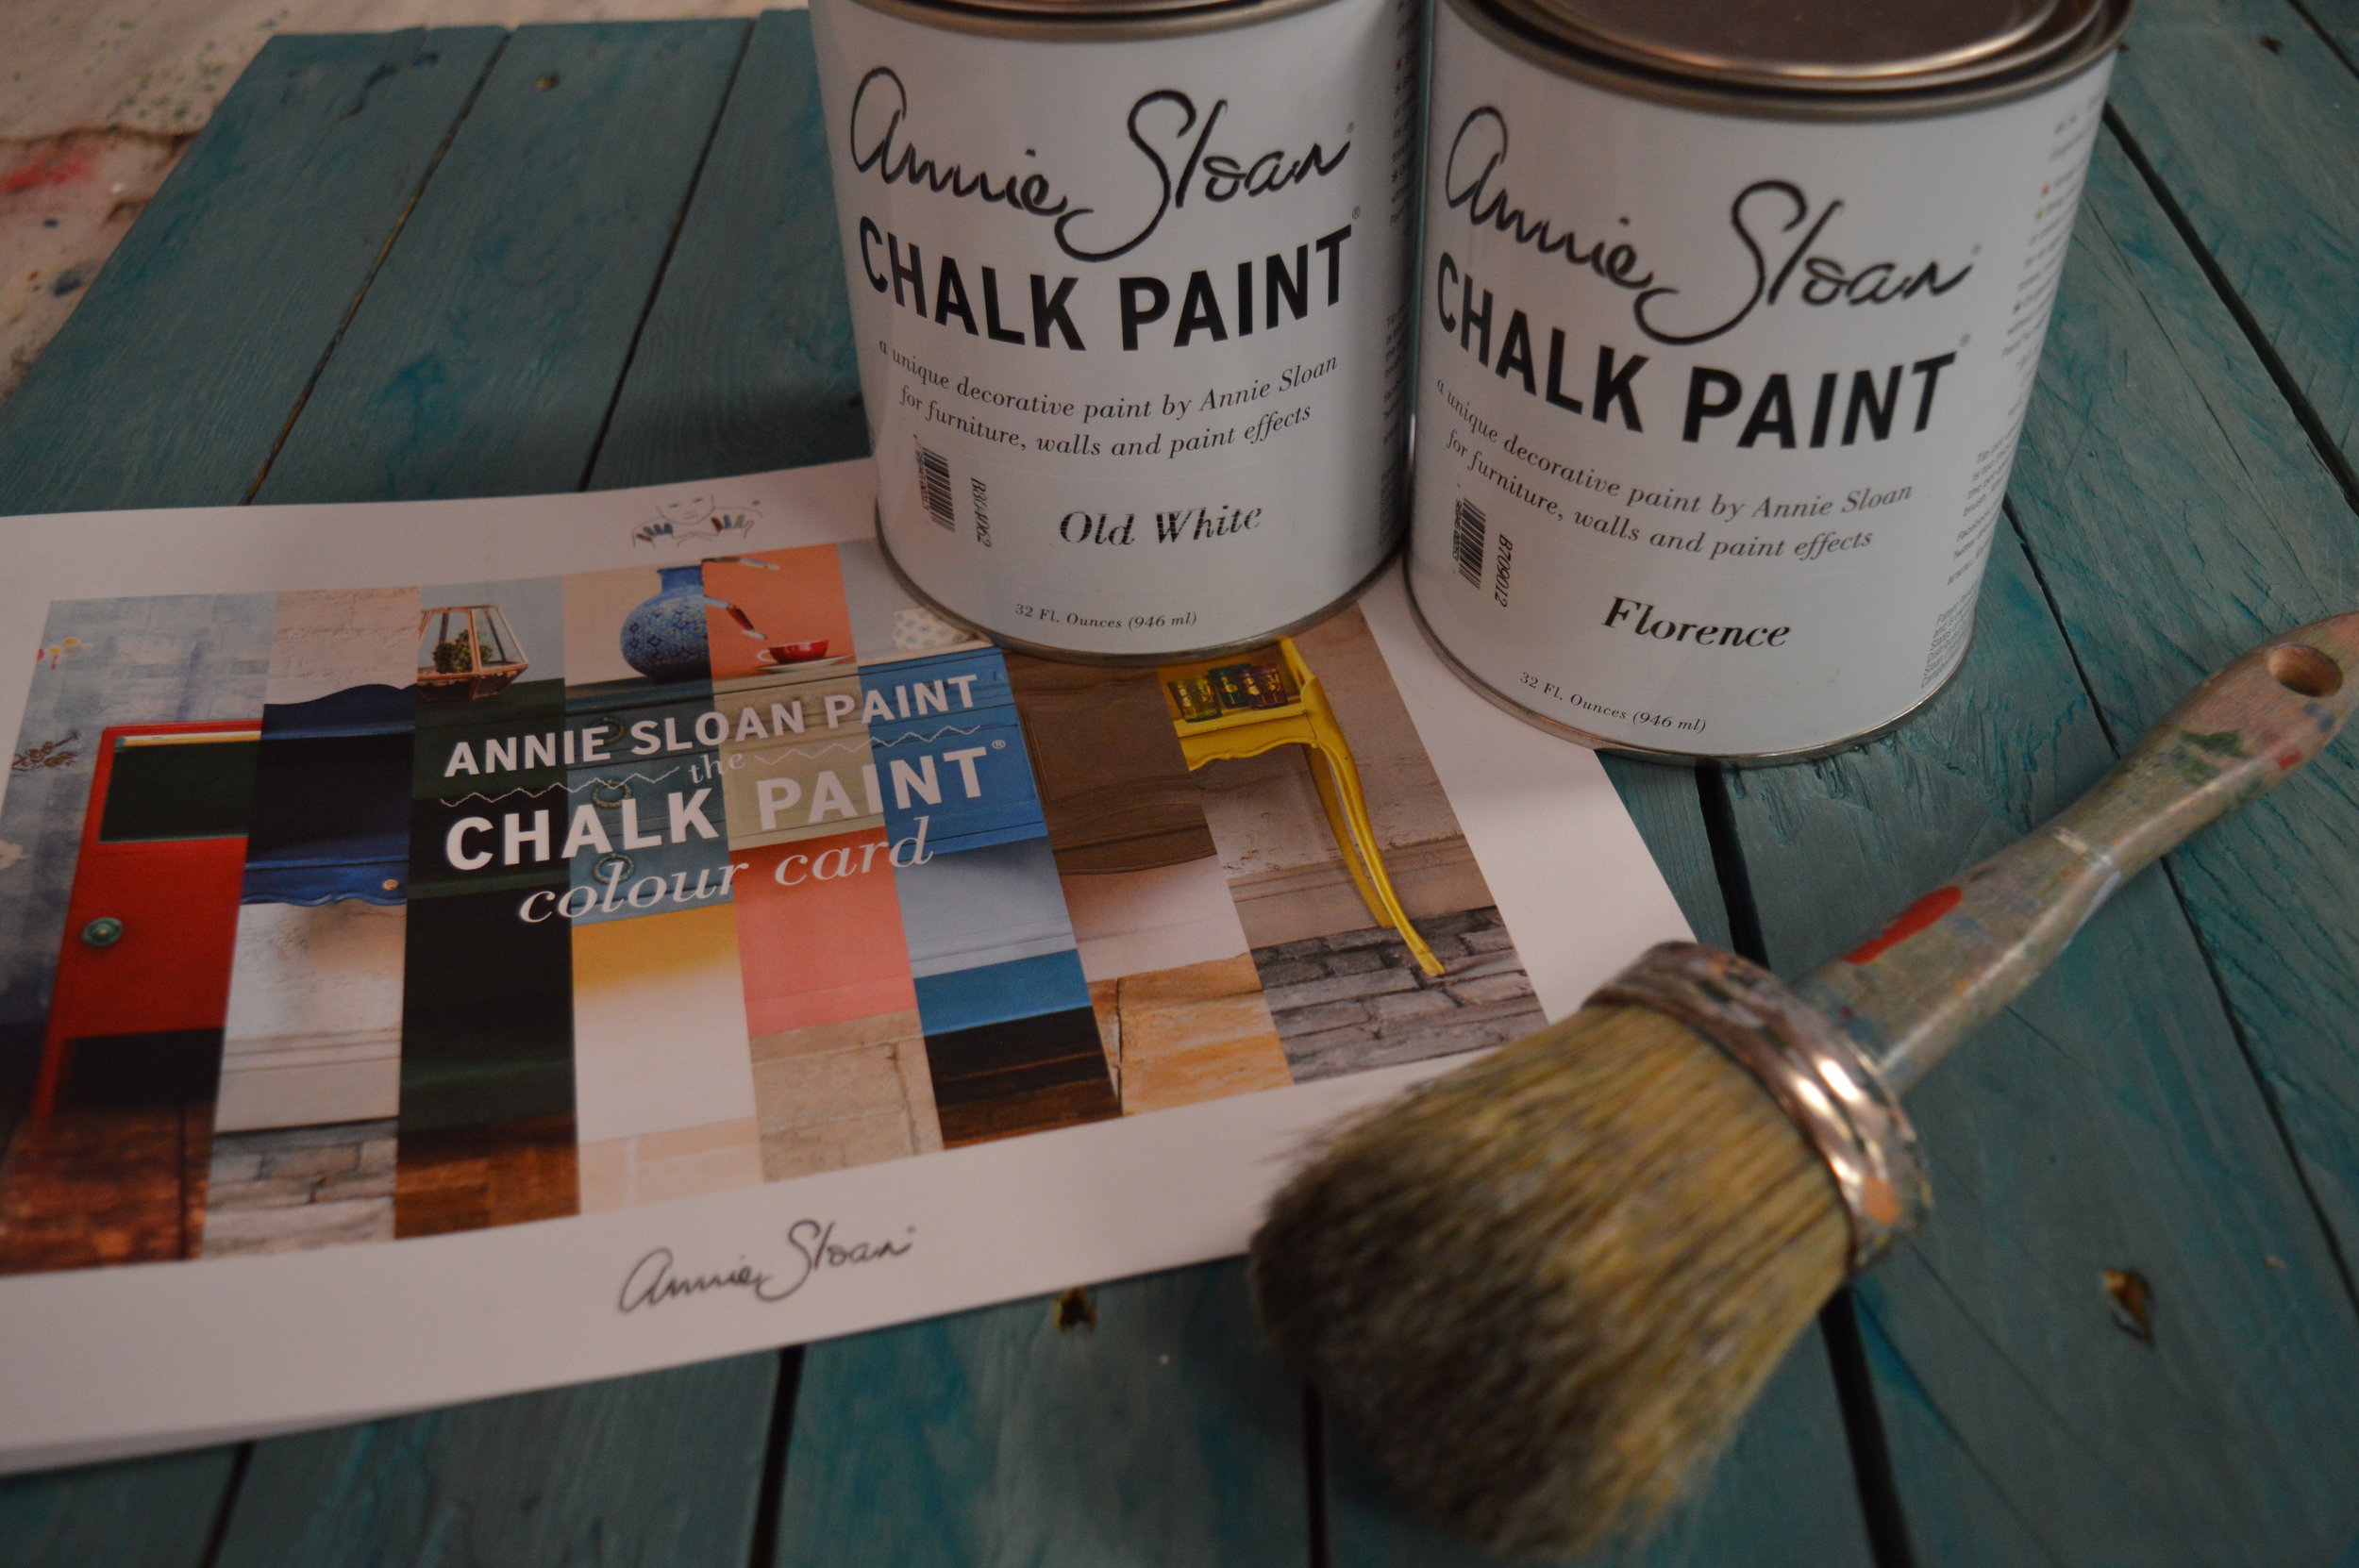
When we opened up our shop, we made the commitment to stock reputable, eco-friendly brands that anyone can work with (you heard that right, anyone!). Our stock is curated so to speak, with high-quality yet accessible options, and Chalk Paint® is one of those. Well then, what is it? Chalk Paint® is the brand founded by Annie Sloan in 1990, focusing on painting with one's own style and with a minimal-prep process. Chalk Paint® decorative paint is water-based and comes in 35 GORGEOUS colors in the USA, and Chalk Paint® waxes come in 4 colors/styles. Why is 'chalk' in the name? Well, that speaks to how the paint feels when it first dries in that it's super dry and porous, causing it to absorb its wax seal well.

How cool is it that the Color Cards come with swatches printed with REAL paint? These are very informative and accurate in helping you make your color choices, giving information about the history behind color names too.
Chalk Paint® decorative paint, waxes, lacquer, and other items are:
- low and no-VOC, and absolutely lead free
- non-toxic and eco-friendly
- certified 'Toy Safe' in the UK where the line was invented
- able to create silky smooth, modern finishes
- able to create highly textured finishes (like distressed or 'shabby-chic' looks)
- cleaned up with soap and water off brushes
- applied with a brush or roller (depending on technique)
- able to be sanded
- highly customizable, changeable, and able to be painted over to keep upcyclng
- little or no prep prior to painting- never needing to strip (prep can depend on your surface, and some techniques might require certain kinds of prep)
- able to hide surface flaws
- fixable for any unintended mistakes during the painting and waxing process
- suited for interior and exterior projects
- able to be mixed and layered with plasters, gilding leaf and waxes, crackle serums, and MORE
- suited for furniture, flooring, walls, decor, painted upholstery, stenciling
- applied to wood, metal, veneer, laminate, plaster, stone, brick, concrete, fabric, manufactured finishes (like from Ikea and Pottery Barn), glass, and MORE


Totally transforming a piece of furniture or space is still a process. This paint is not a miracle, but does help you to leave room for your design intuition to come through with playfulness, without having to worry about absolute perfection or "will this even stick to my surface?!". What's hand-painted has character, and can uplift any old piece and space!
Watch our little video demonstrating the absolute basics of applying your favorite color!

Also, there is only one Chalk Paint®. There are many alternate 'chalky-finish' or 'chalk-type' paints on the market, and there are recipes to 'make your own,' however none of these options are the same as Chalk Paint®, and they are usually acrylic or latex with additives. They do not have the same properties. Let's face it- if you're painting with an acrylic or latex, it's still just acrylic or latex (and all that plaster of paris mixing in 'make-your-own' recipes is actually quite toxic to breathe in, yuck!). There is a reason why we carry and use the Annie Sloan brand after trying many styles throughout the years. When we work with it, we are trying to get our look (or your look if we're helping you to customize your project), not just a matte/flat 'chalky' finish.
What we do encourage is that your DIY creative process be about learning new skills while leaving room for your own creativity to come through- and to make connections with others! Happy Painting xo

Guest Blog Post- Color Blocking Organizing
A guest blog post by Sharon Munroe, featuring a collaborative project with her son.
Guest Blog By Sharon Munroe
Having begun painting furniture this summer I am looking at wood furniture in my home in a whole new way. My family has caught onto this trend and each of my three children wants a part in painting. I decided that I will work with each of them individually to plan and paint something old or new for their bedrooms.
First up, my eight-year old who I fondly call “the pack rat.” Since my son was about three years old he has been a maker and tinkerer. To satisfy his creative and builder instincts, he saves odds and ends. They end up everywhere, including in the corners of his small bedroom. My son also has an interest in art and color. He has had the opportunity to draw and paint since he was a toddler. His favorite activities lately are making comic book drawings and crochet. Since he was able to hold a pencil, I have him a sketch pad to use in his car seat.
We decided that our project together would be one focused on organization and color. I own an old-fashioned, shaker-style organizing unit that once sat on a kitchen counter. With my kitchen remodel some 10 years ago, the organizer was relegated to a closet where it collected dust. It turns out that the dark, wood stain on it matches the color of my son’s bedroom furniture. We could make the unit match his room’s decor easily. With the help of Katie at Silk and SageDesign Studio, I wanted to try something a bit different.
Katie and I discussed the project in person and how to achieve a look with multiple paint colors. I often visit during my lunch break at work. Silk and Sage is open from 11:00AM to 7:00PM Tuesday through Friday (plus weekend hours). Originally, we considered doing stripes of green and yellow paint to match the bedroom’s wall paint and another small dresser inside. By looking at the Annie Sloan Chalk Paint® Colour Card at home, my son and I had selected bright Antibes Green, just like his bedroom wall color and the sunny shade of English Yellow.
Once back in his room, the inspiration came to me. Color blocking this very rectangular piece would make it fun for a child’s room. Leaving part of the surface in the dark stain would make it look very customized to the existing dark furniture. The best part was that my son had done color blocking on a canvas in an art program a year earlier and that piece was already hung above the dresser and the new spot for the painted organizing unit.
He was excited to help with the project so I reviewed all of the steps with him and asked him to paint the larger flat surfaces, including the top and side of the unit plus one of the fronts of the drawers. With his apron on and a paintbrush in hand, he was happy to help.
How to Color Block in a Few Easy Steps:
1. Clean the entire surface you are going to paint with a damp, soft rag. Follow with a dry soft rag.
2. Mark off areas that are not getting painted with two layers of painter’s tape. Two layers means that the paint is less likely to run into the other surface.
3. Apply a coat of one color Annie Sloan Chalk Paint® throughout the piece.
- Alternating sections of color to the left/right or up/down makes it more visually interesting.
4. Apply a coat of the second color in your pattern. (Repeat if you have a large piece with a third or fourth color.) Let the first paint coat dry thoroughly.
5. If the original color of the wood is dark as mine was, apply a second coat of each paint color. It evens out the tone and provides full matte coverage.
6. Use a soft pure bristle brush to apply a coat of Annie Sloan’s Dark Soft Wax (looks brown) to the parts of the piece that you want to keep dark. This gave shine and new life to my piece.
7. Apply Annie Sloan’s Clear Soft Wax to give the newly painted areas an allover smooth surface.
8. Wipe off any extra with a soft shop towel, similar to a paper towel but thicker and without any lint. Let the furniture dry overnight.

Now see the painted and refinished organizing unit in my son’s bedroom, ready to be the new home of his favorite drawings, yarn and odds and ends.

Annie Sloan's Black & White Wax Week
Join us in celebrating Chalk Paint® Wax Week by Annie Sloan! In-store events and demos to follow!
Starting Tuesday July 19th (we're closed on Mondays!), we'll have in-store demos between 1-3 PM for the new Chalk Paint® Black and White Waxes! Stop by for some fun- we'll have snacks and refreshments.
**On Thursday July 21st, we'll have a special adult-friendly waxing demo session from 5-7 PM featuring WINE AND CHEESE! Bring your questions about your next project(s), and bring your friends!**