What are Chalk Paint® Waxes and How to Apply Clear Wax
Have you worked with Chalk Paint® waxes? Waxing is a crucial step to finishing your work and creating a durable surface to seal the decorative paint. We're constantly perfecting our technique, and because we know there are many questions (as well as misconceptions) about it, we're off to task to share our tips with you! Feel free to also pop on over to our Chalk Paint® FAQs page.
The waxes come in four types: Clear, Dark (brown), White, and Black. They can be protective AND decorative at the same time. Waxes:
- are completely non-toxic when dried and cured, and even suited for 'child-safe' applications.
- should be at a slightly-melted crisco or butter-at-room-temp texture (sit in a sunny window or warm environment if they feel a bit firm to work with).
- fill the pores of a surface painted with Chalk Paint® decorative paint and cure to leave behind a hard surface that has bonded to the paint.
- in the case of Clear and White Waxes, are applied directly to the painted surface.
- in the case of the Dark and Black waxes, are applied over a wiped-back layer of Clear Wax (so you can control their depth)- the exception to the rule can be over Graphite since it's such a dark color to begin with.
- can be mixed together to create mid-tones like beige and grey.
- can be tinted with a drop of paint for an extra pop, if you need an exciting green or pink wax for example.
- can be layered up to 2-3 coats total for extra durability for heavy-traffic surfaces like cabinets and dining table tops (wiping back thoroughly and waiting 24-48 in between coats).
- dry within 24-48 hours for each coat, however need to be gently-used until they finish curing.
- cure and reach full hardness within a period of 2-4 weeks, depending on how many coats have been applied and humidity (again, gently use your surface depending on its usage- you can probably put your dishes back inside your cabinets, however that kitchen table will need to wait a bit longer to be ready for your dinner party!).
- are water-resistant.
- are interior-grade only.
- once fully dried and cured provide a brilliantly durable surface, which is easily maintained by wiping food spills, dirt, and dust away with a damp cloth or mild soap and water at most- we've also gotten crayon, marker, sharpie, highlighter, and other stubborn marks off by cleaning with more wax, which pulls it right up and out of the surface.
- are as durable as polycrylic-type topcoats when applied correctly and let to fully cure before heavy use.
- can be buffed to a soft satin sheen, or left relatively matte in finish.
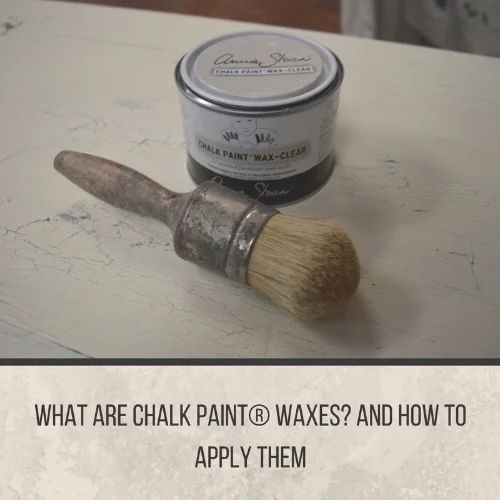
Using wax brushes to apply all waxes ensures we don't apply too much or unevenly, and also prevents as much wasting of wax as possible. Here are some in-depth video demos of a preferred technique that works for most surfaces:
Part 1: Using Your Wax Brush to Apply Clear Wax
Part 2: Wiping Your Excess Wax Back, Finishing Up
And here's a concise recap of the waxing process to conclude:

Remember, patience is key when allowing topcoats to fully dry and cure during a DIY process. When you buy new furniture, topcoats have been allowed to fully cure before being put on a sales floor. We do have other topcoats with the same durability for different finish sheens (such as semigloss), for exterior projects, and others that might cure a tad bit sooner for heavy-traffic areas (ex; if you work with wax for your coffee table just keep in mind that you need time to let it cure). For all topcoats on tables we do recommend using placemats, coasters, etc. anyway to protect the finish as long as possible (nothing is completely iron-clad y'all). However we do say 'trust the wax!' because you can't beat it over hand-painted finishes, and can easily spot repair it if unexpected damages do occur.